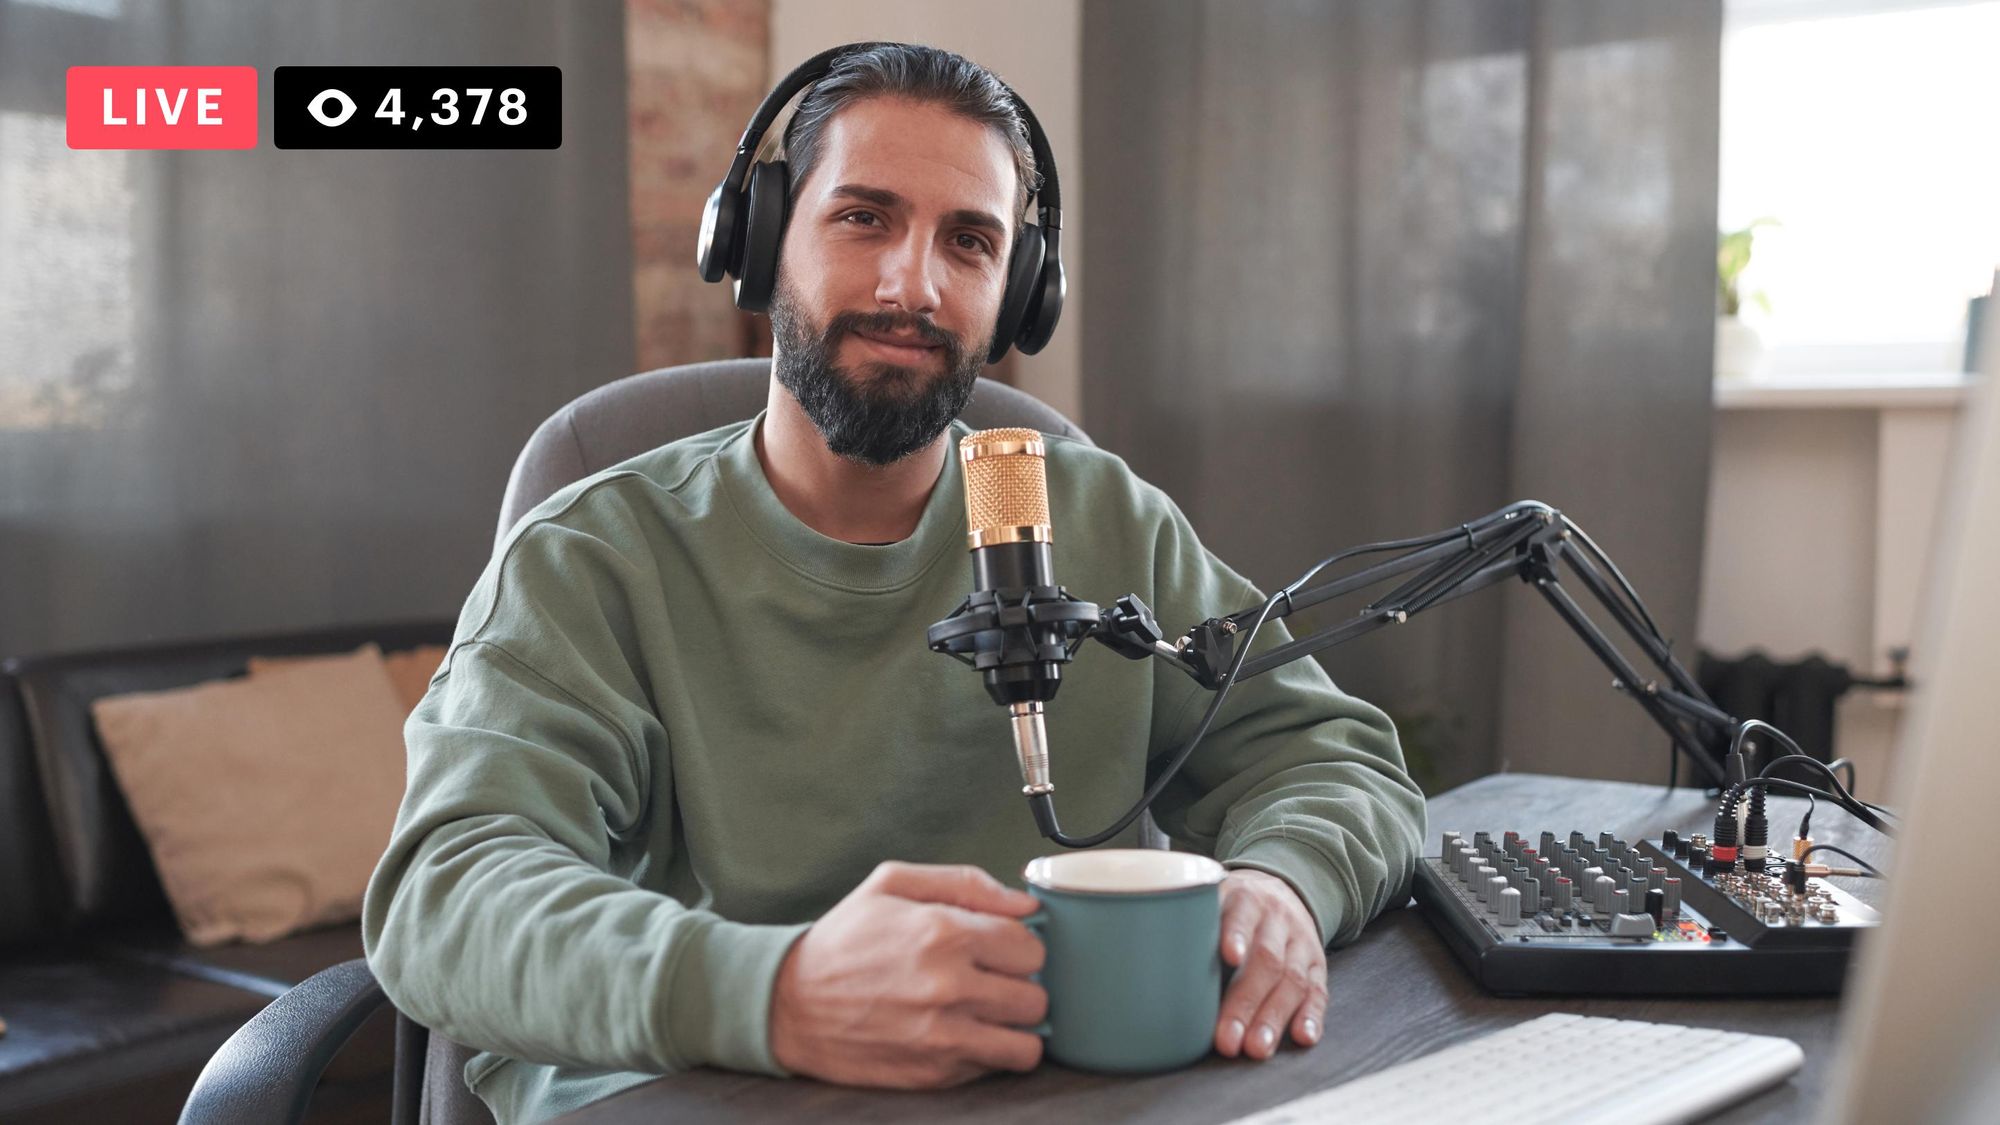
Facebook is one of the largest websites in the world and one of the most popular live video platforms. When you broadcast live videos on Facebook, you have the potential to reach thousands of people. To get that many eyeballs on your Facebook Live stream, however, you need to produce exceptional content.
This guide to Facebook Live streaming will help you go live on Facebook, know what kind of content to stream, and create live videos that are more engaging for your audience.
What is Facebook Live?
Facebook Live is a video streaming feature that lets you broadcast a live video to a Facebook profile, page or group. You can live stream on Facebook on desktop or with the mobile application. Facebook’s live streaming feature is free to use — all you need is a Facebook account
Launched in 2016, Facebook Live enables individuals, businesses, organizations and public figures to share live videos directly with their friends and followers.
Facebook Live benefits
Facebook is an excellent platform for live streamers in all genres because it offers several benefits.
- Wide reach. Facebook boasts over 3 billion monthly active users worldwide, offering a huge potential audience for your live streams.
- Visibility. Facebook Live videos are pushed to the top of your followers’ news feeds and trigger notifications to let your followers know you’re live. It increases the chances that more people will tune in.
- Real-time engagement. The live chat on Facebook Live videos lets viewers interact with you directly and in real time. You can have conversations with your followers and build trust with your community.
- Versatility. Facebook Live isn’t limited to a specific niche or industry. You can stream on Facebook whether you’re a gamer, chef, artist, entrepreneur or public figure.
- Robust metrics. Facebook provides you with analytics and insights about each of your live videos, including the number of viewers, demographic data and engagement metrics. You can use this data to understand how your content was received by your audience and tailor future live streams accordingly.
How to go live on Facebook
It’s easy to start streaming on Facebook and you can control your settings. You can go live to either a personal profile, group or page. You can even live stream content that’s not happening live, as long as you make it clear that you’re streaming pre-recorded content.
The best part is you can do it all from either your phone, tablet, laptop or desktop.
How to go live on Facebook on mobile
Facebook has made live streaming from its mobile app incredibly easy, so an impromptu stream is never out of the question. Follow these steps:
- Open the home feed for the page, group or profile you want to stream to.
- Tap the plus sign, then tap Live Video. Facebook needs permission to access your camera and microphone.
- Add a description, tags, location, feeling and activity to your stream. You can also add effects and stickers.
- Tap Go Live.
- To add a guest to appear on your live stream, tap the Add guest icon and search for friends and followers to invite.
- To create a poll during your live stream, tap the Poll button (the three uneven bars).
- Tap the menu at the bottom right (the three bars) for more settings and options for your live stream.
- Tap Finish when you want your broadcast to end.
When the live stream is finished, it will appear as a video post on your profile, page or group with the tag “Previously Live.”
Adding a description, tagging friends, checking in to a location and adding a feeling are optional actions to take when you start a Facebook Live stream, but they’re highly encouraged. They can increase your reach and make your stream more attractive for viewers to watch.
How to go live on Facebook on desktop
You can go live on Facebook from desktop in one of two ways: via Facebook’s live streaming studio, Facebook Live Producer, or with a third-party live streaming software such as OBS Studio or Restream Studio.
Go live with Facebook’s live streaming studio
All you need for this option is a webcam and a Facebook account.
- Make sure you are signed in to the proper Facebook account and go to facebook.com/live/producer.
- Choose whether you want to go live right now or create an event to go live at a later time.
- Select your profile timeline, page or group as your streaming destination.
- Select Webcam as your video source.
- Add details such as a description, friend tags, locations, feelings or activities.
- You can also add polls, questions or graphics.
- Click the Go Live button when you’re ready to start broadcasting.
Go live on Facebook with Restream Studio
1. Create a new Restream account or log in if you already have one.
2. Add your Facebook account to Restream. You can read our detailed instructions on how to connect Facebook and Restream.
3. Click New Stream and select Restream Studio, our browser-based software.
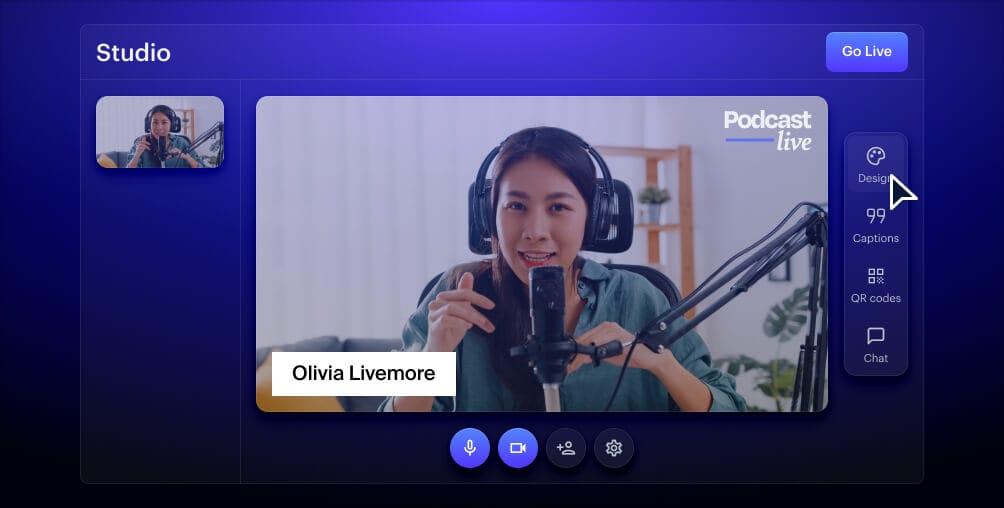
4. Adjust your stream settings, such as adding graphics, changing the layout or queuing up guests. You can easily add guests to your Facebook Live stream using Restream.
5. When you’re ready, select Go Live to start your Facebook Live broadcast via Restream.
Why go live on Facebook with Restream?
Restream makes Facebook Live streaming a breeze. Not only can you multistream to other platforms simultaneously, but you can also schedule pre-recorded videos to go live on Facebook using Restream’s Upload and Stream.
You can also engage and interact with your audience thanks to Restream’s multichannel live chat; and you can add up to 10 stream participants when you use our live streaming software, Restream Studio, to go live on Facebook.
Some of the other benefits of Facebook Live streaming with Restream are:
- Stream in Full HD
- Share your screen and choose different screen layouts
- Add royalty-free background music
- Display custom graphics including overlays, captions and logos
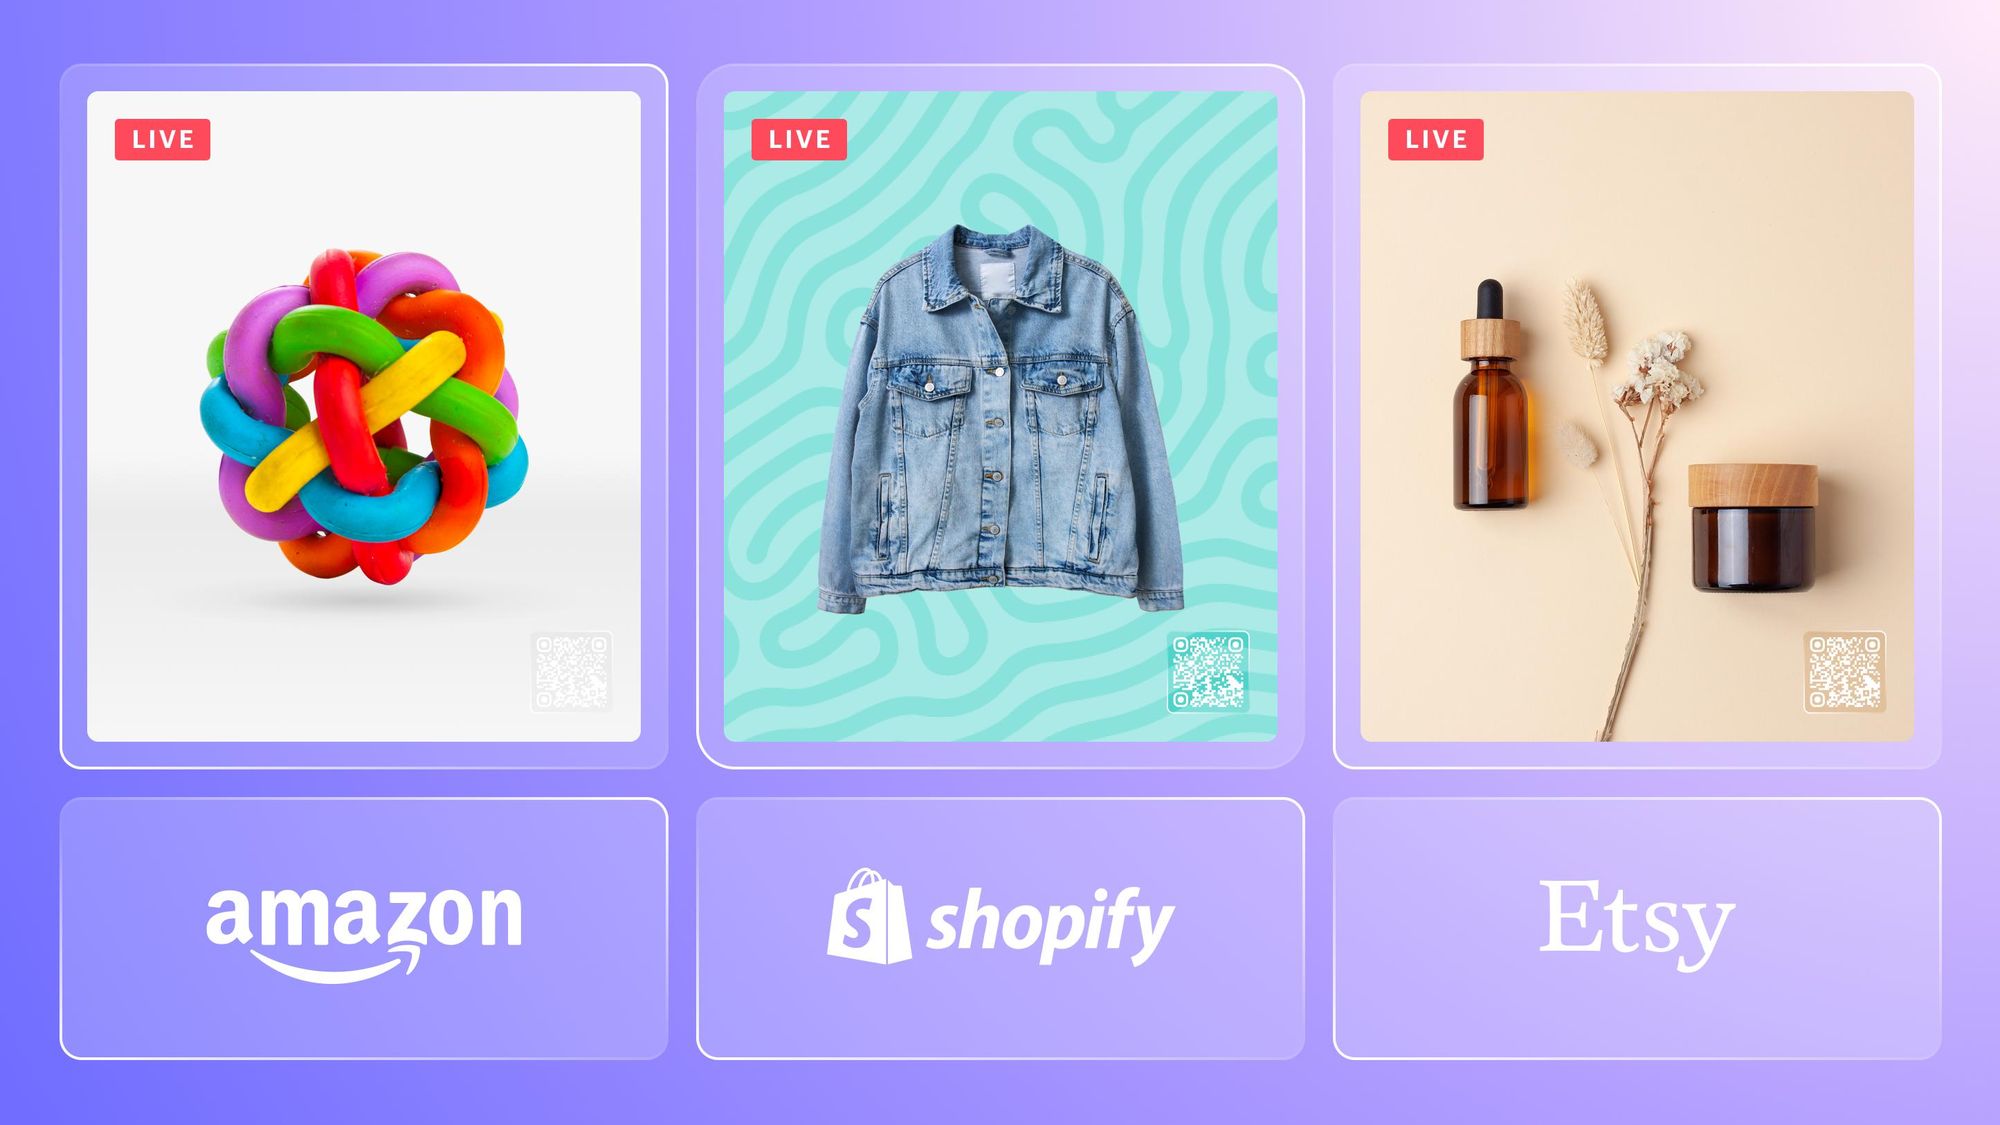
- Add a scannable QR code that links to any URL
- Stream with multiple cameras
- Save a recording of your stream to edit and repost later
- Get robust stream analytics
Create stunning live videos
Restream Studio is the easiest way to create high-quality live videos on multiple platforms at once. It's user-friendly and offers an engaging viewer experience.
14 Facebook Live tips to make the most of your stream
Knowing how to go live is only half the battle of Facebook Live streaming. If you want to get any engagement, you’ll need to keep some of the following best practices in mind.
1. Ensure you have a strong internet connection
You don’t want your stream cutting in and out the whole time. Spotty connections are frustrating for viewers and they won’t stick around long if your video is constantly freezing.
If you’re streaming on mobile, use Wi-Fi instead of cellular data. If you’re streaming with a computer, connect it to the internet via an ethernet cable, rather than using Wi-Fi. Always use the strongest internet connection you have available so your live stream stays smooth and uninterrupted.
2. Give your audience opportunities to react
Facebook Live videos have several features you can use to engage with your audience. You can run a poll, give top fans a shoutout with the front row feature, pin comments to the top of the live chat, and invite guests to go live with you.
In addition to these features, set aside time for question and answer sessions during your broadcast or plan an activity that requires audience interaction, like a quiz.
3. Do a test run beforehand
To make sure everything is working. To get yourself a little more comfortable on camera, do one or two practice streams. Facebook lets you set your audience to “Only Me” when you’re setting up your live broadcast, so you can do a few test runs.
Make sure your camera and microphone are working, that your lighting looks good and that your internet connection is solid.
4. Get decent streaming equipment
You can go live on Facebook with just your smartphone, but if you want a higher-quality production, consider getting a webcam, external microphone, and lighting. The sound quality is crucial for live videos — if viewers struggle to hear you, they won’t keep watching.
A good webcam is important too, but lighting is what really makes a difference. Positioning a few cheap lights at the right angles can drastically improve the image quality of your stream, even if you have a lower-quality webcam. You can check out our guide to video lighting for more tips and tricks. We also have a full guide to live streaming equipment, including what you need for a basic setup.
5. Team up with other creators
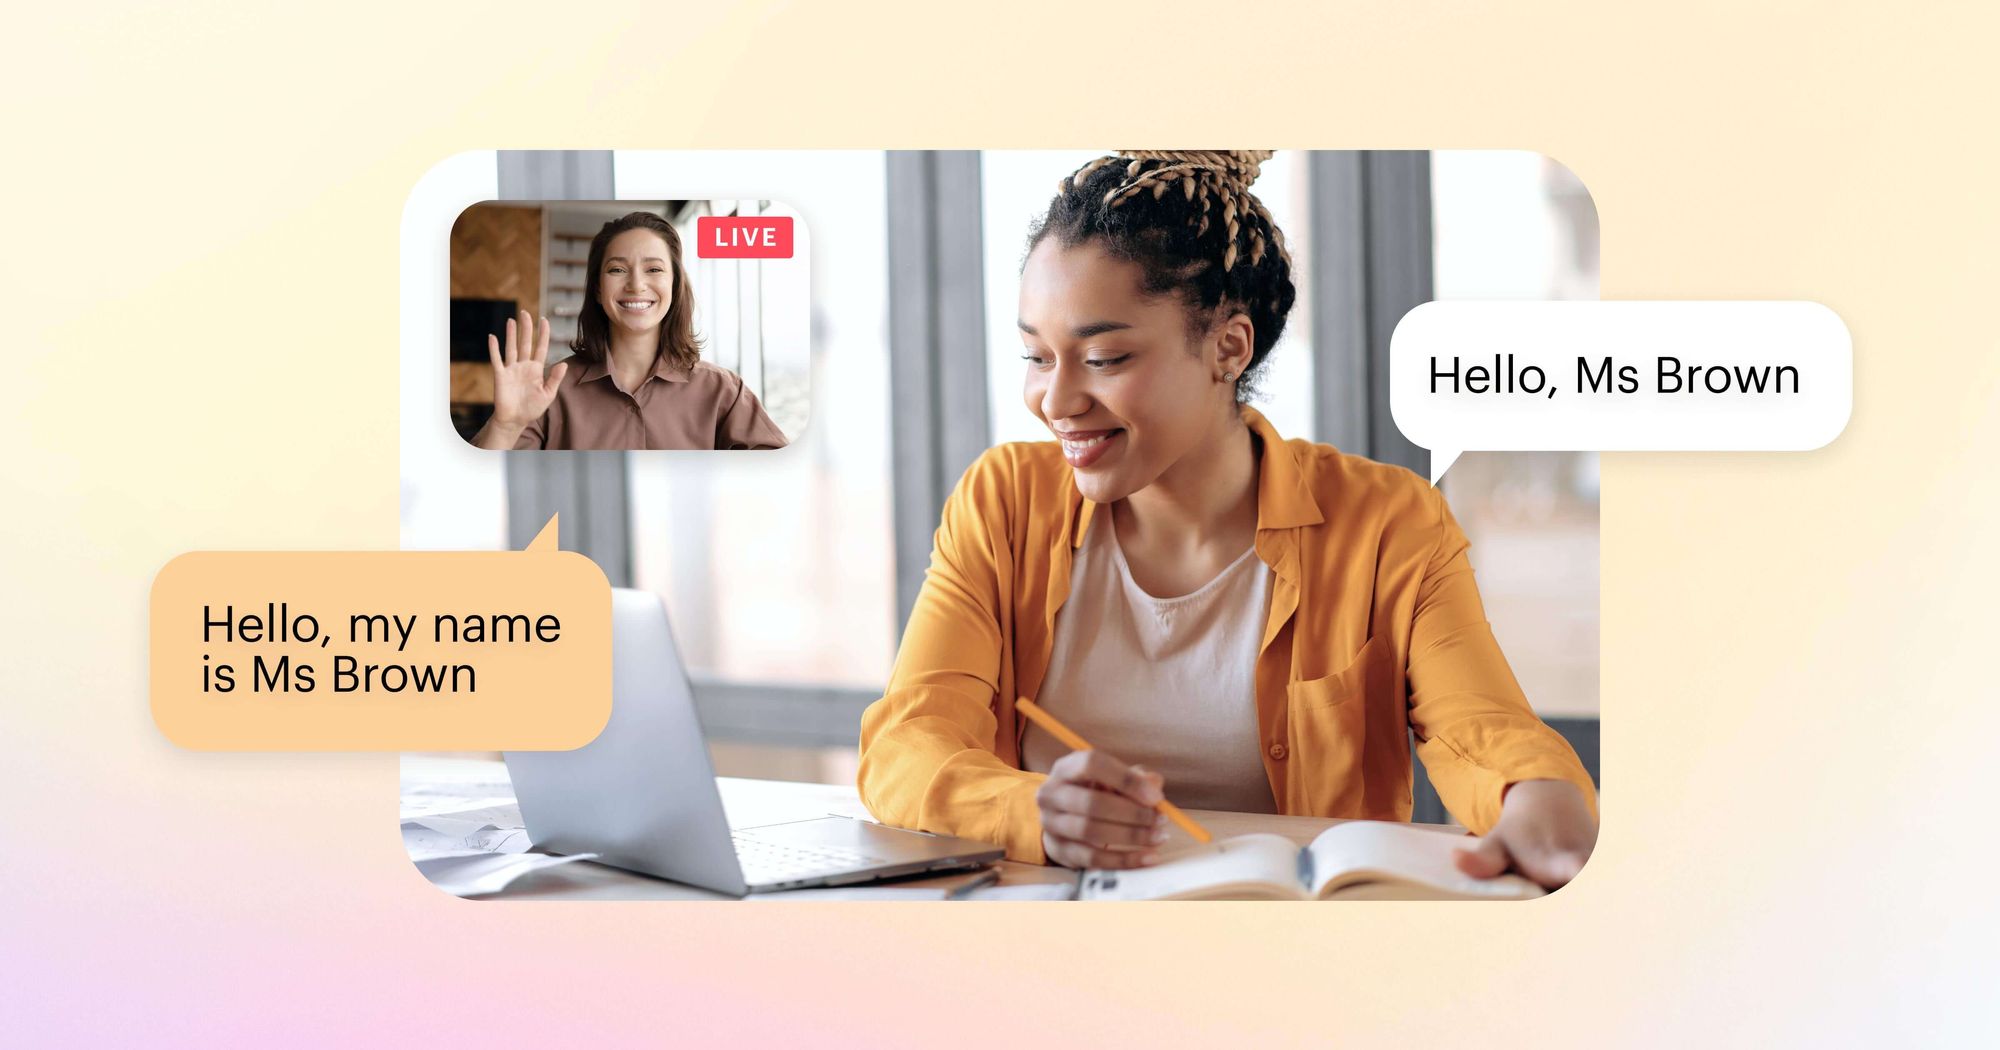
You can easily add people to your Facebook Live video if they are your Facebook friend or follower. This makes it easy to find other content creators and have them join your broadcast.
You can interview each other, do an activity together, or take joint questions from the audience. The other creator’s regular viewers will tune into your broadcast and may even start following you and your live streams too.
6. Broadcast for a longer period of time
Facebook recommends longer live videos so you have more time to engage with your viewers. The platform prioritizes videos of at least three minutes or more to encourage people to keep watching.
Once you start streaming, give viewers time to join in. Plan for a few minutes of “introductions” where you greet people who join, make small talk with viewers and ask questions that they can respond to in the chat. The longer you’re live, the more chances you have of your followers seeing your stream.
7. Get a moderator
If you have a lot of people tuning in, trying to do the stream while also moderating the chat can be tough. You want to be sure nobody in the chat says anything obscene or trolls any of the other viewers.
Finding and hiding inappropriate comments while you’re in front of the camera isn’t always easy, so you might want to get a second person to watch the chat for you. They can also take care of engagement, like setting up polls and questions throughout the stream.
8. Widen your reach with multistreaming
Don’t limit yourself to just Facebook — go live on multiple platforms simultaneously. Think of how many more viewers you could reach if you’re also live on YouTube, Instagram, LinkedIn and multiple other streaming platforms.
When you multistream, your audience can choose to watch you on their favorite platform; so if they don’t have a Facebook account, they can watch on YouTube instead.
9. Edit and upload previous live streams
Once the stream is over, your work isn’t done. Facebook will automatically post the stream to your timeline as a video, and a recording will be saved in your Facebook video library.
Download the recording of your stream and edit it so you can post it as a video-on-demand (VOD) on another platform, like YouTube. You can also make a highlight reel or short clips to post on social media and YouTube.
10. Tell viewers what to do next when you sign off
At the end of your stream, don’t just say “bye” and sign off. Give your viewers a specific action to take. Do you want them to follow you on other social media channels? Visit your website? Check out your new book or latest products?
Or maybe you just want them to follow you on Facebook so they can get notifications when you stream. Come up with a concrete action for viewers to take and say it at the end of your live stream.
11. Choose the right content for Facebook Live
Facebook Live is a versatile platform so you can use several types of live video content and see results. It’s important to see what works best with your audience, too.
- Live event. Put an in-person event online via Facebook Live.
- Interview. Find someone else in your niche or industry and interview them live. Let your viewers submit questions too.
- Q&A or AMA session: Let your audience take the reins and ask you questions during a live session.
- Behind-the-scenes video: Give an inside look at your company, home studio or wherever your audience might be interested in seeing.
- Product demonstration: Demo a product or tool for your audience, whether it’s one of your own products or someone else’s.
12. Go live on your Facebook page
While you can go live on personal profiles and in groups, Facebook limits the features you can use. If you go live on a page, you can crosspost on other pages, restrict your stream to a certain age group or geographic area and access more detailed insights on your audience.
If you still want your stream to appear in a group, you can go live on your page and share it to your group. You can also create an event in the group, then share your page’s live stream to the event.
13. Don’t stream copyrighted material
Make sure you have the rights to broadcast all the content that appears in your stream. One issue a lot of broadcasters have trouble with is music. They want to play popular songs as background or transition music, but then get flagged by Facebook because the songs are copyrighted material.
Facebook has a sound collection that lets you add free music to your stream. You can also use royalty-free music libraries. Read our guide to live streaming with royalty-free music to learn how to add music to your stream without getting in trouble.
14. Promote your stream
If you want more people to tune into your Facebook Live stream, you should promote it ahead of time. Create an event for your stream so people can RSVP and get notifications about it. If you have a Meta Business account, you can also notify your subscribers on Facebook Messenger when you go live.
After you’ve scheduled your event, you can also promote it with live teasers. You can go live for just a few minutes to give a sneak peek of your upcoming live stream. Live teasers help generate excitement for your stream and can be repurposed as YouTube Shorts or Instagram Reels.
FAQs
What are the best streaming settings for Facebook Live?
The best streaming settings for Facebook Live, according to Facebook’s recommendations, are:
- Resolution: 1080p (1920 x 1080)
- Frames per second: 30 fps
- Bitrate: 3,000 - 6,000 Kbps (3-6 Mbps)
- Keyframe: 2 seconds
- Video codec: H.264, Level 4.1
- 8-hour time limit on live streams
How do I do Facebook Live?
You can go live on Facebook using either a mobile device or computer. With a mobile device, you need the Facebook app to go live. With a computer, you can either live stream using Facebook Live Producer or with a third-party broadcasting software such as Restream Studio.
How do I watch Facebook Live?
To watch Facebook Live streams on your computer, open Facebook in a web browser. On your home feed, click Video on the right-hand side. Then, click Live. You’ll see a selection of live videos suggested for you.
How do I download a Facebook Live video?
To download a live video from Facebook you must be the owner or admin of the profile, group or page. You can’t download videos from other pages. Navigate to your page, then either select Videos from the top of the page, or scroll down until you see the video you’d like to download. Select the video. Then, select the three dots next to the title of the video. You’ll see a list of options. Select Download video and save the video to your device.
Can I control who sees my Facebook Live stream?
Yes, you can choose your audience type when you start a new broadcast on Facebook. You can make the audience public, private or for just you. You can also add age and location restrictions to your live broadcast settings. You can also set up a private group with only certain members and stream to that group.
How do I go live on Facebook with an iPhone?
To go live from a mobile device on your personal timeline, open the Facebook app, tap What's on your mind? at the top of your News Feed, and select Live Video to begin setting up your live stream. Tap Go Live to start broadcasting to your audience, and when you're ready to finish, tap Finish to end the stream.
Wrap-up
If you stick to the tips in this guide, you can take your Facebook Live streams to the next level. Live streaming to Facebook and other social media platforms is easier with Restream. You can multistream, go live straight from your browser, easily add guests and much more.

