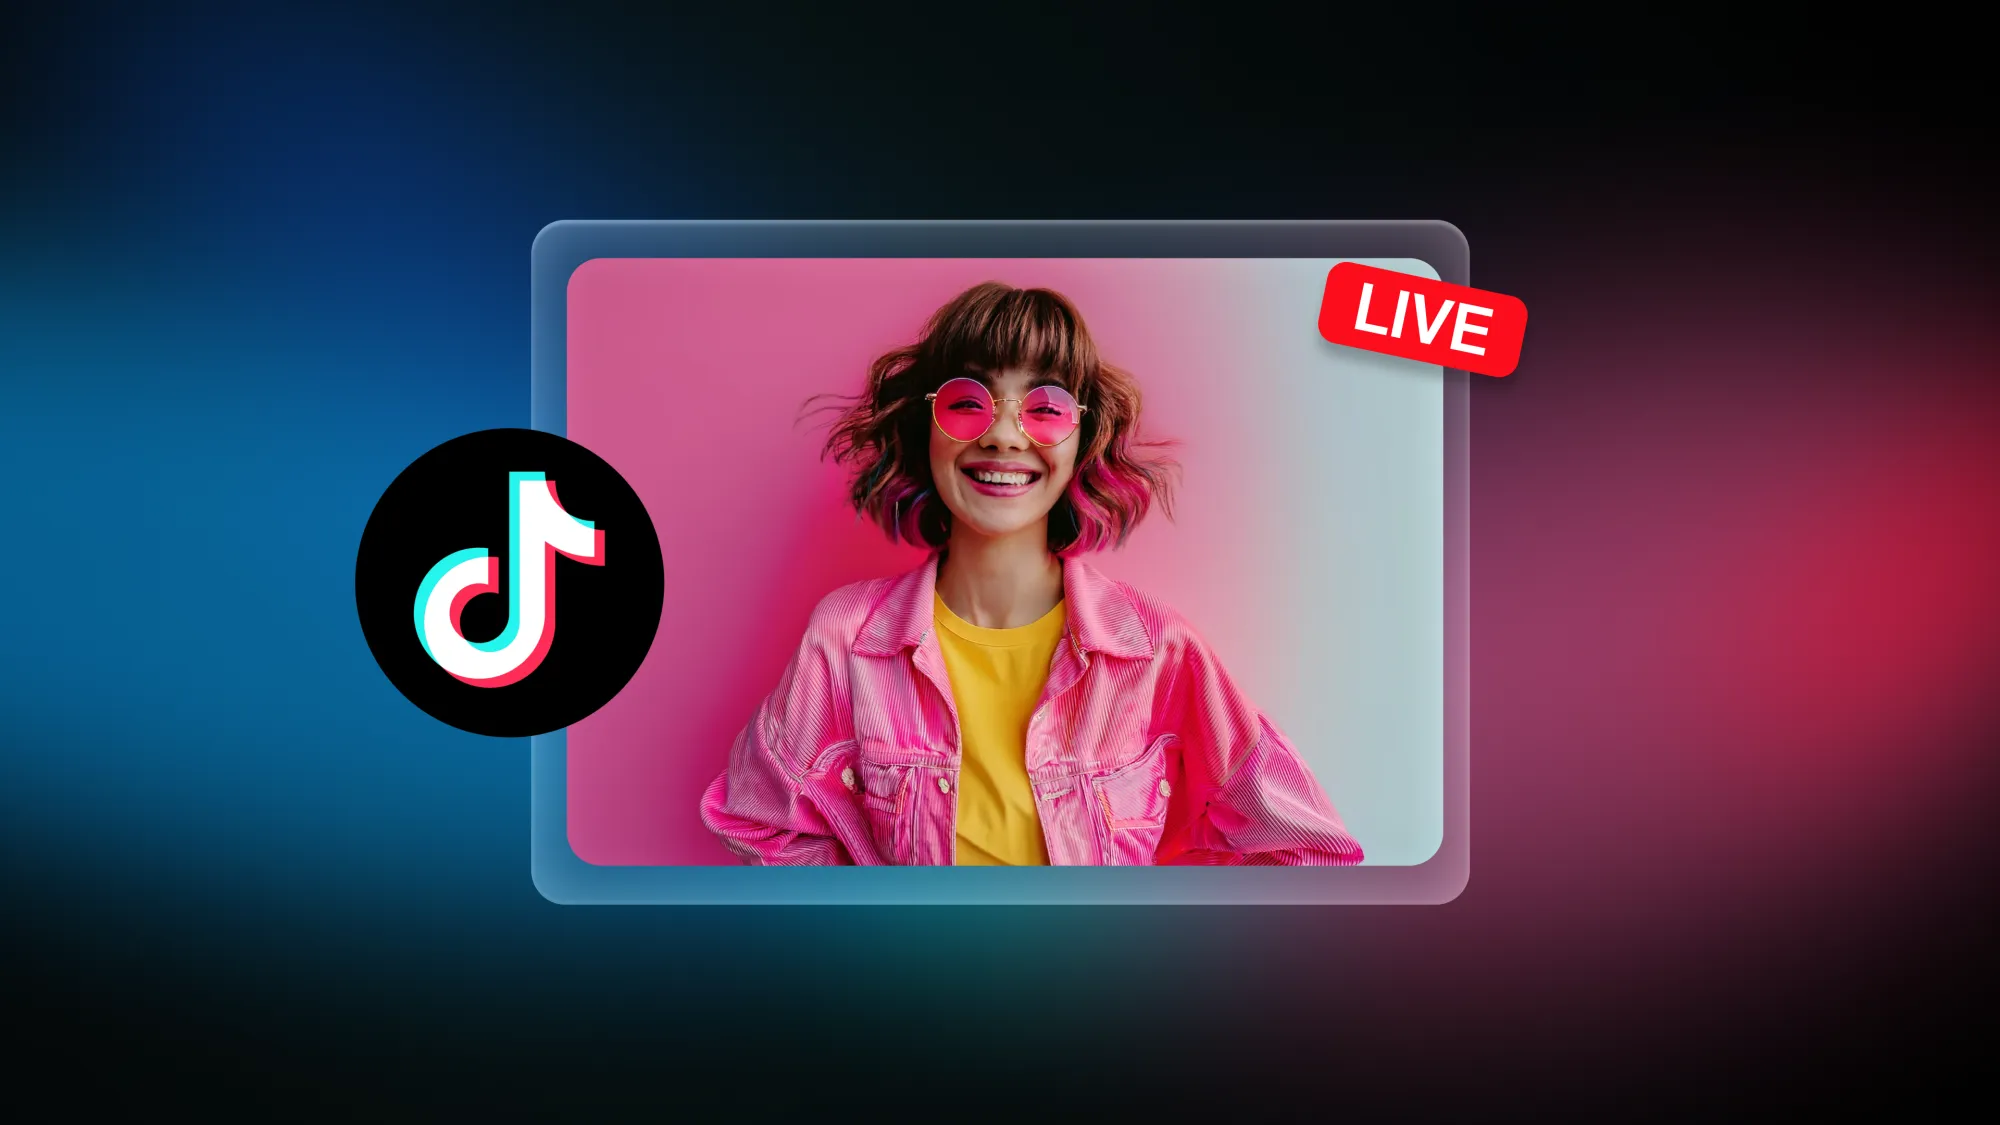
What’s one huge factor that takes your live stream from amateur to professional? Graphics. Visual elements in your live stream make your broadcast look more polished and provide viewers with essential information about your stream. Creating graphics is easy, too. There are many tools available to help you create the perfect graphics for live streaming.
If you use Restream Studio to go live, you can choose from our default backgrounds and overlays or upload your own. Let’s learn how easy it is to create streaming graphics and add them to Restream.
Why does your live stream need graphics?
Attractive stream graphics make your live stream look more professional. The visual elements of your live stream will help it stand out from the millions of other live content creators on Twitch, YouTube, and Facebook. Graphics function in several important ways, including:
- Enticing people to click on your live stream and videos
- Engaging viewers while they’re watching
- Convincing viewers to subscribe to your channel
- Building brand recognition
- Securing sponsors for your live stream
Stream graphics help you convey your brand. They let users know who you are and what you do.
What type of graphics can you add to a live stream?
There are several ways you can add appealing visual elements to your live stream. Streamers who don’t make the most of live stream graphics have less-engaging broadcasts and get fewer subscribers. Which graphics can enhance your live stream and attract viewers?
1. Lower Third
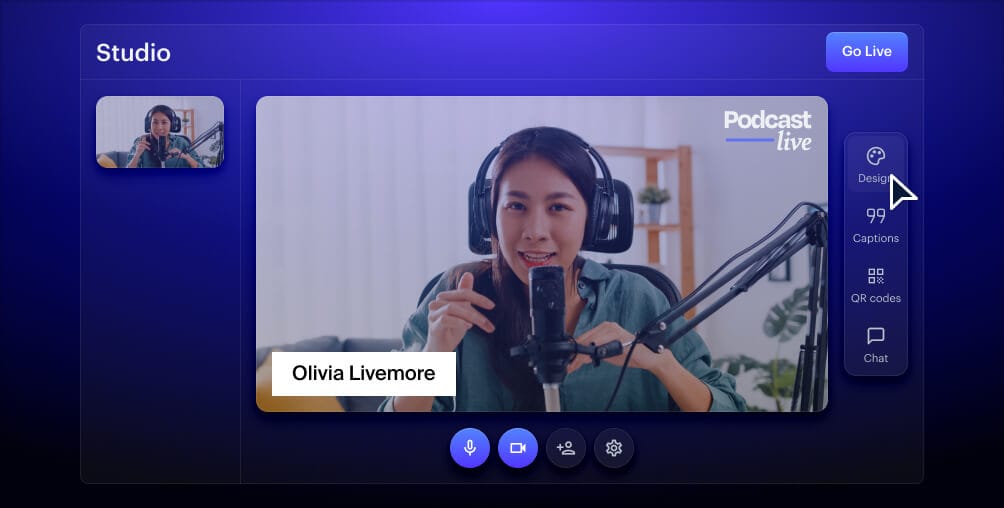
A lower third is the most popular graphic among live streamers. As the name implies, this graphic covers the bottom third of a 16:9 screen. It shows things like the title of your show, your name, the current time, location, or even comments from social media. You’ve probably seen a live stream or a TV broadcast with lower thirds before. News programs, sports broadcasts, and documentary films all use lower thirds to display information that helps viewers put what they’re seeing into context.
Examples:
- Live Stream Labs with Scott Ayres uses lower thirds to display helpful resources to viewers that Scott mentions on the show.
- Live Stream with Restream’s Product Demo and Q&A live sessions use lower thirds to introduce the show’s cohosts and display questions from the audience.
2. Overlay
An overlay sits on top of your live stream feed. It can be an entire frame, a chat box, or another widget that shows stream information. You create an overlay as a PNG file with a transparent background so that it sits on top of your stream footage and still lets viewers see your webcam feed. Stream overlay makers let you design an overlay with your own brand colors, images, fonts, or shapes, as well as adjust their size and positioning.
Example:
- The Video Marketing Show with Amanda Robinson uses an overlay to frame the host while she’s speaking and when she shares her screen for a demonstration.
3. Logo
Your logo encapsulates your brand in one image. It should be recognizable so viewers can find you among all the other streamers out there. You’ll want to add your logo to your profile, either as a profile photo or banner, in addition to including it on your live stream.
Examples:
- Popular Twitch streamer Ninja has a logo that expresses his brand, which he uses on various graphics on his Twitch profile.
- On Restream’s live show Creator Spotlight, you can see the Creator Spotlight logo in the top right corner throughout the stream.
4. Banners
A banner, also known as a cover image or stream screen, is the image your audience sees when you are offline. The banner takes up the whole screen, so it’s a good place to put important information such as your live stream schedule, partnerships, or anything else about your content. A banner is like a blank canvas you can fill with important branding and messaging, so make sure it represents you well.
Example:
- The League of Legends of Twitch channel hosts competitions and uses offline banners to show which match is coming up and a countdown to when it begins.
5. Panels
Panels are the sections on your About page or those that appear below your stream on Twitch. They show information such as community guidelines, your social profiles, merch store, donations, sponsors, and equipment. Panels are also where you can tell viewers who you are and what your stream channel is about. If you want people to read all this information, it’s a good idea to stylize it and make it visually appealing.
Example:
- Popular Twitch streamer Pokimane has panel graphics in the same colors, styles, and fonts to match her channel’s overall theme. She gives plenty of info and links about who she is, why you should subscribe, and how to reach her via email or social media.
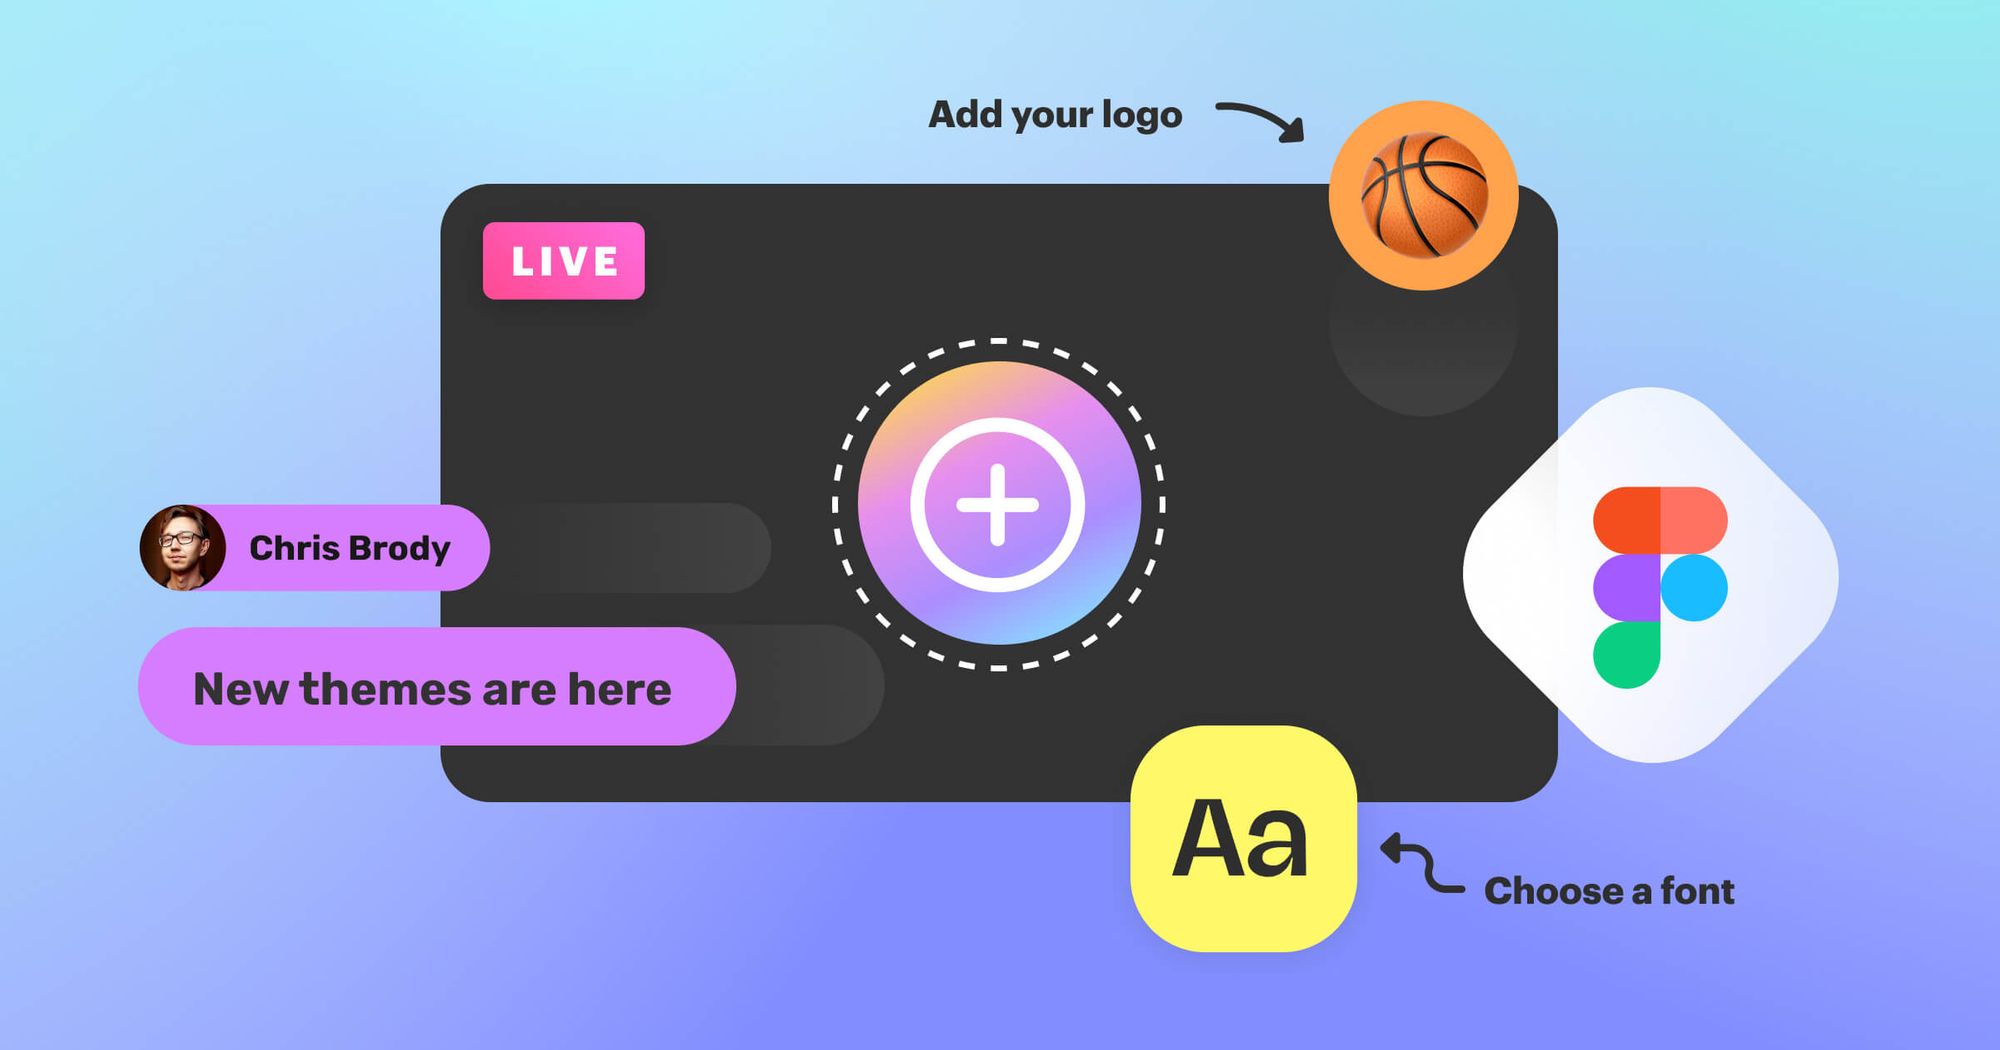
How to create custom graphics in Figma
At Restream, we use Figma to create our streaming graphics because it’s powerful and easy to use. We’ll walk you through our process for creating logos, overlays, and backgrounds, along with exporting your designs. With Restream Studio, it’s easy to add graphics you’ve created in Figma.
Restream designers LOVE @figmadesign! 😍
— Restream (@Restreamio) April 22, 2021
⚡️ That's where we create our thumbnails, logos, and overlays for Restream Studio.
👀 Watch as @giadsgnr uses Figma's advanced tools to level up our stream graphics. pic.twitter.com/6b3eFFsIKO
Logo
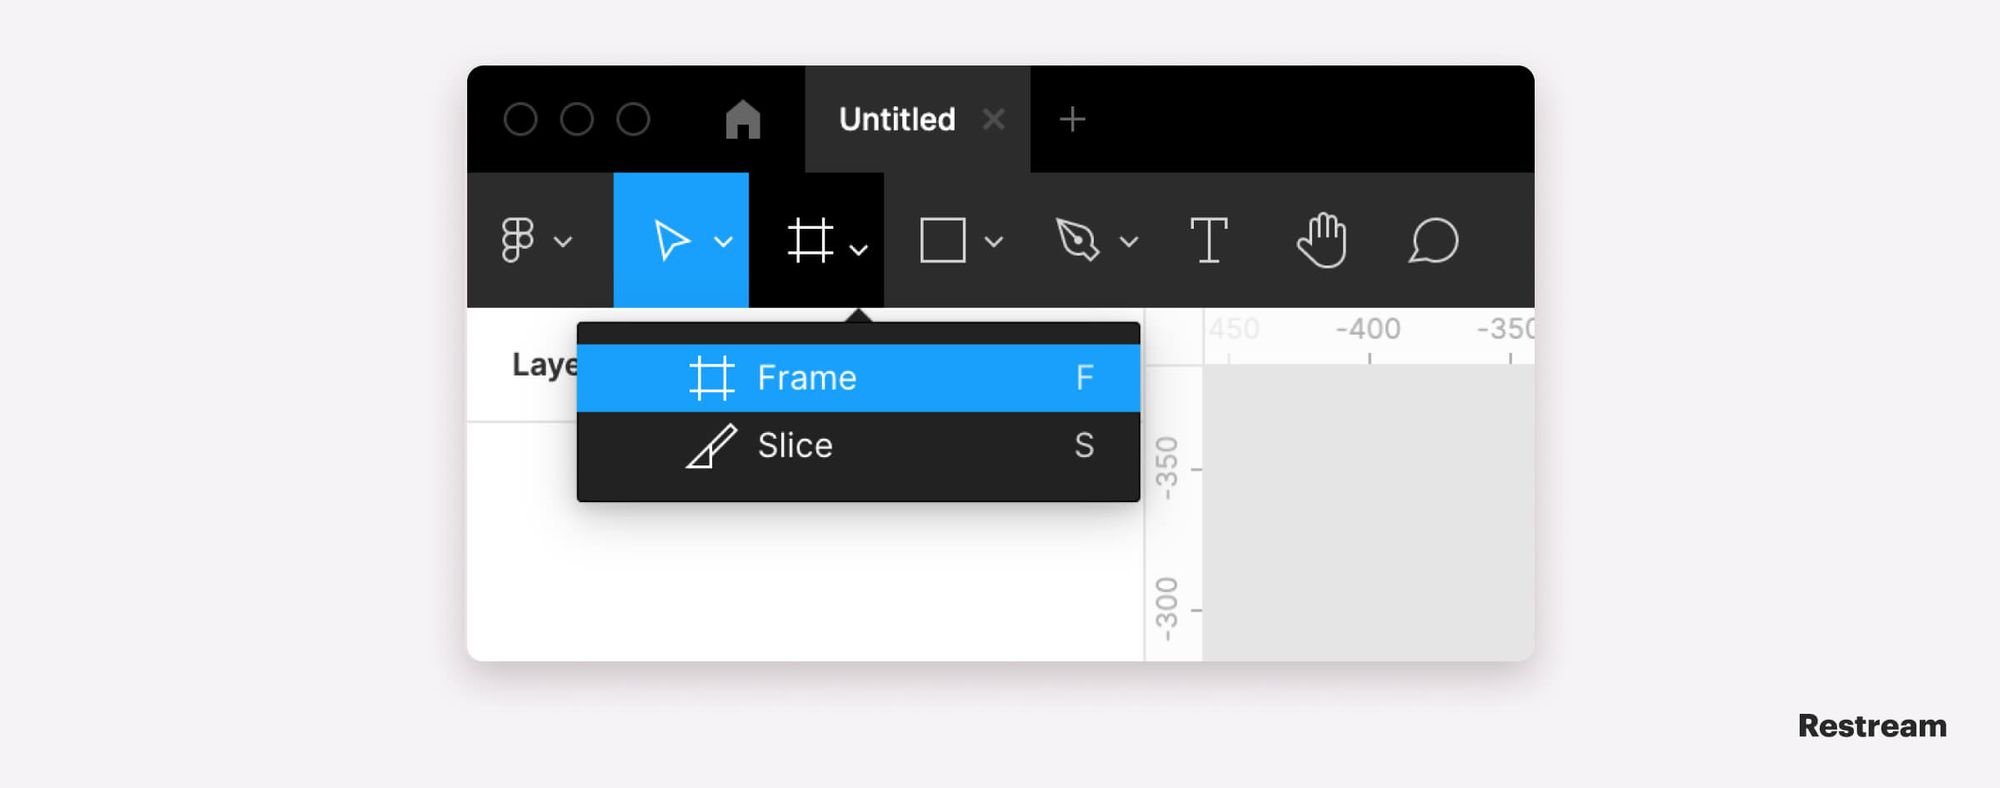
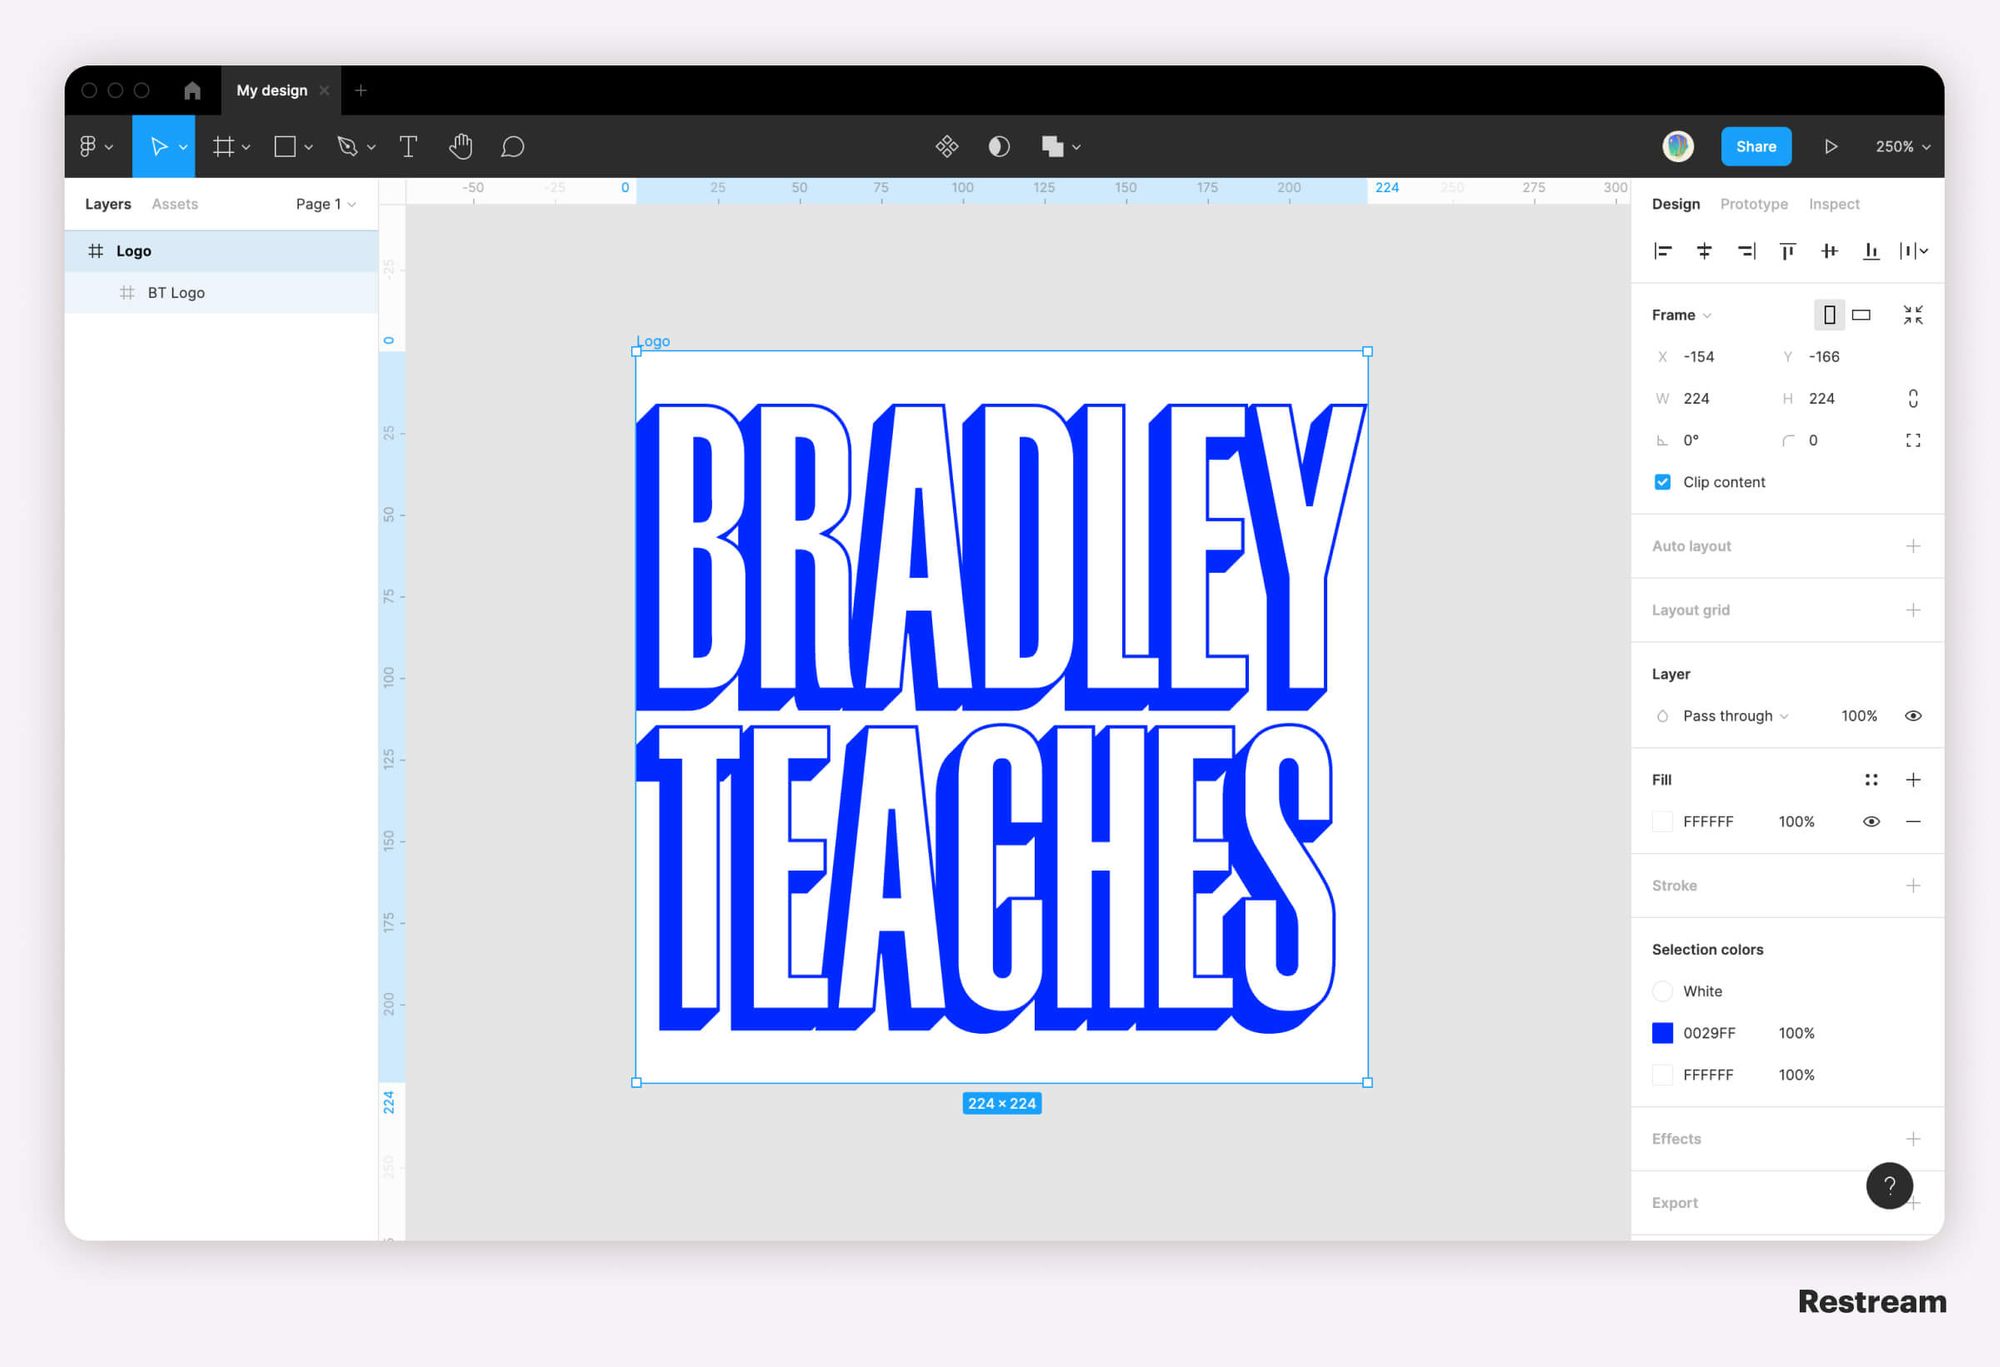
When you’ve opened a new document, select the Frame tool from the toolbar in the top left corner. Then, click anywhere on the document. Resize the frame to 224x224 pixels. This size is the maximum allowed for logos in Restream Studio. Next, rename the frame “Logo.” Once you have your frame, you’re ready to start designing your logo.
To help you visualize where Restream Studio will place your logo, create a 60x54 rectangle and place it in the top right corner of the frame. This will be especially helpful when creating your overlay.
Overlays
To create an overlay in Figma that you can use in Restream Studio, you’ll need a frame sized at 1920x1080 pixels. Rename the frame “Overlays” so you can save it for later.

When creating your overlay, use the same colors and elements as your logo. Also, incorporate similar shapes so there’s consistency with your branding and other streaming graphics. If the frame has a background color when you’re creating your overlay, you will have to remove it. On the Fill tab on the right-hand column, click the minus button to remove the background or on the eye icon to hide it.
Background
For a background (your banner or stream screen) that fills the screen in Restream Studio, you need a frame at 1920x1080 pixels. Use the same logo you created, but make it white (or one solid color) so it stands out against your background. Copy the same shapes you used for the overlay and add them to your background as well. Then, add your social icons such as X (Twitter), YouTube, or Facebook.
Exporting
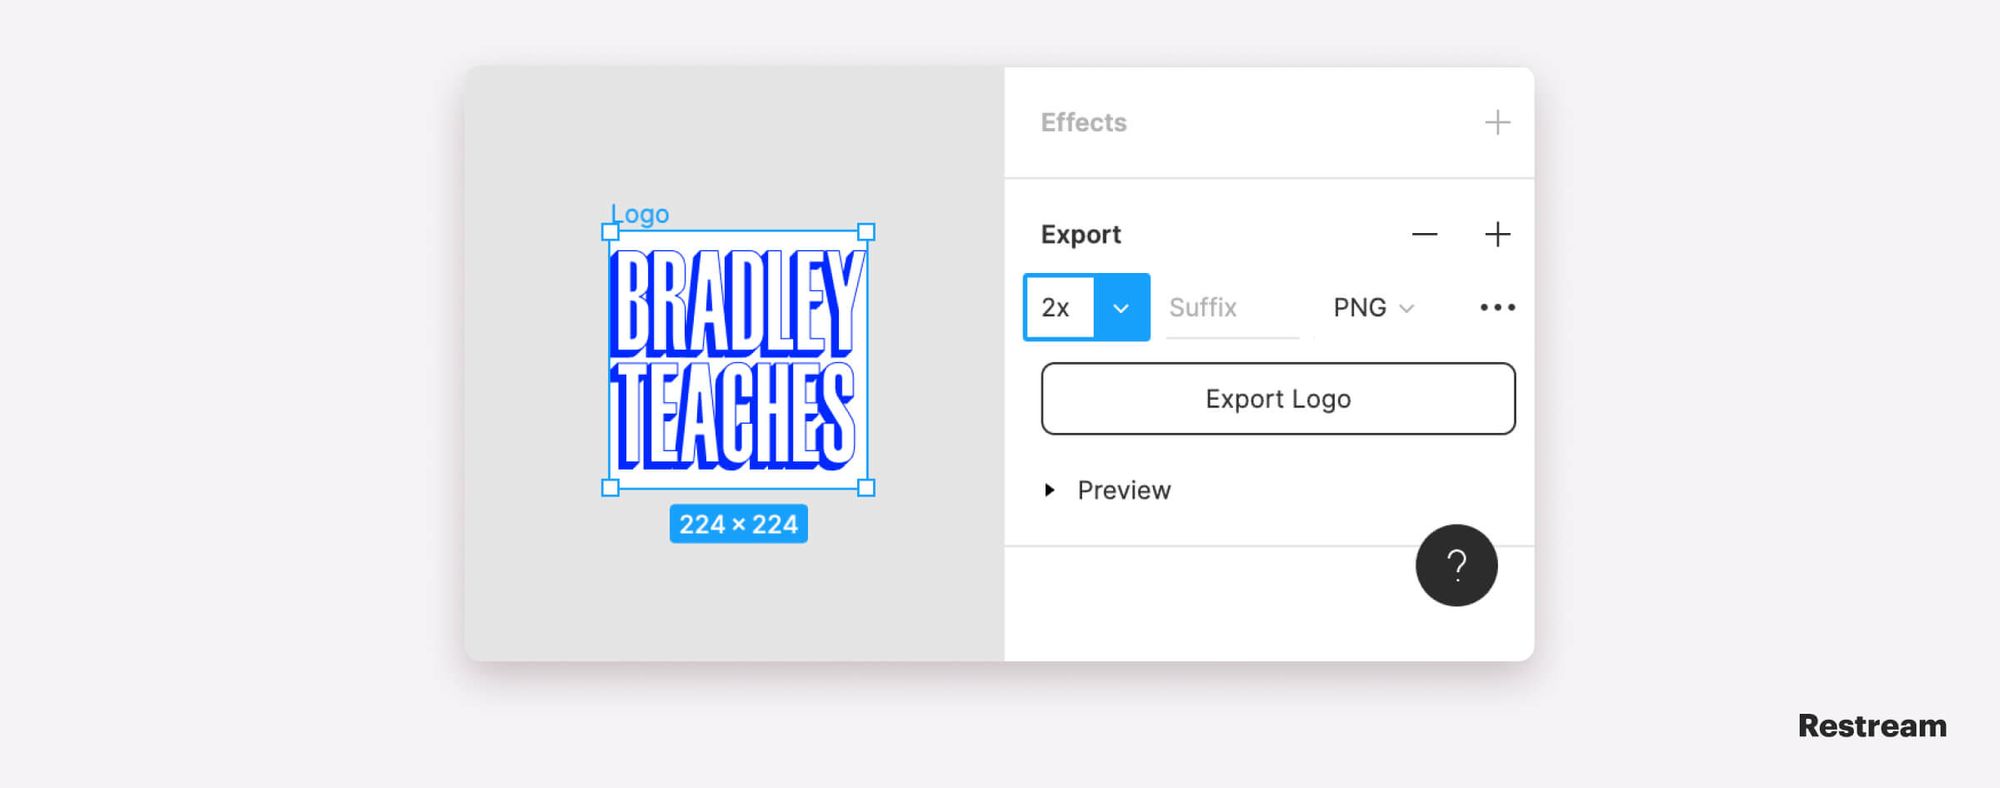
When you’re done designing and ready to export the final images from Figma, select the frame you want to export. On the right-hand column, navigate to the Export tab and click on the plus button. Select the destination and save the image. Your logos and overlays must be saved as PNG files. When saving logos, select 2x. For overlays and backgrounds, stick with 1x.
Willing to learn more? Check out how you can create graphics for your live videos in Canva, Apple Keynote, and other web-based apps in our weekly live show "Bradley Teaches":
How to add graphics in Restream Studio
Create stunning live videos
Restream Studio is the easiest way to create high-quality live videos on multiple platforms at once. It's user-friendly and offers an engaging viewer experience.
You’ve created your killer new streaming graphics, and you’re ready to trot them out. With Restream Studio, adding and managing custom graphics is easy.
1. Logo
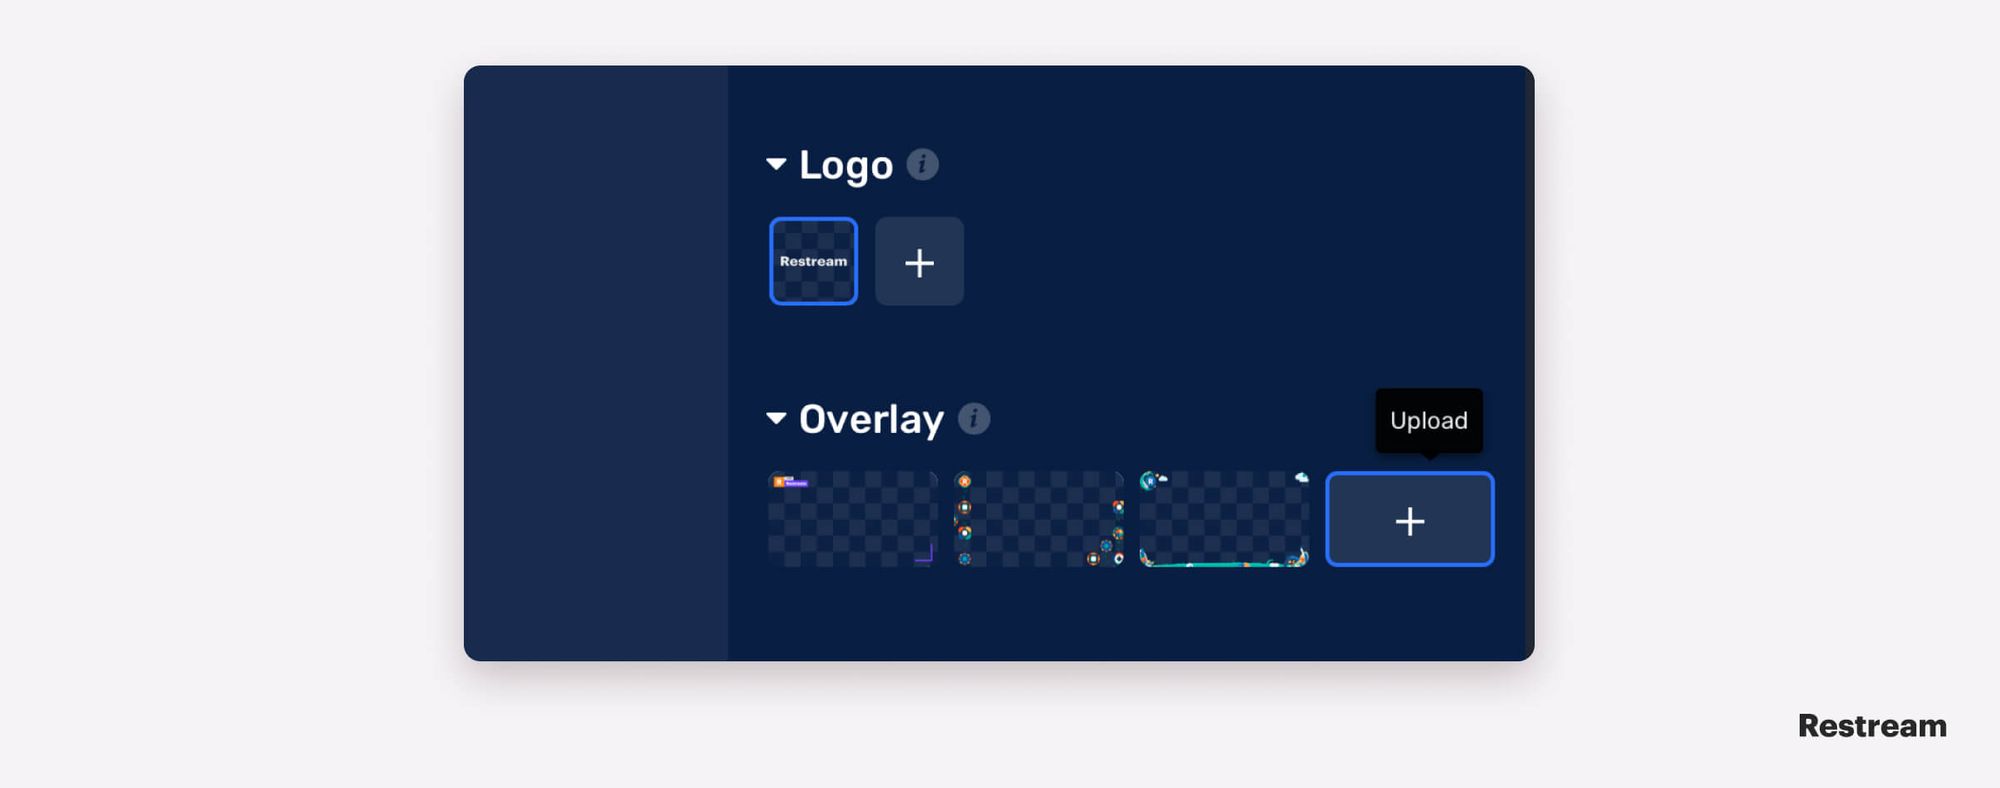
Your logo should be 224x224 minimum for Restream Studio. You can upload a new logo by heading to the Graphics tab on the right side of your Restream Live Studio dashboard and clicking the plus sign underneath “Logo.” To display your logo over your stream, simply select it. The maximum number of logos you can upload is 50.
2. Overlays
To add your overlays, navigate to the Overlays section of the Graphics tab and click the plus sign. Upload your overlays and select one when you want it to display over your stream. You can add up to 50 overlays. Overlay file sizes cannot exceed 25 MB.
3. Background
To import your custom backgrounds, follow the same steps as for logos and overlays. Your selected background will only display when your webcam feed is disabled.
4. Branding
In Restream Studio, you can also change the settings for the style of your on-screen captions, chat messages, and name plates. Navigate to Brand settings. Here, you can toggle the themes and colors for your captions.
Let’s wrap up
Streaming graphics enhance the quality of your live stream significantly. Creating stunning stream graphics isn’t difficult when you use intuitive tools like Figma and Restream Studio. Boost your streaming graphics and start hosting better live streams!