Why record your live streams? The biggest reason is that you can repurpose the content. Creating other content types, like a podcast, from recorded videos can help you reach new audiences without having to develop the content from scratch. Additionally, saving your broadcasts to watch on-demand means audiences can explore and view your content whenever they want.
If you want to record your live stream, there are more than a few ways to do it. Regardless of the recording method you choose, the process is super easy, as it requires no special knowledge.
There are three ways to record live streamed videos: via streaming video capture software, with the help of built-in screen capture tools, and through a streaming service like Restream.
1. Live stream screen recorders
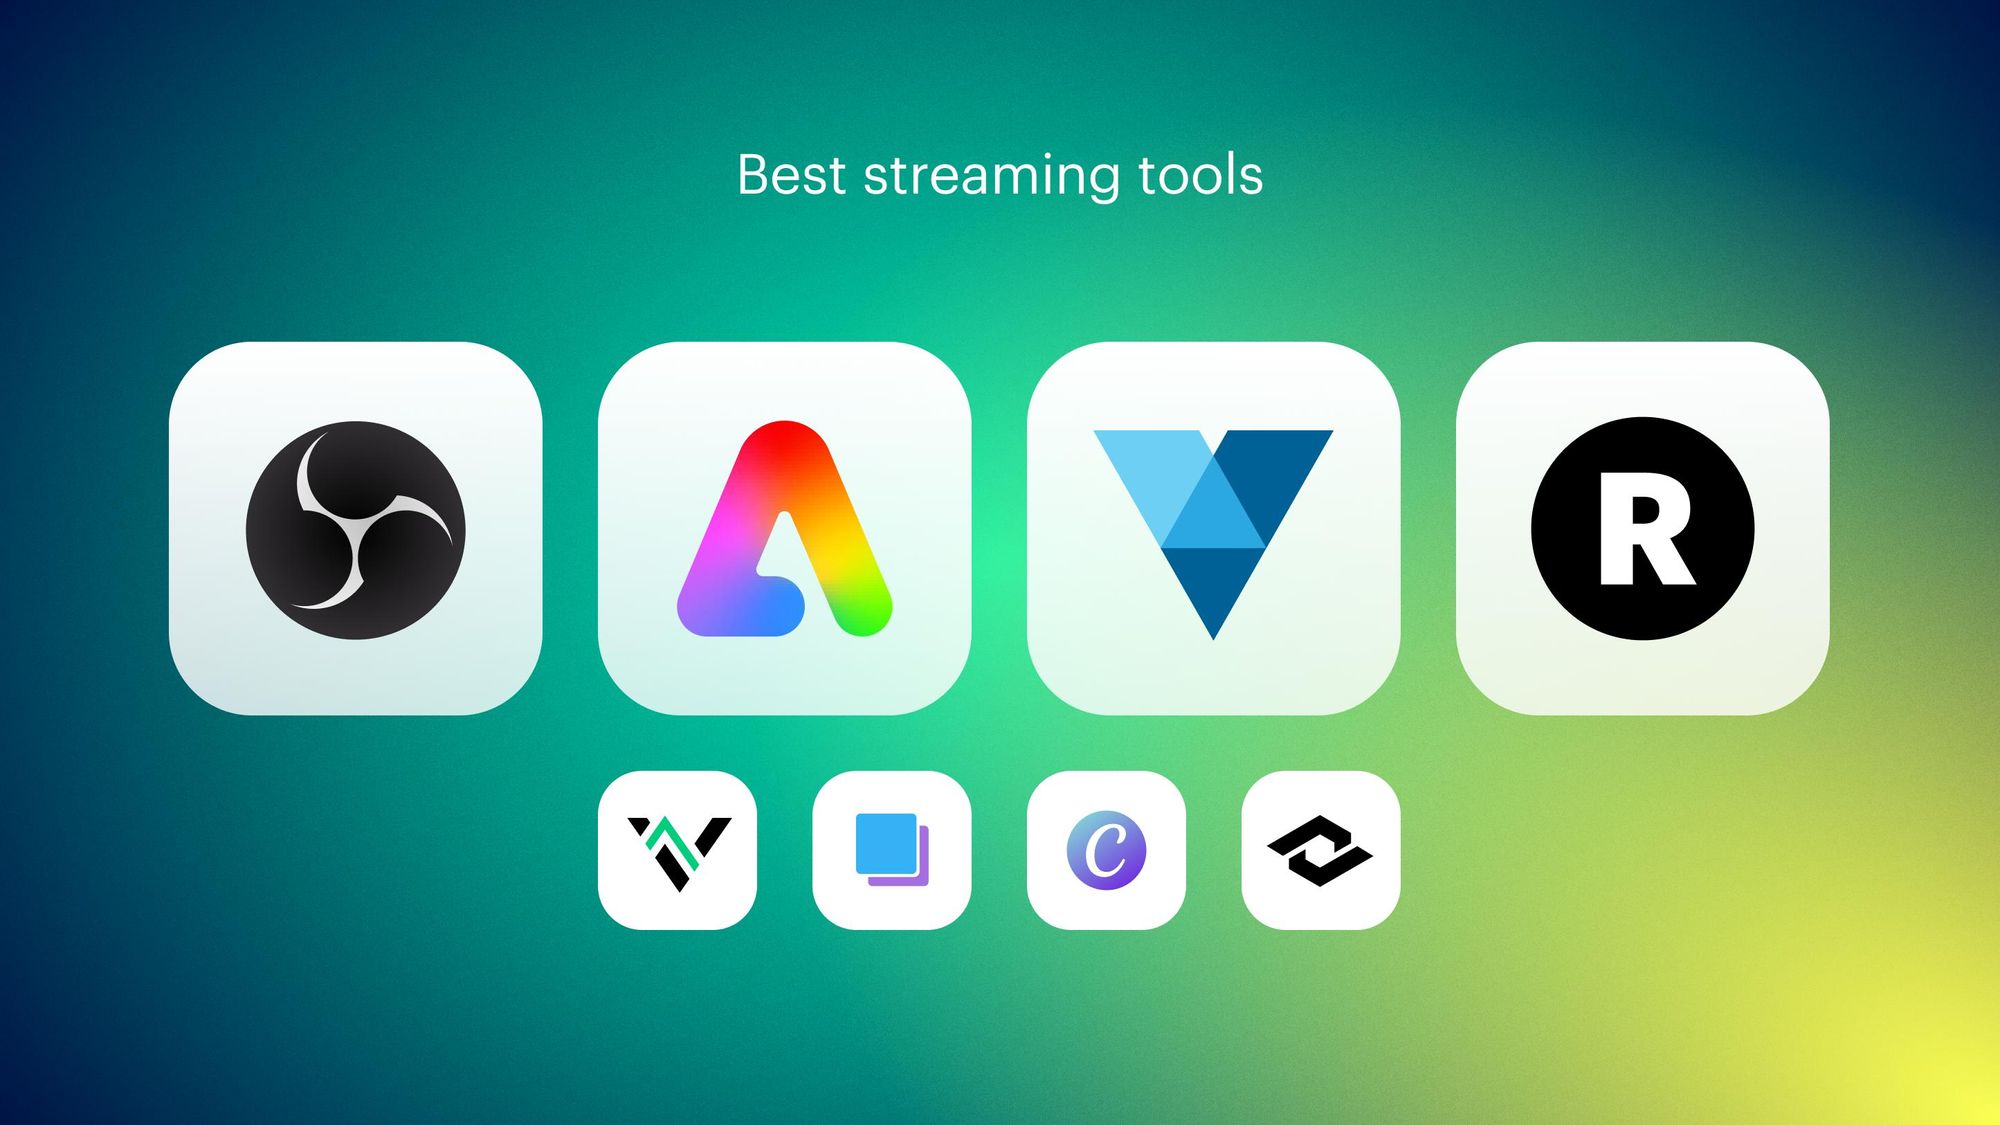
Live stream screen recorders are applications that capture the activity happening on your screen — or in any window, for that matter. Software like Camtasia, Movavi, FlashBack Pro and OBS Studio all have decent screen recorders.
After you download, install and launch your screen recorder, you can adjust important settings. Most of the software options allow you to capture images or videos with the sound either enabled or disabled. You can also choose the recording video format, which is typically MP4 or AVI — two of the most popular formats that combine both good quality and compression. Finally, you can select the recording area on your screen and start recording your live stream.
How to record your live stream with OBS Studio
- Download and install OBS Studio and go through the setup wizard.
- Open the program and navigate to Settings.
- Click Output and scroll down to the Recording section to review your recording settings. You’ll see that OBS saves recordings in the FLV file format by default.
- If your broadcasts are prone to crashing mid-stream, leave the recording setting as FLV. The FLV file will help you recover if this happens. If you leave the format as FLV, you’ll have to use another tool such as Handbrake to convert the recording file to MP4.
- If your broadcasts are usually stable and not prone to crashing mid-stream, change the recording setting from FLV to MP4 in OBS Studio.
- After you review your recording settings and set up your stream, click the Start Recording button on the main OBS Studio dashboard.
- When you want to end the recording, click Stop Recording.
2. Built-in screen capture tools
Screen capture tools that come with your computer’s operating system also let you record streaming video. They’re free and easy to use, but you don’t have much control over customization.
How to capture streaming video on a PC
If you’re running Windows 10, you can use the built-in Game Bar to record clips of screen activity. It’s primarily for capturing gameplay but you can use it to capture everything. If you have another version of Windows, you’ll have to use one of the other methods described in this article to record your live stream.
- Open the app you want to record and close your other windows.
- Press the Windows + G keys on your keyboard to open up the Game Bar control panel.
- In the Capture window, click the Camera icon to take a screenshot. Click the Record icon to start screen recording. You can also press Windows + Alt + R to start recording.
- A Capture Status window will appear once you start recording, with the timer, Stop button, and a Microphone toggle on/off button. You can turn your microphone on to record commentary or off to eliminate background noise. Internal sounds from your PC are captured automatically in your recording.
- Press the Stop button to stop the recording. You can also press Windows + Alt + R again.
- Once the recording stops, a pop-up will appear saying Game clip recorded. Click on the pop-up to access the recording or navigate to the Captures subfolder in your Videos folder in File Explorer.
How to record a live stream on a Mac
If you want to capture streaming video on a Mac, you don’t need additional software. You can use the built-in screenshot and screen recording tools in macOS — but only if you have Mojave or later versions.
- To open the recording app, press Shift + Command(⌘) + 5. A small control bar will appear on the bottom of the screen. Choose whether you want to record a portion of the screen or the full screen.
- If you want to capture only a portion of the screen, drag and resize the box that appears to the section of the screen that you want to record.
- To start recording, click the Record button on the control bar.
- To stop recording, click the Stop button on the control bar.
- To retrieve your video file, click on the preview in the bottom right corner of your screen.
3. Recording live streams with Restream
Restream is a go-to streaming solution that allows you to easily broadcast your live videos across multiple streaming platforms. You can also use Restream to record your live stream. Keep in mind that these methods are for streamers, not viewers. You cannot use Restream’s recording tools to record someone else’s live stream.
There are two ways to use Restream to capture streaming videos:
- When you use Restream’s streaming software, Restream automatically saves recordings of all your streaming videos.
- You can use Restream’s browser-based streaming solution, Restream Studio, to record a video.
Automatic recording of all streaming videos
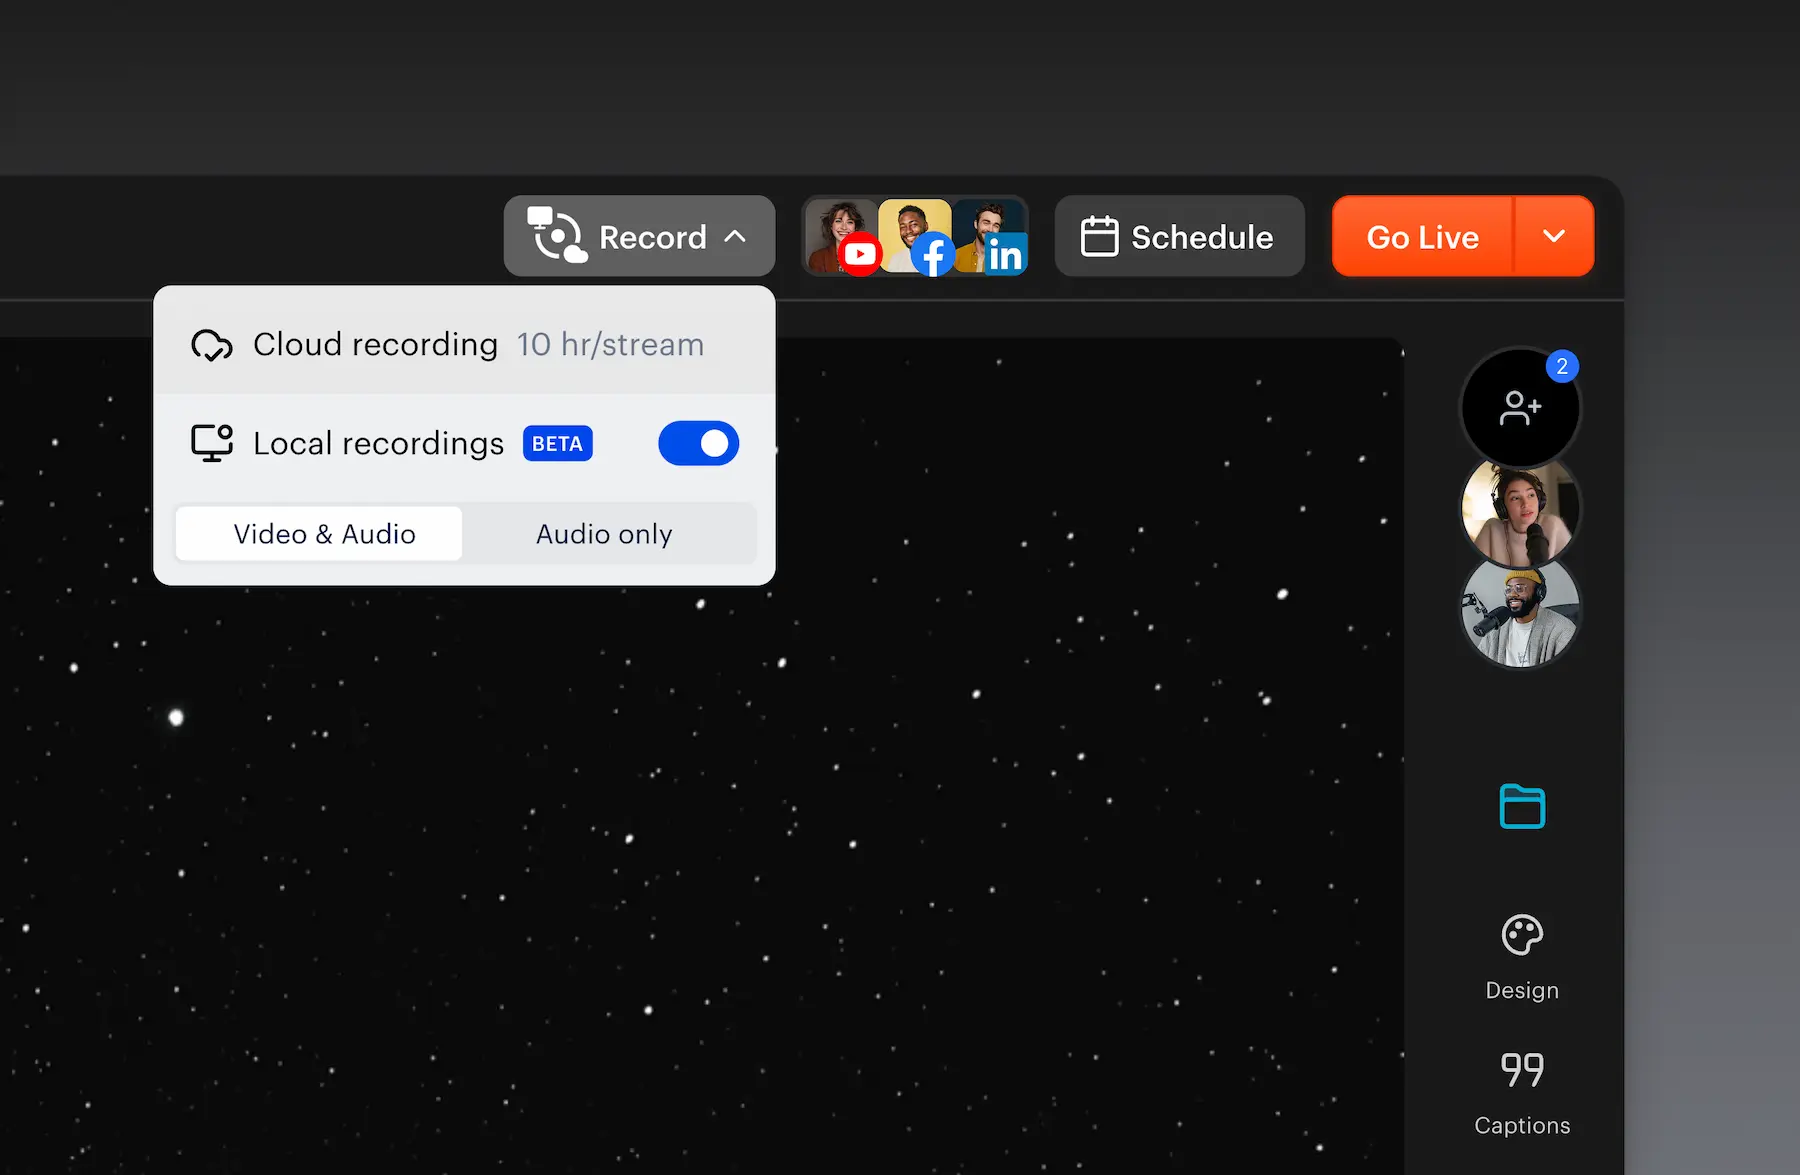
Whenever you go live using Restream Studio, we save a recording of your stream. Basically, you don’t have to do anything other than go live. After you’re done streaming, you’ll see four options in the Video Storage section on your Restream dashboard:
- Download only the audio
- Download the full MP4 video
- Play your video directly inside Restream
- Export to Descript or download to your laptop
With Restream recordings, you can download your videos to repurpose them later and transform them into podcasts, teasers or highlights to post on social media. As a streamer, you can share the best moments with your audience and attract new viewers.
You can record up to 20 hours per stream session, and your recordings are stored for at least 15 days or up to 30 days, depending on your subscription plan.
If you want to repurpose the audio from your stream as a podcast, you can also activate the split-track recording feature in Restream Studio before going live. Then, after the stream ends, you’ll see the option to download separate audio tracks for each stream participant.
Record-only mode without going live
Another way to use Restream Studio for recording a live stream is with the record-only feature. You simply select Record Audio and Video from your Restream dashboard. You can still use all of Studio’s awesome features without going live on any platforms. We’ll save your video in Video Storage, with the same download and export options you get with recorded live streams. The record-only mode in Restream Studio lets you test drive your stream before going live to see how you look on camera, if your lighting needs adjustments, if your mic is set up properly, etc.
FAQs
How do I record a live stream online?
You can record a live stream online using a desktop capture tool. PCs with Windows 10 and Macs have built-in screen capture features. You can also use software like Restream Studio or OBS Studio to capture live streaming video.
How can I record live streams for free?
You can use a free screen capture software to record live streaming video. Not all free screen recorders are safe to use, however, so be careful before downloading. A safer way is using the free, open source software OBS Studio. If you have a Mac, you can use the built-in screen recording function. If you have a PC with Windows 10, you can record with the Game Bar.
How do I record a live stream on Windows 10?
To record a live stream on a PC with Windows 10, you can use the Game Bar feature. It can capture your screen and audio from your microphone.
How do I save streaming videos to my hard drive?
To save live streaming videos to your hard drive, you’ll have to record them first. You can use software like OBS Studio or Restream Studio to capture your live streams and then save them as a file on your computer’s hard drive. You can also use built-in screen recorders if you’re using a Mac or a PC with Windows 10.
Wrapping up
Although many platforms let you save your live streams after the session is over, you can usually only download these files if you’re the owner of the channel or stream. Luckily, more convenient options exist. They are:
- Download a third-party live stream screen recorder, like Movavi, Camtasia or OBS Studio.
- Use the built-in software available on your PC (Windows 10 only) or Mac.
- Record your live streams with Restream.