Podcasts are a surprisingly successful type of content. Popular podcasts have become an inseparable part of the popular culture. They are the place where important conversations in our society happen. Everyone from comedians to movie stars and even presidents understand the reach podcasts have and how important they are for communicating with the public.
So yes, podcasting is huge, but what’s standing between you and getting a piece of that action is a good idea and some podcasting equipment. We’ll dig into the latter in this article. First, let’s talk a bit about the wonder that is podcasting.
Why start a podcast?
Even though podcasting might look like it’s been taking off these past couple of years, the history of the format shows that it didn’t wait too long before it started charting successes. The term “podcasting” was created back in 2004 as a name for a mixture of weblogging (now blogging) and online radio that was pioneered the same year. Just a year later, Apple’s iTunes began offering native support for podcasts.
The same year, the sitting POTUS, George W. Bush, delivered his weekly address as a podcast. The New Oxford American Dictionary declared “podcast” the 2005 word of the year, and the Ricky Gervais Show started its stellar rise within the format. A year later, Steve Jobs took time from a keynote speech to demonstrate how to use GarageBand to record a podcast.
So the podcast “radio-on-demand” format proved to be very successful very quickly. Today, you can listen to podcasting veterans such as Joe Rogan and Marc Maron. You have access to the whole of NPR’s podcasting production. And you can watch how more and more actors, comedians, and media personalities are getting into the game.
That’s proof enough that even this late in the game, there’s still something to be gained by joining in — even if you’re not bringing a recognizable name such as Dax Shepard or Bill Burr. Around a third of Americans listen to podcasts at least once a month — that’s how much penetration the format has, and that’s the total audience pool you can tap into. Play your cards right and you’ll reach a segment that will like your content.
The basic podcasting equipment
Before you join the ranks of podcasting superstars, you need something to start with. You’ll need an idea for content — and we can’t help with that. You’ll also need to understand at least the basics of a podcasting setup and the equipment that goes into it. With that, we’ve got you covered.
The equipment you need for a basic podcasting setup is simple:
- Microphones, necessary for capturing the audio
- Recording and editing software for the audio you get from the mic
- A computer to run the software on and use for uploading the podcasts online
This is the foundation of any podcasting setup. Let's dig deeper into it and see what options you'll have for each of the items on the list.
Find a good podcasting microphone
With podcasting, the perceived quality of production is all about the quality of your audio. Even if you end up finding that expanding into live video makes sense for your content, the importance of the audio quality will not change — as long as you’re talking, you want to be heard loud and clear. The quality of the microphones you use is paramount.
Microphones come with two different types of connectors — USB and XLR. The USB microphones are usually considered more budget-friendly because they start at lower prices and they don’t need additional equipment to work. XLR mics can be more expensive, and they need to be plugged into an interface such as a mixer. This, however, gives them more flexibility to mess with the sound before it’s recorded.
Microphones also differ in the way they capture sound. In that sense, you can separate them into two camps. Condenser mics are very sensitive and can catch lots of background noise, so they’re at their best in very controlled environments. Dynamic microphones, on the other hand, don’t capture delicate sounds, making them perfect for recording more people at the same time in the same room.
With that in mind, here are some entry-ish level microphones (under $100) you should consider using early on in your podcasting career:
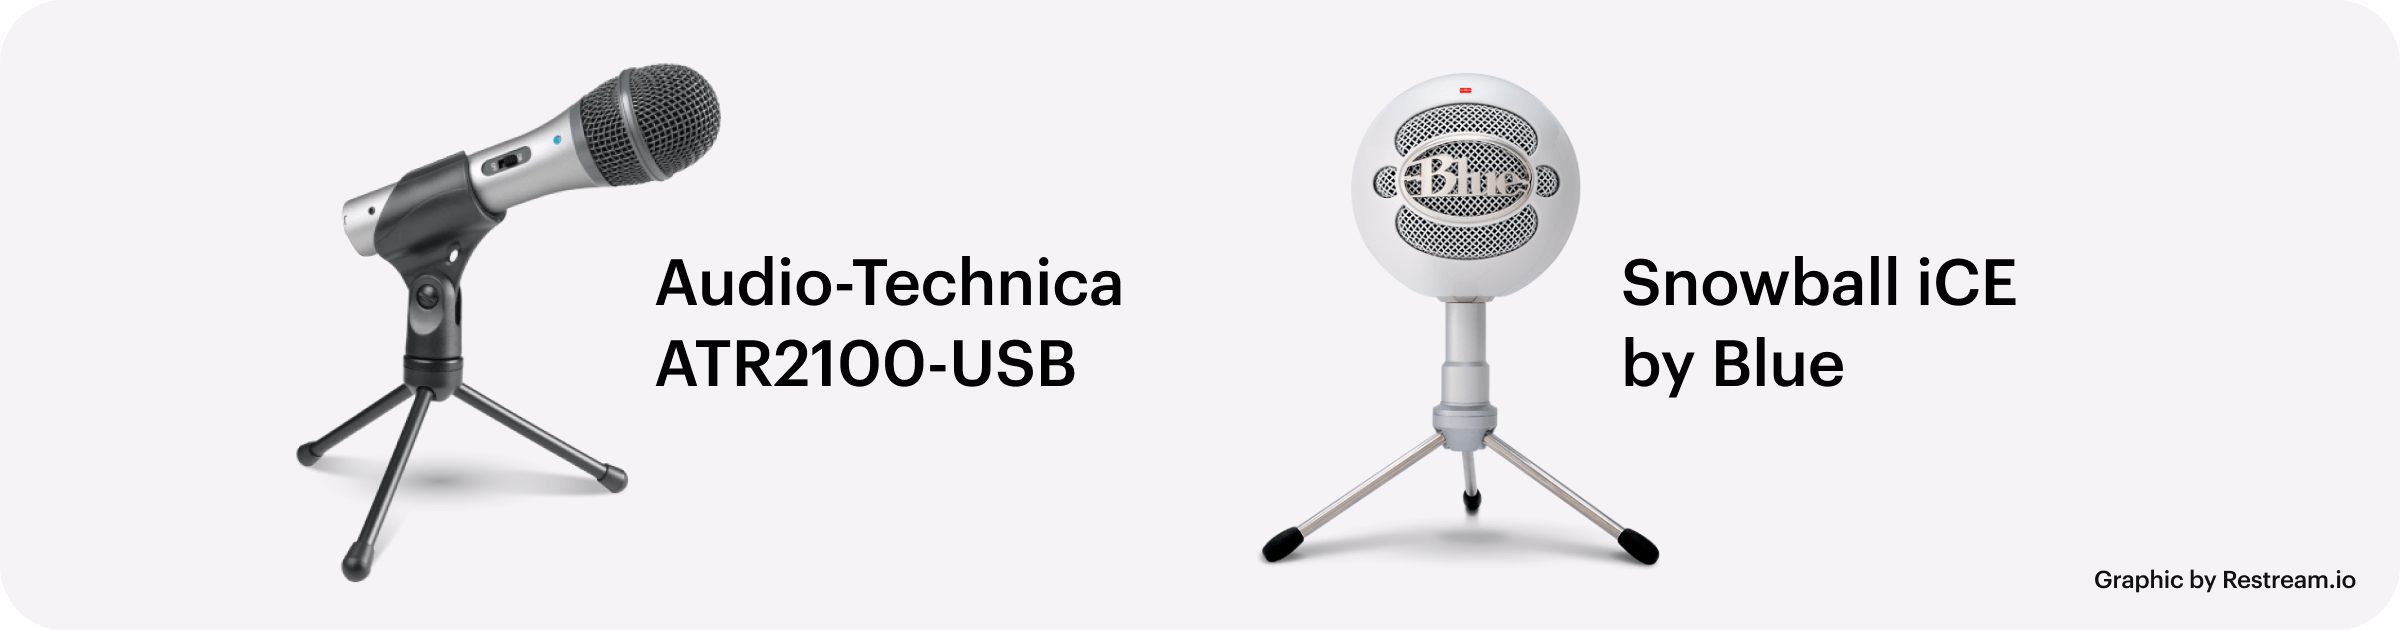
- Audio-Technica ATR2100-USB — an entry-level dynamic microphone which, despite its name, has both USB and XLR connectors
- Snowball iCE by Blue — a charming condenser microphone with plug-and-play capabilities and Skype and Discord certifications
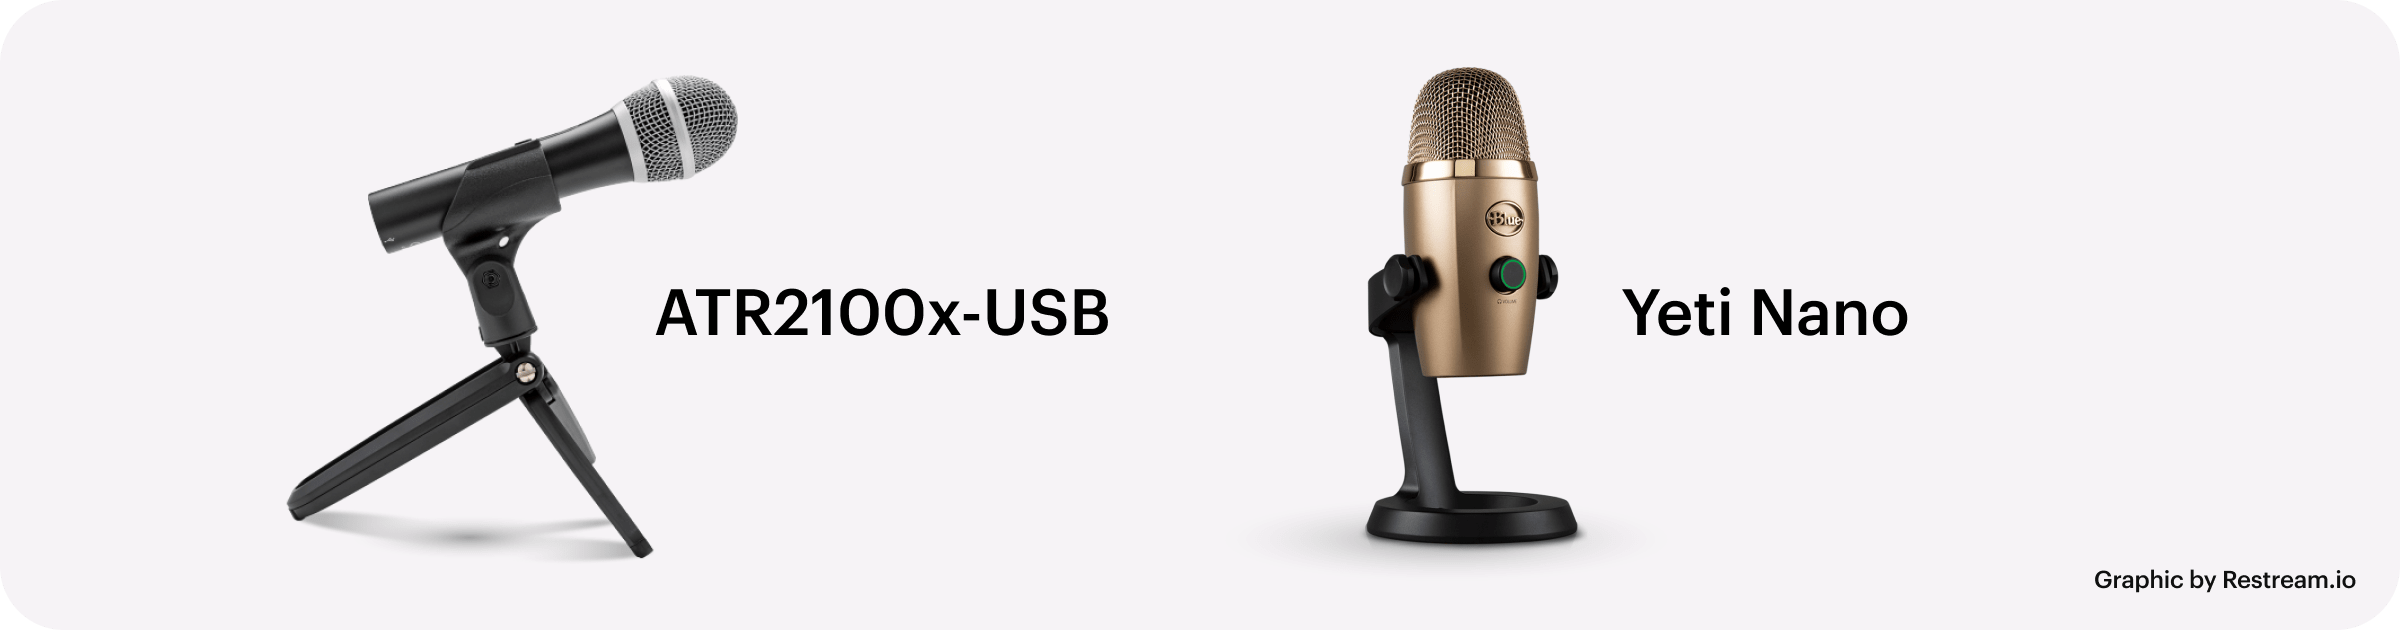
To upgrade from these entry models while staying with the same brands and spending around $100, you can choose:
- ATR2100x-USB — an upgraded version of the ATR2100-USB
- Yeti Nano — the entry-level model in the famous Yeti lineup
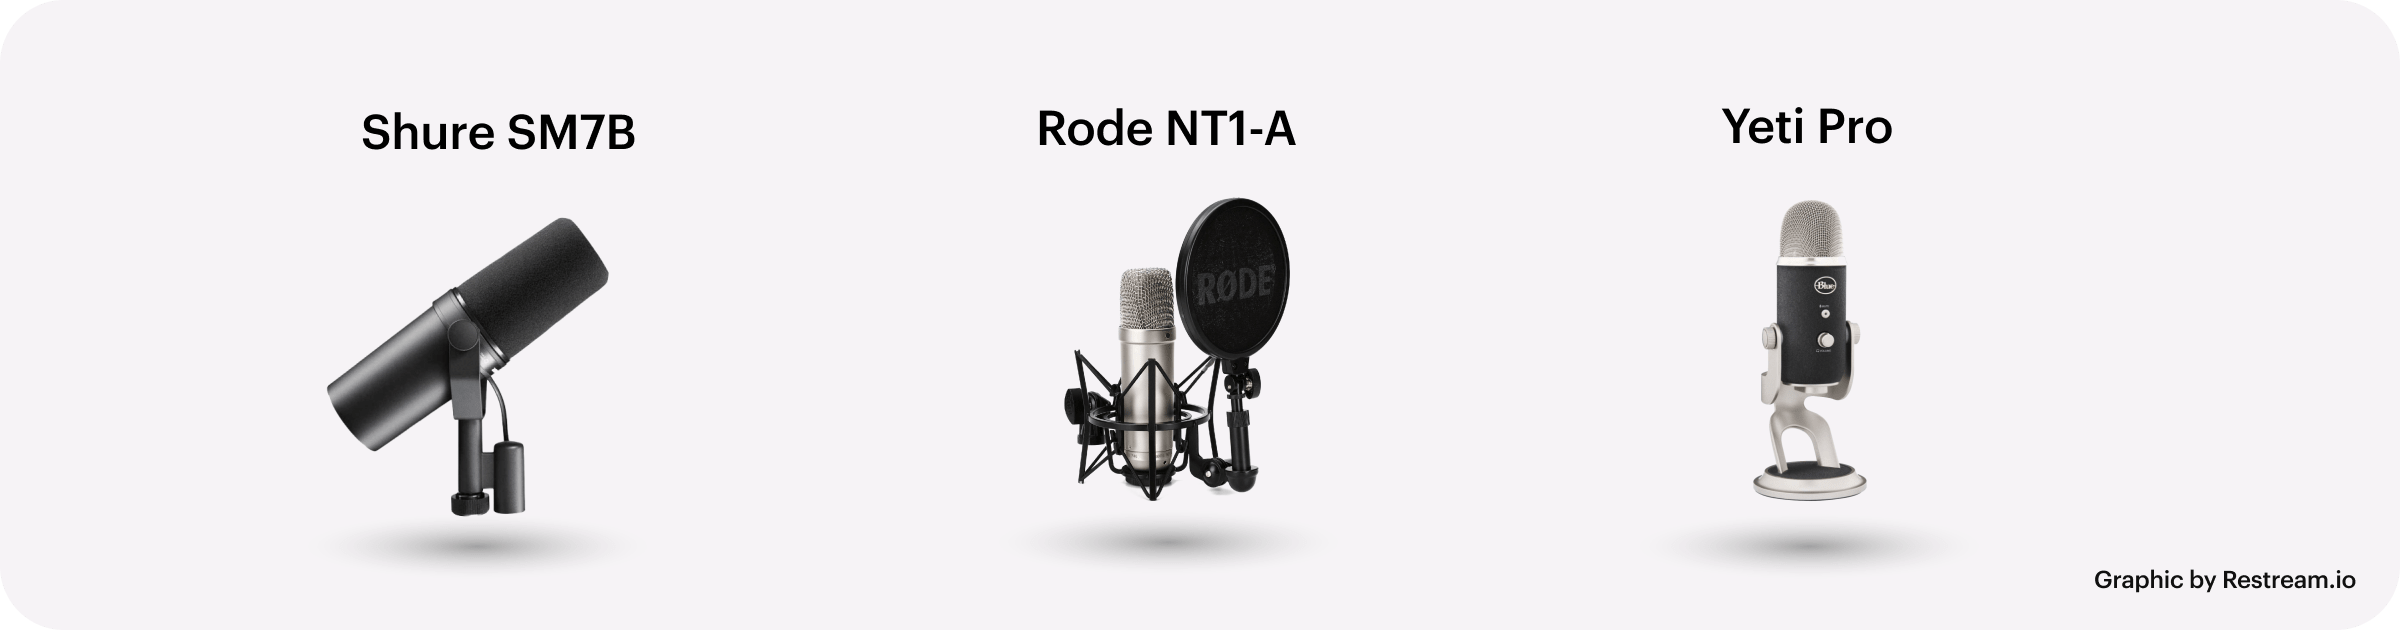
When things get serious and the time comes to splurge on a new microphone for your booming podcasting career, here are some of the best money can buy:
- Shure SM7B — used by heavyweights such as Joe Rogan, this XLR dynamic mic is the podcaster’s dream and a staple in professional recording sessions
- Rode NT1-A — a great choice if you’re looking for a high-end condenser mic; comes equipped with an XLR connector
- Yeti Pro — If you want the best quality from a microphone with USB connectivity, Blue’s Yeti Pro is a great pick.
Common sense dictates that, since the microphone is the most important part of your podcasting equipment, it should get the bulk of your podcasting budget. This also makes the mic a prime candidate for future gear upgrades.
Pick the recording and editing software
When it comes to the recording and editing software you need to create a polished podcast, the choices are easy to make. There are plenty of digital audio workstations — DAWs — that won’t cost you money while still being good tools for the job. They will be extremely helpful in the beginning while money might be tight or you’re still not sure whether it makes sense to invest in podcasting.
The top two free choices of recording and editing software for podcasting are:
- Audacity — the free, open-source, multiplatform tool with low system requirements
- GarageBand — Apple’s easy entry point into sound recording and editing
These two tools will give you enough flexibility early on to let you focus on getting a decent microphone. When you think you have some room in your budget for a software upgrade, these are the most common choices:
- Adobe Audition — Adobe's full-suite solution for audio recording and editing
- Pro Tools — one of the most popular audio editing workstations, especially in the music industry
- Logic Pro — Apple's digital audio workstation that doubles as a midi sequencer
You should be careful when choosing to upgrade your recording and editing software. The more expensive and complex audio software might have higher hardware requirements, which brings us to the final component of the basic podcasting equipment setup.
Get an appropriate computer
The type of computer you should be using in your podcasting setup is dependent solely on the DAW’s hardware requirements. That’s why, when switching to a new DAW, you should always make sure your computer will be able to handle it. Otherwise, you might be in for two updates instead of one, putting unnecessary strain on your streaming budget.
The two computer components that appear in system requirements the most are the CPU, the RAM, and the storage. Here are the recommended system requirements for some of the DAWs you might use:
- Audacity: 2 GHz of processing speed or the equivalent, 4 GB of RAM
- Pro Tools: An i5 processor at the least, with 16 GB of RAM
- Adobe Audition: A multicore processor with 4 GB of RAM
Pretty much any computer you’d be able to buy today should be able to run Audacity, laptops included, and GarageBand shouldn’t be too hard on systems either. Unless you want to use your computer for other things — live streaming, for example — you could create a perfectly adequate podcast using a system that can only support a low-demanding DAW.
Additional podcasting equipment
With this basic setup, you can podcast your heart out for months on end. But if you start getting a regular audience and thinking about monetization, you’ll easily touch on the topic of upgrading existing and getting additional podcasting equipment. Let’s see what equipment you might consider as your podcasting career starts gaining steam.
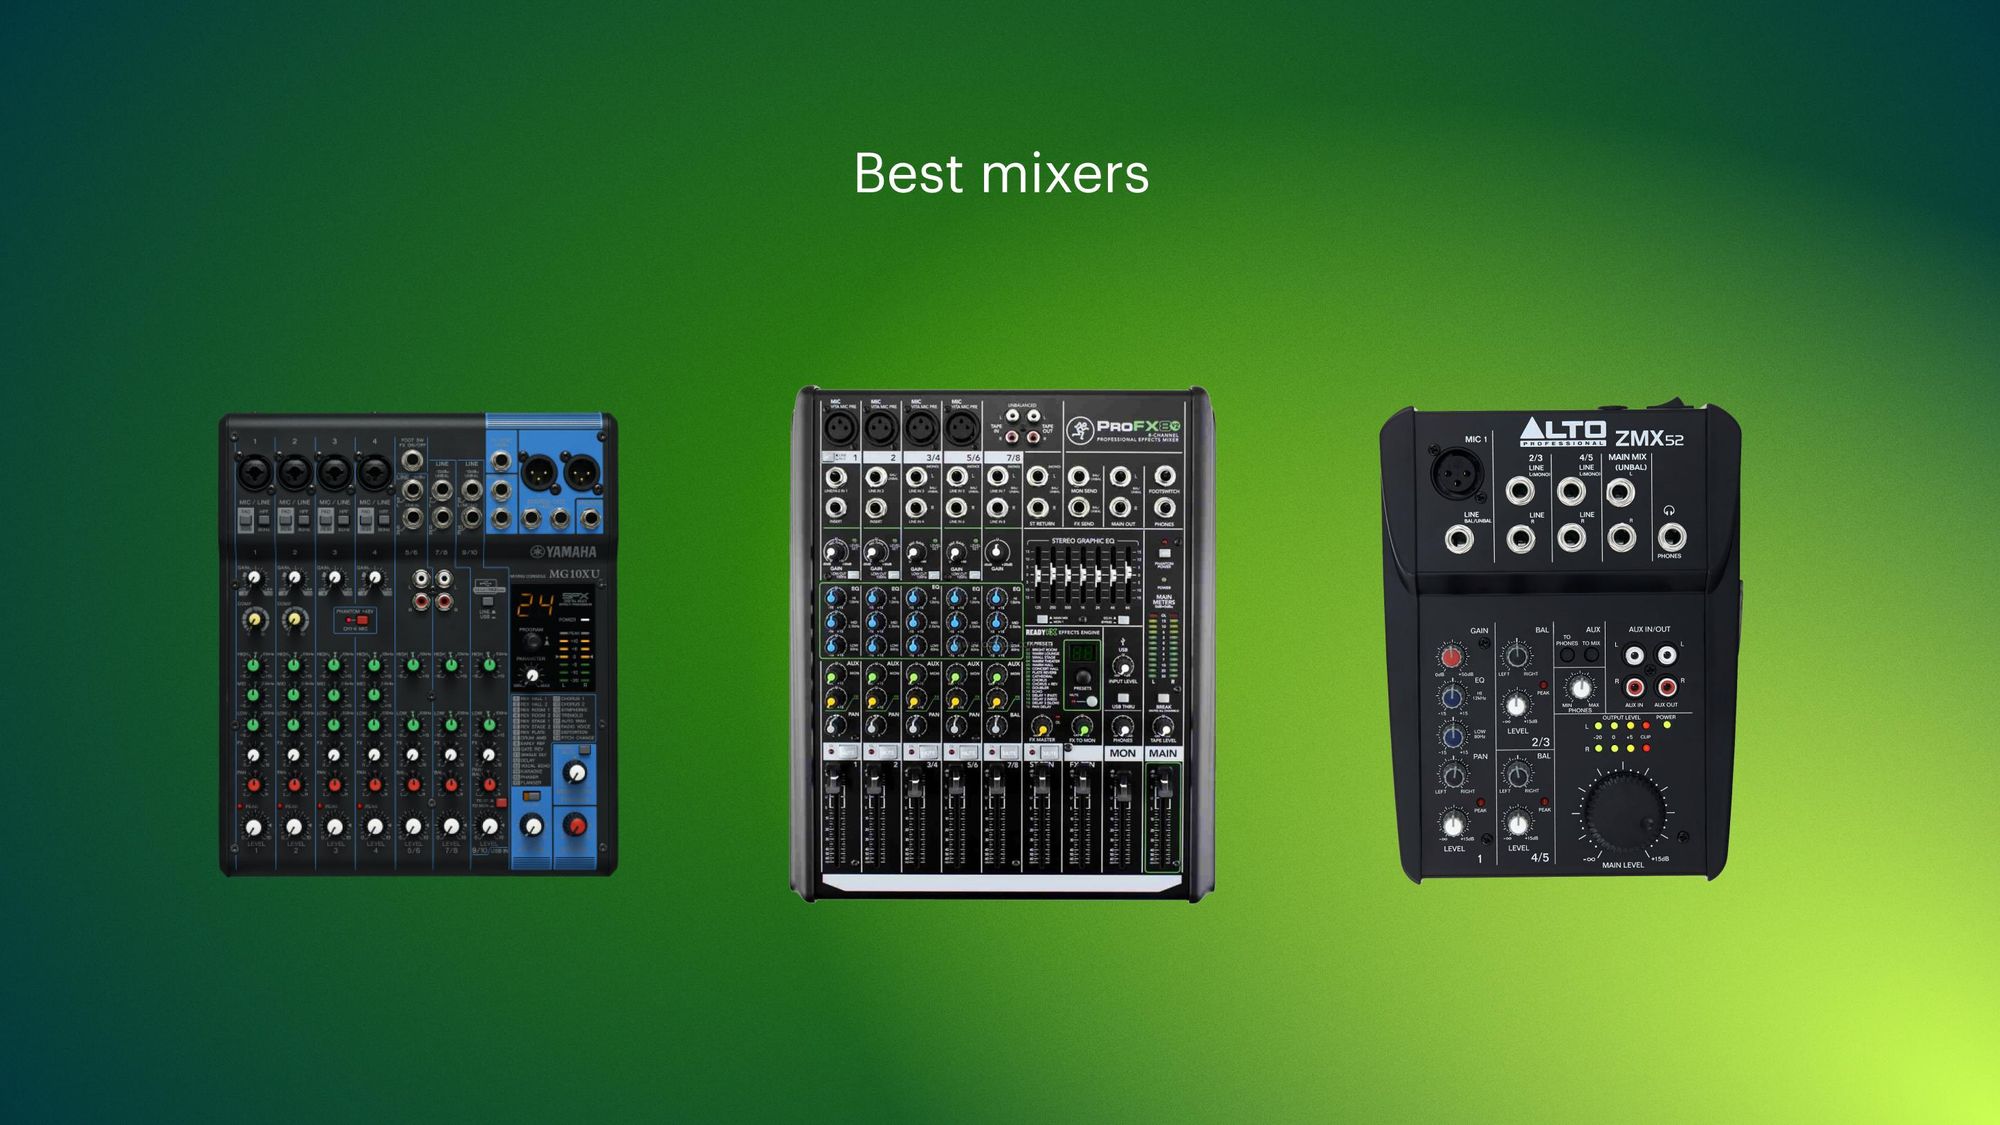
1. A Mixer
Even upgrading from a USB to an XLR microphone will require a purchase of additional gear. Making that switch is a great reason to invest in one of the most useful pieces of podcasting gear you can have — a mixer.
Mixers aren’t just simple intermediaries between your XLR microphone and a computer. Those are called audio interfaces, and you can get them, too. But a mixer will do the same job of converting your signal while also giving you a large degree of control over it.
With a mixer, you can adjust loudness levels for each channel separately. You can also use tools such as filters while you’re recording, saving you time during post-production. It also doesn’t hurt that mixers are generally reliable pieces of gear that can be paired with other equally reliable digital recorders, leaving you to use the computer only for the post-production.
2. Microphone gear — pop filters, shock mounts, stands
Plosives — sounds you make when you pronounce the letters “p” and “b” — tend to push a lot of air when you say them. When this air hits the microphone, it creates an unpleasant sound. To stop this from happening, your best bet would be to get a pop filter.
And speaking of removing unwanted sounds, you should know that microphones can easily catch the sounds that travel through solids. So whenever you bump against your desk or whatever surface your microphone is on, the sound of it will show up in the recording. A shock mount greatly reduces the sensitivity of your mic to these kinds of sounds.
Finally, you can’t be expected to go through long recording sessions and hold the microphone in your hand the whole time. You need a stand, and either a tabletop or a boom arm will do. Just make sure it’s compatible with your microphone and any other gear you want to use with it.
3. Headphones and related gear
There is a strong case for listening to yourself on headphones while you’re recording a podcast. You’ll be able to notice all the little sounds you might not catch otherwise, but your microphone surely would. You’ll also become more mindful of the way you talk, which might help you control your voice better. It might take a while to get used to it, but you should give it a go. The headphones should be decent enough to let you hear subtle sounds, and they should have a closed back.
If you have a co-host or want to interview a person on the podcast, they should also have headphones on if they’re in the room with you. The headphones should be the same brand and model, and they should be plugged into a headphone amplifier.
Do you need video for podcasting?
One way you can spice things up on your podcast is by adding video to the mix. It can be as simple as filming your podcast the way you would usually record it, and then simply editing as you would, but with video.
But you can do other things, too. You can set up multiple cameras to get different angles and add some dynamics in editing. You don’t have to film anything — you can create an animation that will go over the audio of the podcast. Something as simple as a whiteboard animation can work wonders.
Adding video to the mix can open up other options, too. You can turn your podcast into a live show and broadcast it, together with video, on multiple platforms at the same time. Or, using Restream Events, you can set up a pre-recorded podcast to be broadcast at a specific time on the platforms of your choosing.
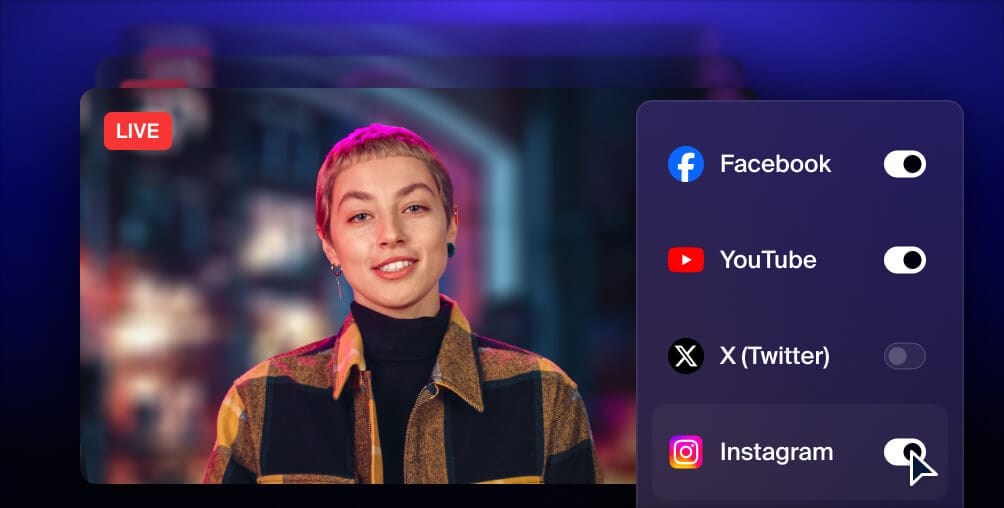
Get more views with multistreaming
Reach more people, and meet viewers where they like to watch. Live stream to YouTube, Instagram, Facebook, Twitch, X, TikTok, LinkedIn, and more at once.
So even though podcasts can work perfectly well without video, it’s true that adding video means adding a whole new dimension to your content. You should be prepared for what that entails — you’ll probably spend more time editing your content, and you’ll need better hardware to do it on if you’re editing video. But the plus side is great too.
Conclusion
It would be untrue to say that podcasting equipment doesn’t matter and that your ideas will be enough to make your content soar to new heights. That kind of thing happens rarely, if ever, and only if there’s enough quality in the content to cut through all the noise created by bad equipment.
But no matter how important podcasting gear is, the fact that you don’t use the same microphone as your podcasting role model shouldn’t put you off to podcasting. You can get decent gear for a reasonable amount of money and then, step by step, upgrade it. And if you add a camera to the mix and start using Restream, you can leverage the power of video to help you get a larger exposure thanks to simultaneous access to multiple platforms.