Live streaming about digital artwork, design, and photography has become increasingly popular in the last few years. Design software behemoth Adobe is responding to this surge by introducing its first live streaming service for users of its products, via its social networking platform Behance. Most artists and designers have found a way to live stream using Adobe (or similar products), but allowing streaming directly to Behance will make the process easier and encourage more people to take up creative streaming.
In this quick guide, we’ll show you what you need to start streaming on Behance and how to stream on desktop using an encoder or Restream Studio.
What is Behance?
First things first — what is Behance and what do you use it for? Behance is a creative community that lets professional graphic designers, illustrators, photographers, UX designers, filmmakers, and digital creators of all kinds showcase and share their work. It’s a social media platform that also functions as a portfolio site for creators.
Behance users can post projects, which other users can like and share across the web. The platform also counts how many views a project has and allows Behance users to follow each other or their projects.
Adobe has been posting live streams on Behance for a few years now, but they’ve only recently opened up the capability to all users. You can live stream to Behance from your iPad or desktop computer. With an iPad, however, you can only stream from the Photoshop and Illustrator apps.
While it might take a few more steps to set up, streaming to Behance with a third-party tool from your desktop or laptop computer gives you much more flexibility.
What do I need to start live streaming content on Behance?
Before you can start live streaming on Behance, you must request access and meet a few requirements. Behance requires all live streamers to:
- Be 18 years of age or older
- Only stream creative work you have permission to use
- Refrain from streaming inappropriate content
- Stay on-topic during the stream
You also need basic live streaming equipment, such as a microphone and webcam. If you’re not streaming directly from the Photoshop or Illustrator iPad apps, then you will also need an encoder or third-party streaming solution.
Behance live streaming settings
Behance recommends the following live streaming settings to get the most out of your broadcast:
- Bitrate: 1500 - 4000 kbps
- Resolution: 1080p
- Frame rate: up to 60fps
- Keyframe interval: 2 seconds
- Video codec: H.264
- Aspect ratio: 16:9 or 4:3
If you’re using streaming software, you should be able to configure all of these settings. Read our guide on upload speeds to determine what your bitrate should be, and our guide on aspect ratio to learn more about framing and resolution.
Behance live streaming from desktop with OBS
If you want more capabilities and control over your Behance live stream, you can use encoding software such as OBS Studio, Streamlabs OBS, or Xsplit. We’ll show you how to use Behance with OBS Studio since it’s one of the most popular live streaming software options available.
- Download and install OBS Studio (you need version 22 or higher).
- Change your settings in OBS Studio to accommodate Behance streaming (see recommended stream settings above).
- Add your mic, webcam, display capture, or other media as sources on OBS.
- Log into your Behance account.
- Click on “Share Your Work” on your Behance page, then click “Livestream.”
- Click “Get Started” on your Behance streamer dashboard.
- Copy your Server URL, then go back to OBS.
- Go to “Settings” in OBS, then “Stream.”
- In the service field, select “Custom” from the drop-down menu.
- Paste your Server URL in the “Server” field.
- Return to Behance and copy your stream key; paste it into OBS in the stream key field.
Your Behance account is now connected to OBS! You can set up your scenes in OBS Studio to modify your stream. When you’re ready, click “Start Streaming” in the lower right corner of OBS.
Multistreaming on Behance
Streaming to Behance is a great way to share your work or creative process with other artists and designers. But what if you want to reach a more general audience outside this niche? Streaming to larger platforms such as YouTube, Twitch, or Facebook expands your viewership and promotes your creations even further.
You don’t have to stream separately on each platform to broaden your audience, though. With a multistreaming service like Restream, you can broadcast your session live on Behance, YouTube, Twitch, Facebook, and other platforms simultaneously. Restream integrates with OBS Studio, so you can still use OBS if you plan to multistream on Behance.
To connect your Behance account to Restream, you will need to add it as a custom RTMP. Note that to use a custom RTMP, you must have the Restream Standard plan or above.
- Log into your Behance account and click “Share Your Work” in the top right corner.
- Click “Livestream.”
- On your Behance streamer dashboard, click “Get Started.”
- Copy your Server URL to your clipboard.
- Log into your Restream account.
- On your dashboard, click “Add Channel.”
- Select “Custom RTMP” from the list of channels.
- Paste your Behance Server URL in the field that says “RTMP URL.”
- Go back to Behance and copy your stream key to your clipboard.
- Paste your stream key into the field that says “Stream Key” on Restream.
Now that your Behance channel is added, you can add other channels such as YouTube, Facebook, or Twitch if you haven’t already. Once all your channels are added, ensure Restream is connected to OBS Studio. You’re ready to start multistreaming!
Behance streaming with Restream Studio
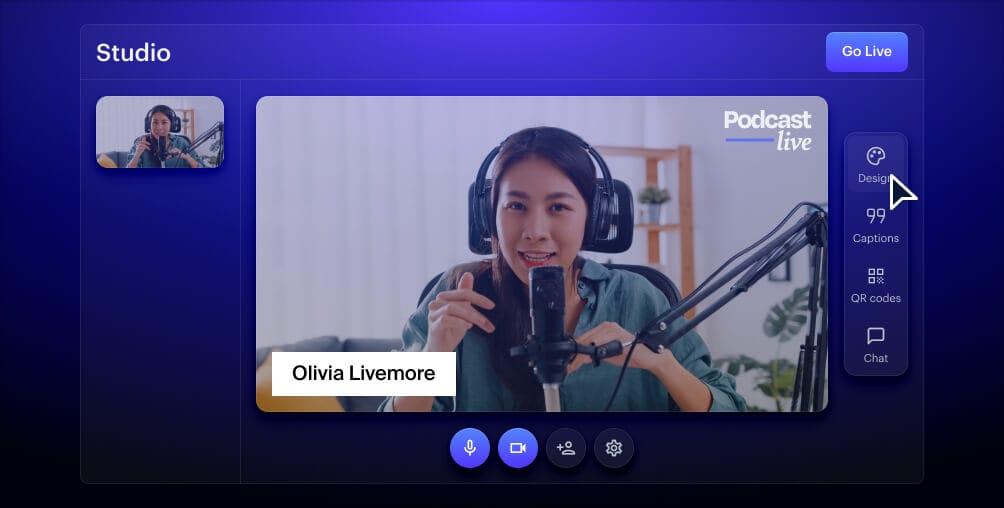
Although OBS Studio is a popular live streaming encoder, there’s an easier way to go live on Behance from your desktop or laptop computer. With Restream Studio, you don’t have to download any software; you can go live directly from your web browser.
Easily add copyright-free music to your stream, play local video files, share your screen, invite guests, and much more. You can also stream with more than one camera using Studio, either by sending yourself a guest link and opening your stream on another device or by using RTMP Pull.
Other Restream Studio features that help you pull off an engaging Behance live stream include:
- Adding custom graphics like logos, backgrounds, overlays, and video clips
- Creating custom captions to share other social handles
- Reading chat messages from all your platforms in one location
- Displaying a chat overlay on your stream
- Playing copyright-free background music
- High-definition streaming
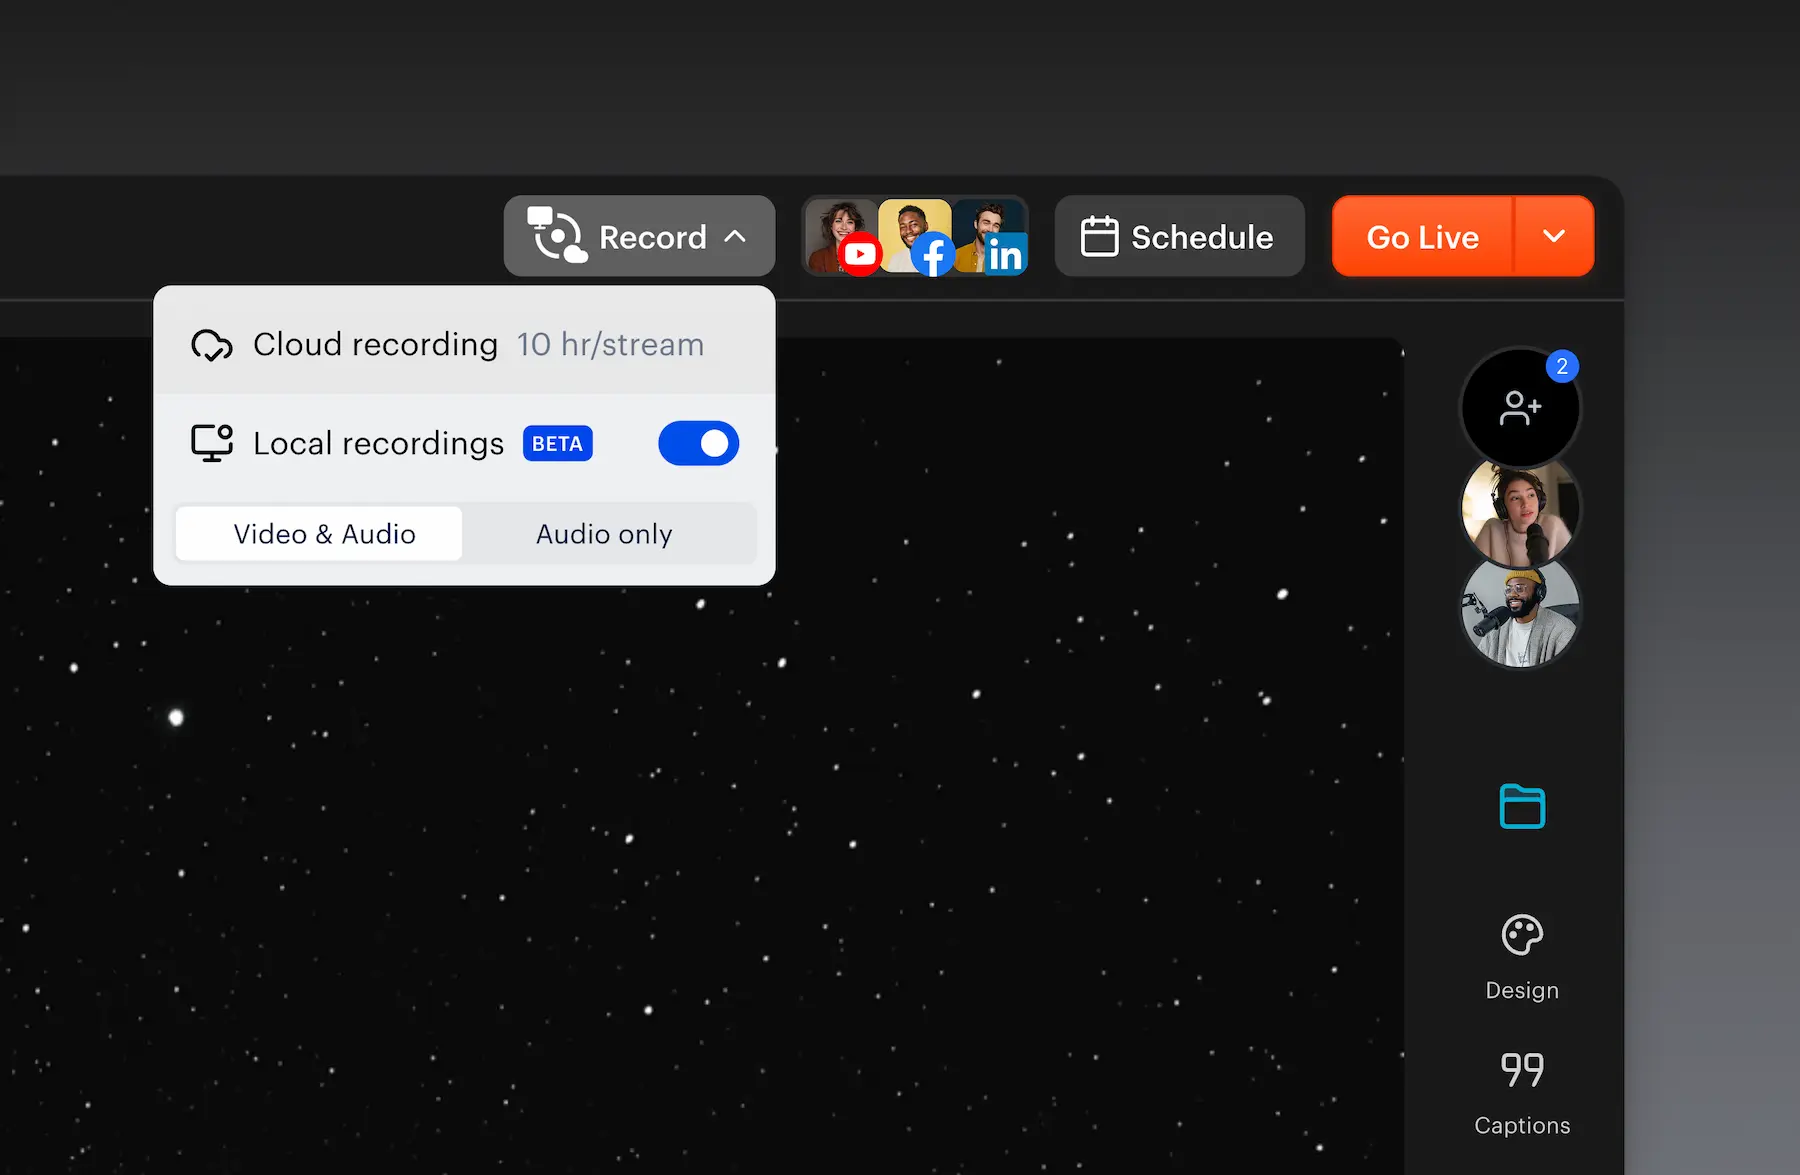
- Saved recordings of all your streams
- A record-only mode to test your streams before going live
- Saving a background or overlay for different brands you stream with using Brand Folders
Create stunning live videos
Restream Studio is the easiest way to create high-quality live videos on multiple platforms at once. It's user-friendly and offers an engaging viewer experience.
To get started with Behance and Restream Studio, simply add Behance as a custom channel on Restream. Then, click New Stream on Restream and select Restream Studio as your streaming method. From here, you can configure all your settings and options to make your stream exceptional. And you can still multistream to all your favorite channels using Restream Studio.
Let’s wrap up
The expansion of live streaming to all Behance users will make the platform more intriguing and engaging for creative streamers and their viewers. Giving artists, designers, photographers, and other creatives a dedicated space for live streaming will help this niche grow as well. If you want to showcase your work or process, consider streaming on Behance. And if you want to gain an even larger audience, try multistreaming to other platforms with Restream.

