If you’re an educator, you’re probably familiar with live stream classes. Whether you’ve led virtual classrooms already or you’re interested in starting, there are some basics you should know about streaming classes online. In this ultimate guide, you’ll learn everything you need to know to start streaming your classroom live, including a basic setup for live video and tips for making your virtual lessons more engaging.
Benefits of live streaming classes
Live streaming is a powerful way to host educational events and live stream classes for several reasons:
- Boost viewership. Online classes help you reach a larger audience, as students can join your class from anywhere.
- Easy to set up and organize. The technical barriers for live streaming video today are low — all you really need is a smartphone and an internet connection.
- Affordable. It takes only a small investment to start making live videos and broadcasting your classes online.
- Mobile-friendly approach to learning. Video streaming is a convenient format for viewing content on mobile, on the go. Viewers can follow your event from wherever they are.
- Convenient format for archiving lessons. You can save all your live videos in an archive that students can access later on. You can also use small clips to promote your classes.
- A powerful way to reach millennials and Gen Z. Millennials and Gen Z tend to be more comfortable with digital technology than the generations before them. Streaming your classes online can help you tap into these target demographics.
What do you need to start live streaming your classes?
Technically, all you need to broadcast your courses is a smartphone and a social media account. However, by investing in some additional equipment and software, you can significantly enhance the quality of your video and audio. It makes your content more professional and engaging for your students.
By using more advanced solutions, you can produce engaging live videos that are just as interactive as in-person classes. This enhanced interactivity and clarity can lead to a more enriching and effective learning environment, which benefits both you and your students.
To start live streaming your classes, you’ll need basic equipment, a platform to stream on, streaming software, and a stable internet connection.
Basic streaming setup for live classes
If you plan to stream classes regularly, you should set up a decent live streaming home studio. The basic live streaming equipment your studio needs includes a camera or two, microphone, computer, tripod, encoder and lights. Let’s look at each of these in more detail:
- Camera: For a higher-quality broadcast, avoid using your laptop’s built-in camera and get an external webcam instead. Consider using more than one camera for your live stream classes, as multiple camera angles add variety to your stream. You can read our guide to multi-camera live streaming for more ideas and tips.
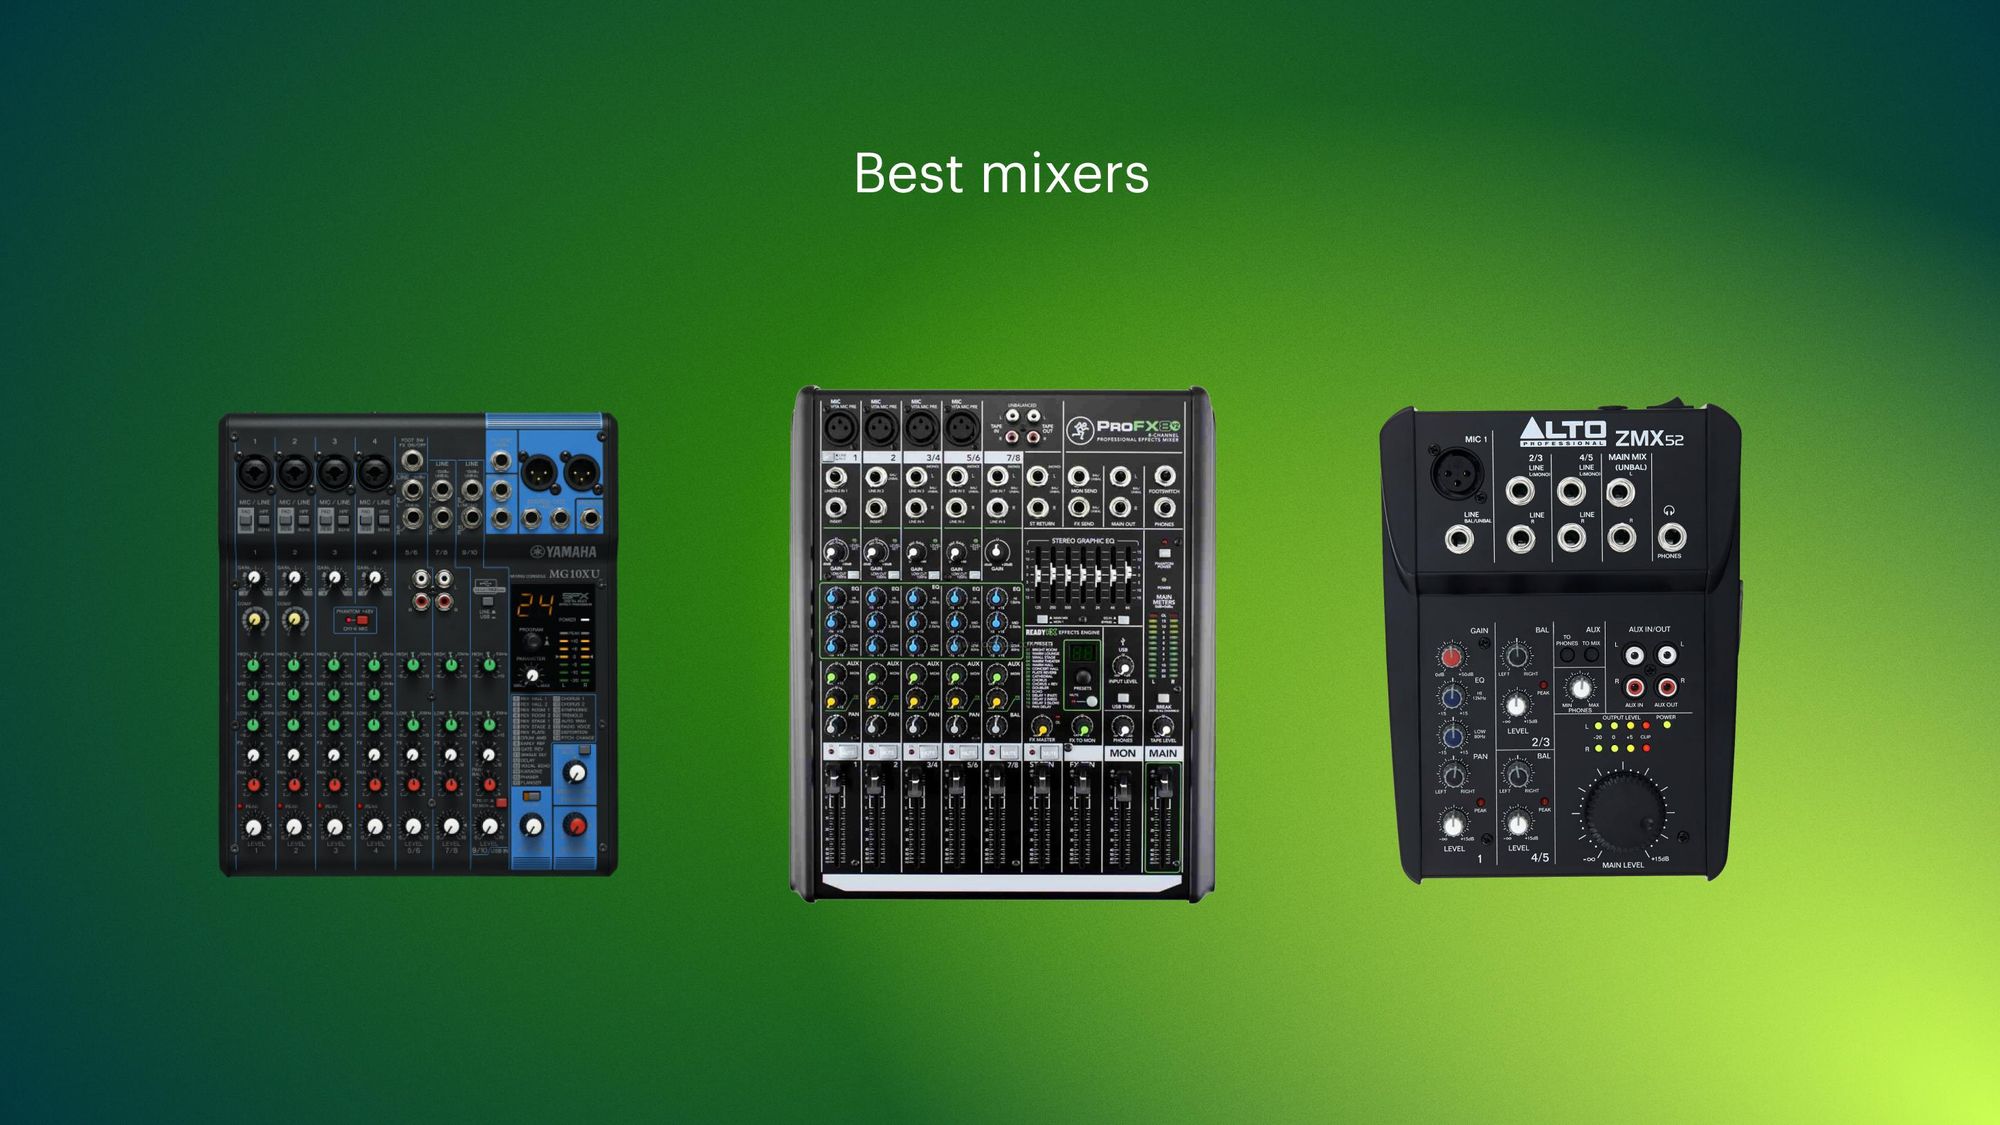
- Microphone: For live streaming, there are two types of external microphones available: USB and XLR. A USB mic plugs directly into your computer via a USB cable, while an XLR mic plugs into an audio interface that connects to your computer. If you don’t want to stay in one spot during your stream, you can also use a lavalier microphone, or lav mic, that clips onto your clothing.
- Computer: If you want to live stream your classes, it’s better to use a computer rather than a mobile phone because you’ll have more control over your stream. A computer lets you use broadcasting programs, such as OBS Studio and Restream Studio, which allow you to add custom graphics and captions, share your screen and present slideshows, or play local video files. It’s hard to do all of that from a mobile device.
- Lights: To achieve a high-quality stream, you’ll need adequate video lighting. Using the existing lights in your home or office likely won’t cut it, and you can’t rely on natural lighting every day. Good lighting isn’t expensive, but the impact it has on your video quality is immense. Read our guide to video lighting to see how you can set it up.
- Tripod: Having something to place your camera on is not only more convenient for you but also ensures better-quality video. You can keep your hands free to present your slides, draw on a whiteboard or demonstrate an activity. If you stream lessons every day, you can also keep your camera positioned in exactly the right spot on the tripod without worrying about having to adjust it for each new lesson.
Live streaming platform for online classes
There are several streaming platforms available for teachers to host online classes and lectures. Zoom, the most obvious choice and a platform many are already familiar with, is free to use. Setting up a new Zoom meeting and sharing the link with your students is straightforward.
However, as it's primarily a video conferencing app, Zoom has some limitations that other dedicated platforms do not. Let's take a closer look at some alternatives that are more suited to streaming online classes.
Panopto
Panopto is a knowledge management platform with video sharing capabilities. You can use it to live stream classes, as well as record and broadcast lectures to your students. Panopto really shines with on-demand video hosting, letting you create and manage a full library of lecture videos that your students can watch on any device. You can remotely schedule recordings, host videos in the cloud and caption your live lectures in more than 20 languages.
Kaltura
Kaltura is a cloud-based, open-source video streaming service used for all kinds of virtual events, including online education. You can stream and host on-demand videos with Kaltura and integrate it with your school’s learning management system. You can also create a virtual classroom with a whiteboard feature, screen sharing, breakout rooms, live quizzing and more. You can also keep your classes secure with access control and encryption.
Muvi
Muvi is a live video platform that lets you build your own streaming service, live stream meetings and build online classes. You can host live and on-demand videos, create courses where students can sign up and collaborate with other teachers on the same platform. You can also ensure your student information is secure and monetize your videos. One cool feature is adding PDF, PPT or other files at certain time stamps during videos.
Dacast
Dacast is a live streaming video platform that supports live streaming and on-demand video hosting for unlimited viewers on unlimited channels. It can accommodate multiple users, making it a good choice for schools and educational institutions. It also integrates with Zoom, lets you embed a live video player and allows white labeling.
Social media platforms
Another option for streaming your classes is broadcasting for free on social media platforms like YouTube, Facebook and Instagram. To engage a wider audience, consider streaming simultaneously across multiple social media platforms. It allows students to watch your lessons on their preferred platform. If you want to multistream, however, you'll need to choose the right streaming software.
Streaming software for live classes
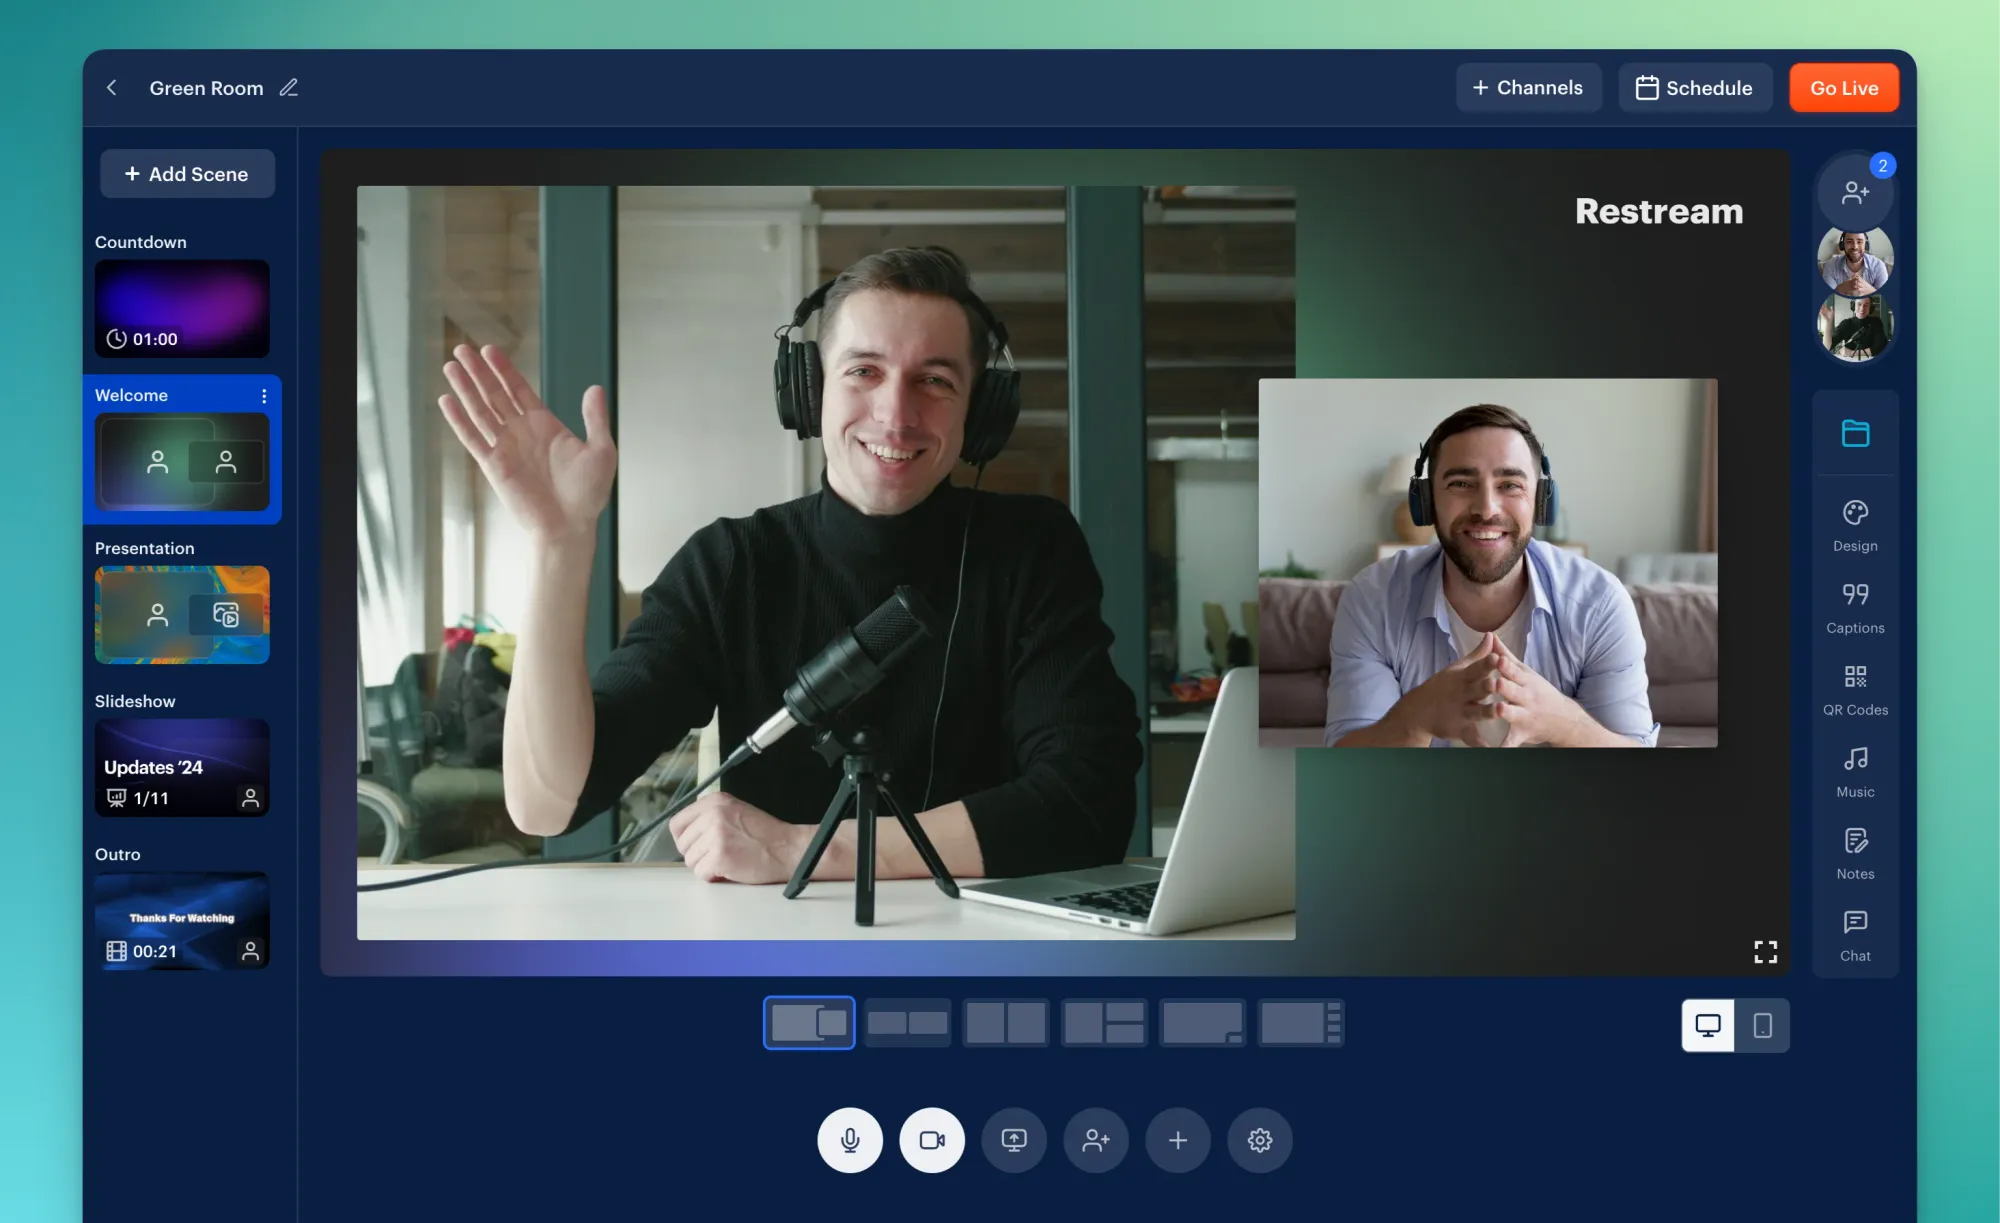
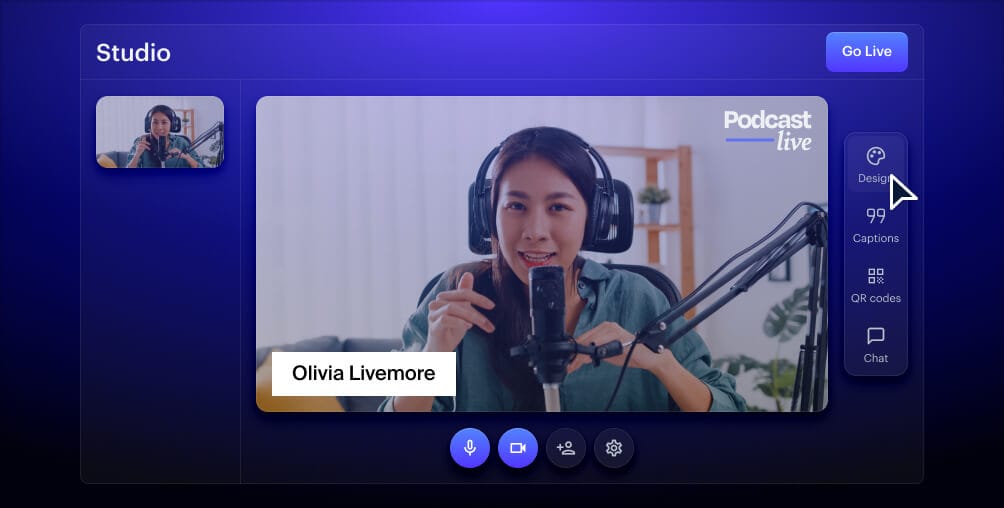
To choose the right streaming software for online classes, you have to consider streaming on multiple platforms to reach a wider audience, ease of use and the ability to engage students effectively. One of the easiest software to use for education live streaming is Restream Studio. It’s entirely cloud-based, so you can go live from your web browser without having to download anything to your PC.
Restream Studio has plenty of features to make streaming classes online a breeze:
- Multistreaming: With Restream, you can easily live stream your classes to multiple platforms, instead of just one. This allows your students to watch your lessons on any platform they choose, including those that facilitate channel subscriptions like YouTube and Twitch. You can read more in our guide.
- Live chat: Online classes aren’t nearly as engaging if you can’t interact with your students in real time. Students have to be able to ask you questions or contribute to class discussion, so a live chat function is essential. Interact with your viewers via Restream’s live chat no matter which platform they’re watching you on.
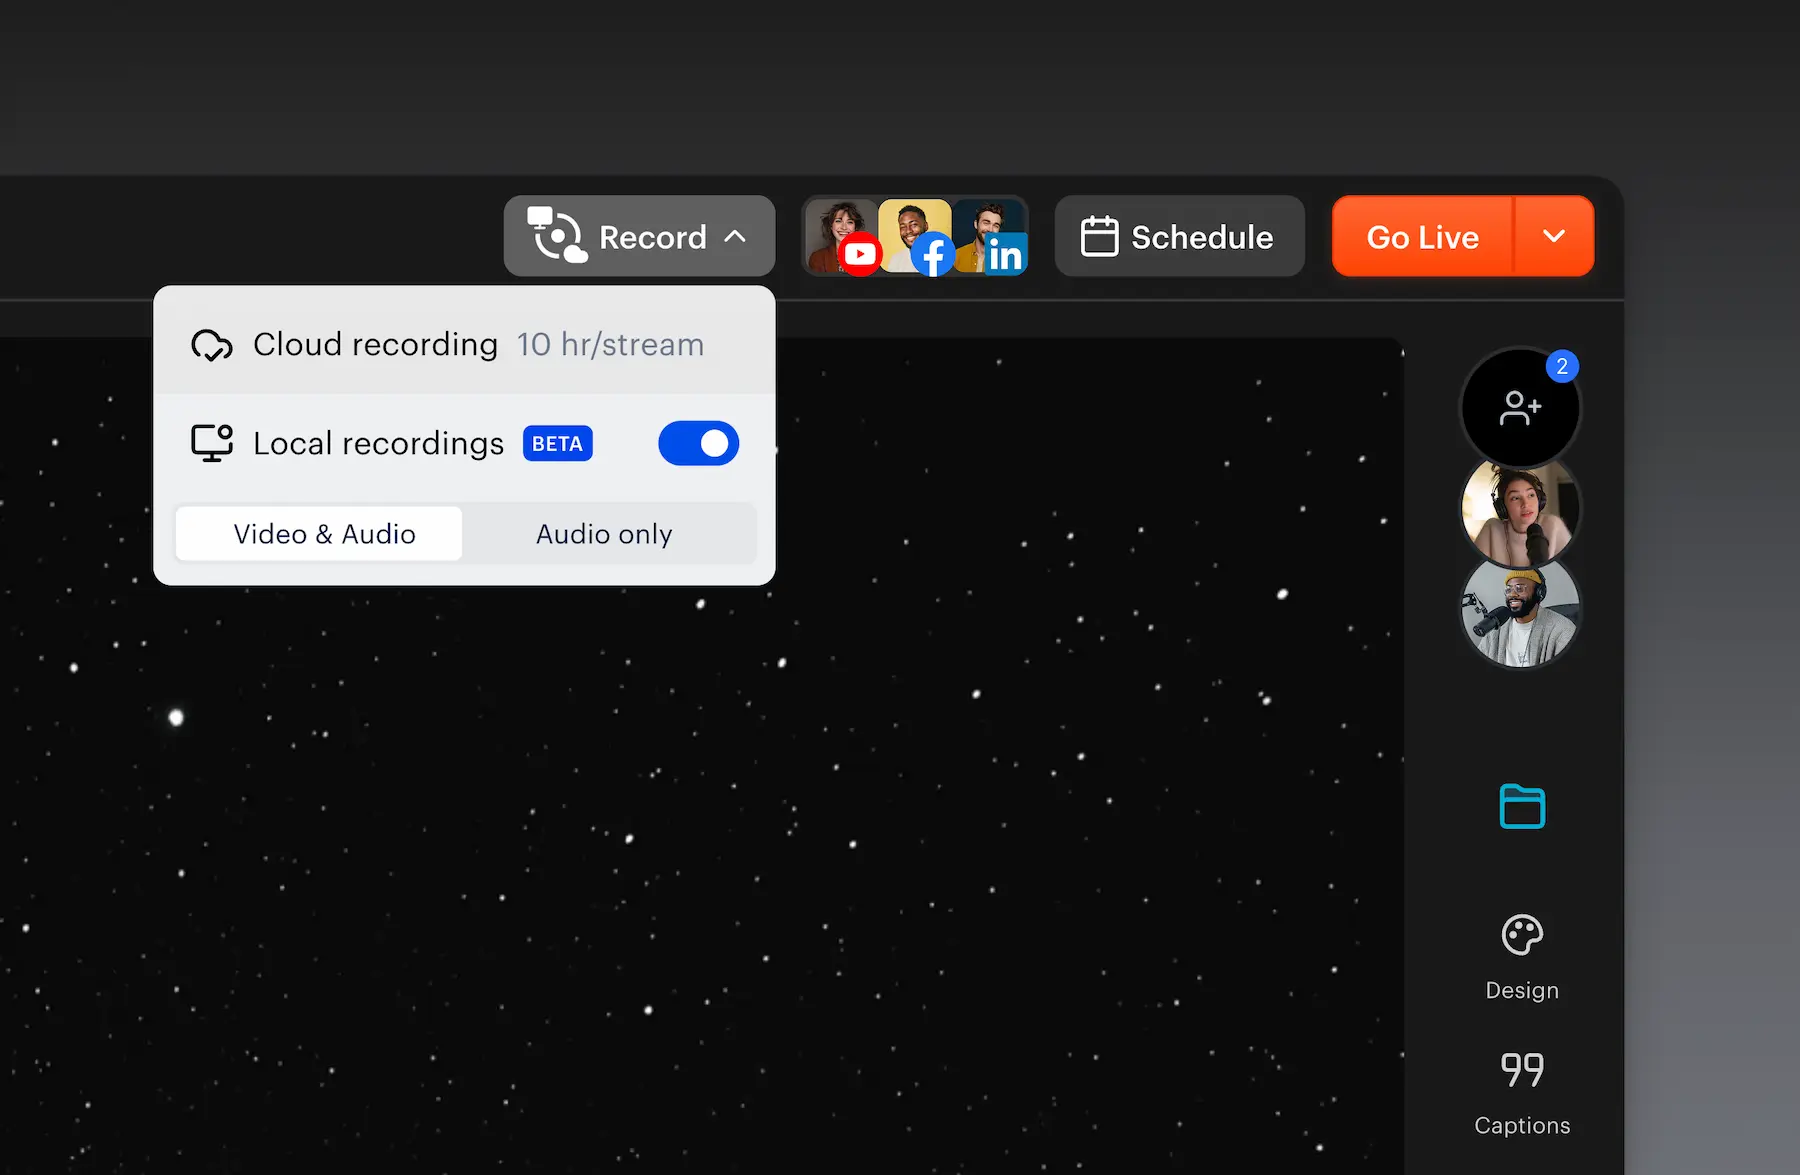
- Recording: If students are paying for your course, they’ll be expecting access to recordings of each lecture or session so they can go back and reference them when they want. When you go live with Restream, you can easily save a recording of your live videos to share with your students later.
- Privacy: When students sign up for your course, they’re entrusting you with their personal data and you have a responsibility to keep it private and secure.You also don’t want anyone hacking into your lessons. With Restream, you can broadcast to a private channel or on a website that only your students can access.
Create stunning live videos
Restream Studio is the easiest way to create high-quality live videos on multiple platforms at once. It's user-friendly and offers an engaging viewer experience.
Stable internet connection
In addition to the right streaming gear, you’ll also need to ensure you have a good internet connection. Specifically, you need adequate upload speeds to stream your content to the platform of your choice without interruptions or excessive buffering.
To figure out which upload speed you need, you have to choose:
- Which streaming platform to broadcast to
- Resolution for your video
- Frame rate for your video
These factors can all affect upload speed. Also, consider connecting to the internet via an Ethernet cable rather than over Wi-Fi, as it tends to be more reliable.
9 steps to improve your live stream classroom
Once you set up your streaming gear and select a streaming platform, stick to the following tips as you plan and present your online classes.
1. Get a second camera for your notes
Rather than having a chalkboard or dry-erase board behind you as you would in a traditional classroom, draw or write your notes on paper and point your second camera at it.
It will be much easier for your students to see. Screen sharing is also a powerful tool for virtual teaching — just be sure not to share any private details on your screen during your lessons.
2. Plan time for questions
You’ll have to plan opportunities for students to engage with you and with each other, as class discussions don’t happen as naturally online as they do in-person. As you plan the content for your class, remember to block off time for questions.
You’ll also have to monitor the live chat throughout your stream for questions from your students. In addition, make the materials you use available for students to download before the stream starts, so they can follow along.
3. Set up a live streaming home studio
It might not be possible for you to broadcast your lessons from your office or regular classroom, so you’ll need to set up a live streaming studio at home. Keep these tips in mind when designing your home studio:
- Choose a private space with natural light.
- Create a neutral background.
- Set up and test your equipment.
- Soundproof the studio with blankets, curtains and rugs.
4. Test everything
You don’t want to experience any technical glitches or mistakes on camera when you’re in front of your students, so do test runs before going live. Ensure your internet connection is stable, test your webcam and audio equipment, and adjust your lighting to achieve the best possible quality.
You can either do a recording without going live anywhere using a service like Restream Studio, or you can create a “test” stream on your preferred platforms to ensure everything is working.
5. Be engaging
Keeping your students’ attention during a lecture, lesson or presentation can be one of the most challenging parts of teaching. It’s not always easy to engage students during in-person classes, but holding their attention during a live stream is even more difficult.
To make your virtual lesson more engaging, try these tips:
- Assign homework. Before the stream starts, give students an activity or worksheet to complete so you can go over it together on-stream.
- Plan activities. Break up the monotony of a 40-minute class by allowing blocks of time for questions or activities. Choose activities that allow the students to speak to you and each other so they feel more involved in the class.
- Prepare appealing visuals. One boring slide after another will have your students tuning out quickly. If you use slides during your online class, make them pop by adding some graphs or simple illustrations.
6. Have confidence on camera
Even if you’re used to presenting lessons in front of a large class of students in person, you may not find it so easy to do the same in front of a camera. Speaking into a lens rather than to real people makes some live streamers feel uneasy, but you can build confidence so you’re more comfortable on camera.
To make yourself feel less nervous, try these tips:
- Ensure everything is prepared before you go live. Set up your studio, test your equipment, and prepare your content.
- Make a backup plan in case something goes wrong, like if your internet connection gets interrupted or your power goes out.
- Get plenty of sleep the night before class, stay hydrated and try to look nice before flipping your camera on.
- Control your body language. Sit up straight, relax your shoulders, and try not to fidget. Good posture will help you fill your lungs with more air, which makes your voice sound clearer and stronger as well.
7. Ask students for feedback
One sure way to make your live stream classes more engaging for your students is to ask for their opinions. At the end of each week, send out a quick survey asking your students what their favorite and least favorite lesson was.
You could also set aside some class time each week to ask students for feedback. Having a group discussion about what works and what doesn’t can be extremely helpful to you as an online educator.
8. Set up office hours when you’re not in class
When you’re not teaching your classes, you have to grade homework or prepare for the next lessons. You shouldn’t have to be available 24/7 to respond to messages and emails from students.
Set up an hour each day (or a few hours each week) when you’re “online” to answer questions. Make sure your students know when these office hours are — and that you won’t respond right away to a message they send outside of these hours.
9. Join a community of online teachers
If you’re new to live streaming classes online, it can feel overwhelming. Joining groups on social media or forums for online educators can help you feel supported and let you network with other teachers.
The subreddit r/Teachers could be a good place to start. You can also search Facebook and LinkedIn for online education groups.
FAQs
How do I stream my classes online?
To live stream your classes, you’ll need a webcam, microphone, streaming software and a computer or smartphone. You can stream your classes on platforms like Zoom, YouTube, Facebook or LinkedIn. You can also conduct virtual lessons using dedicated online learning platforms.
What can I live stream as a teacher?
Educational live streaming covers more than classes. It also applies to a wide range of events, including lectures, discussion panels, debates, school assemblies, presentations, science fairs, laboratory exercises, tutorials and workshops.
What is the easiest streaming software for a teacher to start live streaming classes?
The easiest live streaming software for teachers to use is Restream Studio. You can run a live stream right from your web browser and add captions, graphics, backgrounds, split screen, multiple cameras and more. You can also send messages securely to your students via the live chat function.
Let’s wrap up
When you start to live stream your classes, you’ll need the right gear and resources to be successful. You don’t have to overhaul your course content from your in-person classes, just adapt it for online viewing. If you prepare well, it’s easy to host an engaging virtual lesson for your students.