If 2021 is the year you want to become internet famous, then you’ll need a good live streaming studio. Throughout the 2020 pandemic, we saw some creative home studio solutions from live streamers of all kinds. Now that streaming from your living room has become commonplace, however, you’ll have to create a high-quality studio if you want to stand out.
In this guide, you’ll learn how to set up a home live streaming studio, including what you’ll need and some examples of home live streaming studios to inspire you.
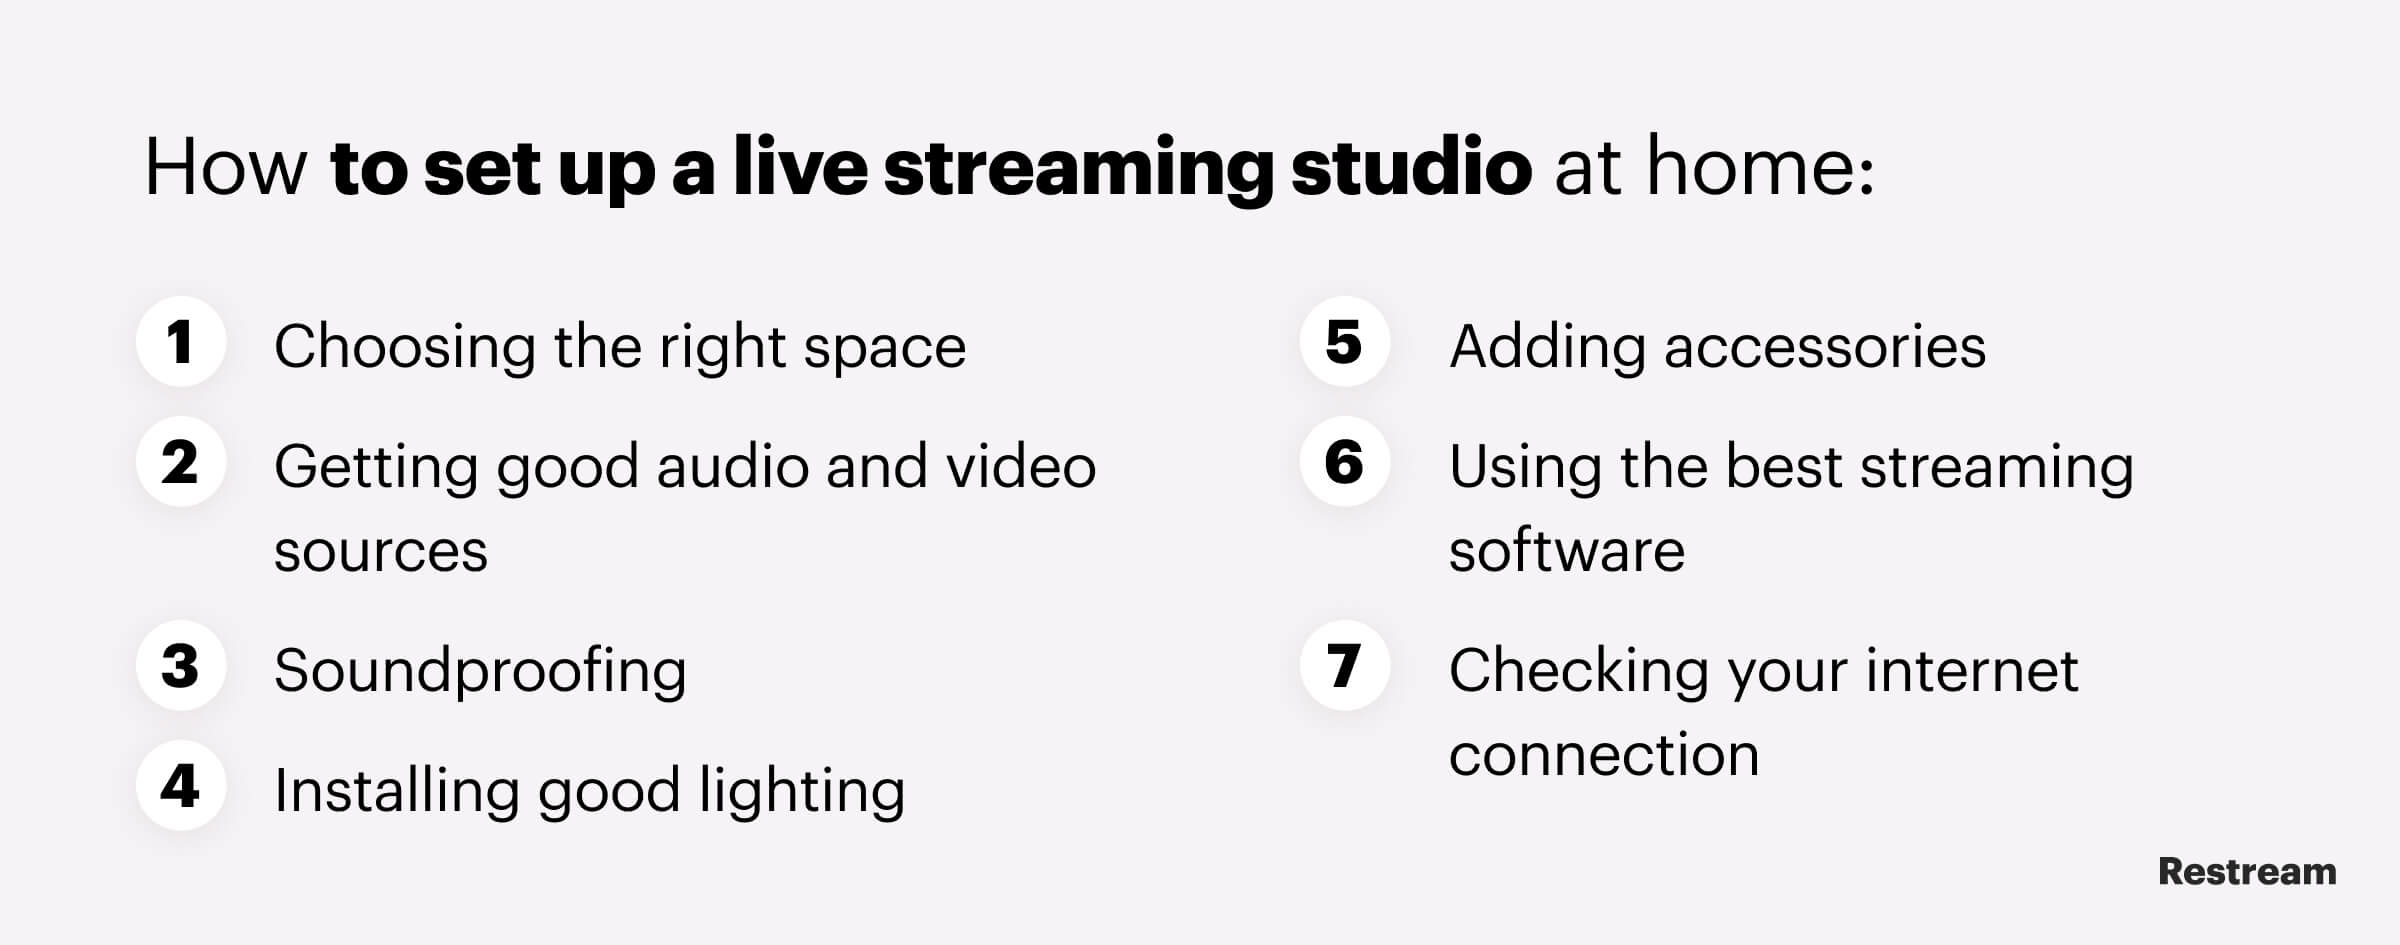
How to set up a live streaming studio at home
Setting up a decent streaming studio won’t happen overnight. The seven main steps are:
- Choosing the right space
- Getting good audio and video sources
- Soundproofing
- Installing good lighting
- Adding accessories
- Using the best streaming software
- Checking your internet connection
Let’s look at each step in more detail.
1. Choose the right space and design
The most important part of your streaming studio is, of course, the room it’s in. You can set up a desk in your living room with tons of natural light flooding in or broadcast from a spare room with LED lights. You can choose just about anywhere as your studio, but keep in mind that the space will influence other design and tech decisions.
The room you’re in while you stream — and the design you pair with it — will set the tone for your streams and communicate your brand to your viewers. Choose a theme that expresses who you are. Having the same background each time also helps establish a more solid presence in the minds of your viewers.
To make your stream more interesting, try some of these background design ideas:
- Feature wall: Paint the wall behind you an interesting accent color that will make you stand out on camera. This solution is more permanent, so if it’s not possible for you, try one of the other ideas.
- Add shelves and props: Put up some shelves behind you and add fun knick-knacks or books that display your personality.
- Removable artwork or panels: If you can’t do anything permanent to your live streaming studio space, try removable wall art. You can either get stick-on art that peels off easily or removable panels for a 3D effect.
- Construct a set: Maybe you don’t want to touch the walls in your home at all, but you still need a backdrop. You can build a “portable wall” with some wood panels, then add wallpaper or paint it however you like.
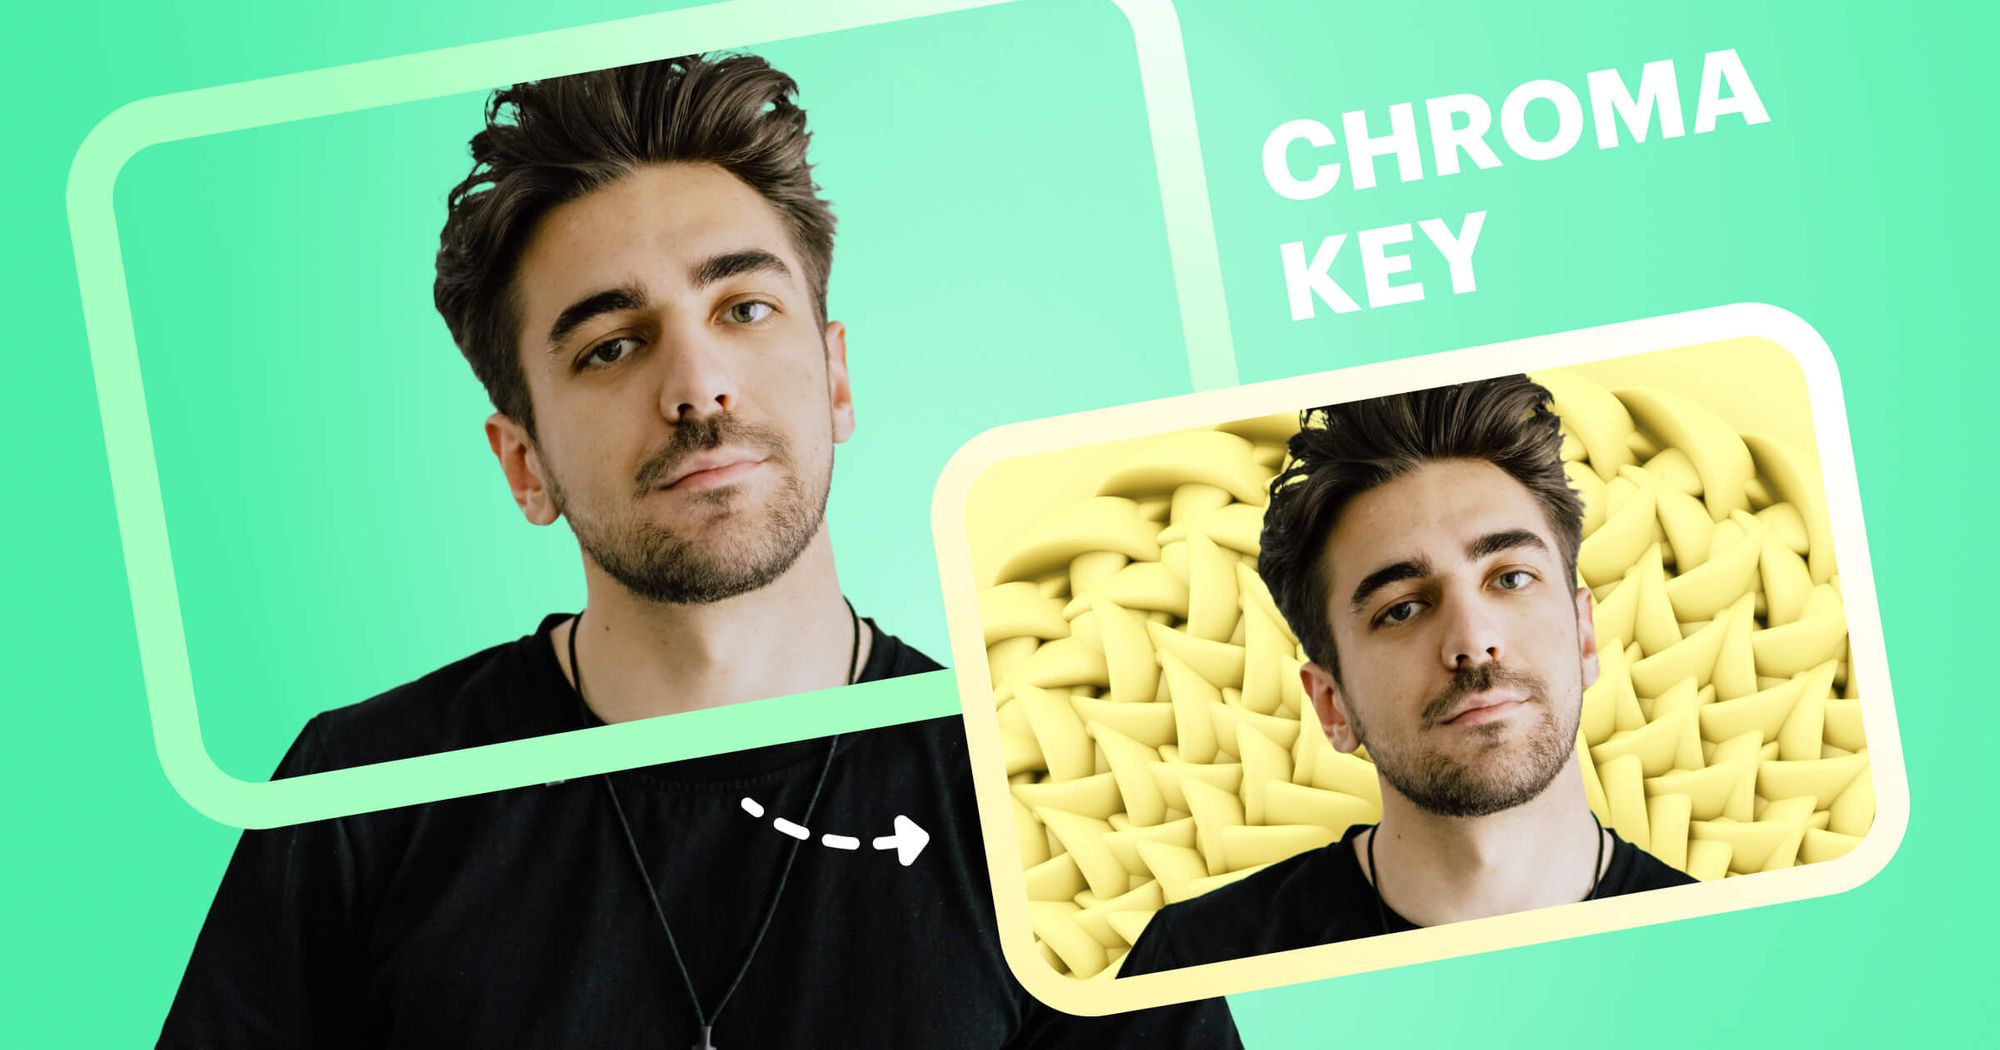
- Chroma key (green screen): For complete freedom with your studio background, use chroma key and insert a digital backdrop. While this might require the least physical effort, it does ask a lot of your computer, so you need a powerful PC to make it happen.
2. Use decent audio and video sources
After you’ve designed your studio, the next most important things you need are good audio and video equipment. You can opt for the built-in webcam and internal mic on your laptop, but they will produce a poor-quality stream, and your viewers will be able to tell. After you’ve gone to the trouble of designing your set, don’t you want people to be able to see it well?
Choosing a camera:

Live streamers have three general camera options: A camcorder, DSLR camera, or webcam/smartphone. DSLR cameras give you high-quality video but require more equipment to use. Webcams are the most budget-friendly option, although some of the higher-end ones can get pricey.
Whichever camera you choose, ensure you can stream at 720p minimum. Most webcams only reach 720p, but a DSLR camera will let you go up to 1080p or even 4K. Also, look for cameras that allow you to turn off the HDMI output displays.
Choosing a mic:
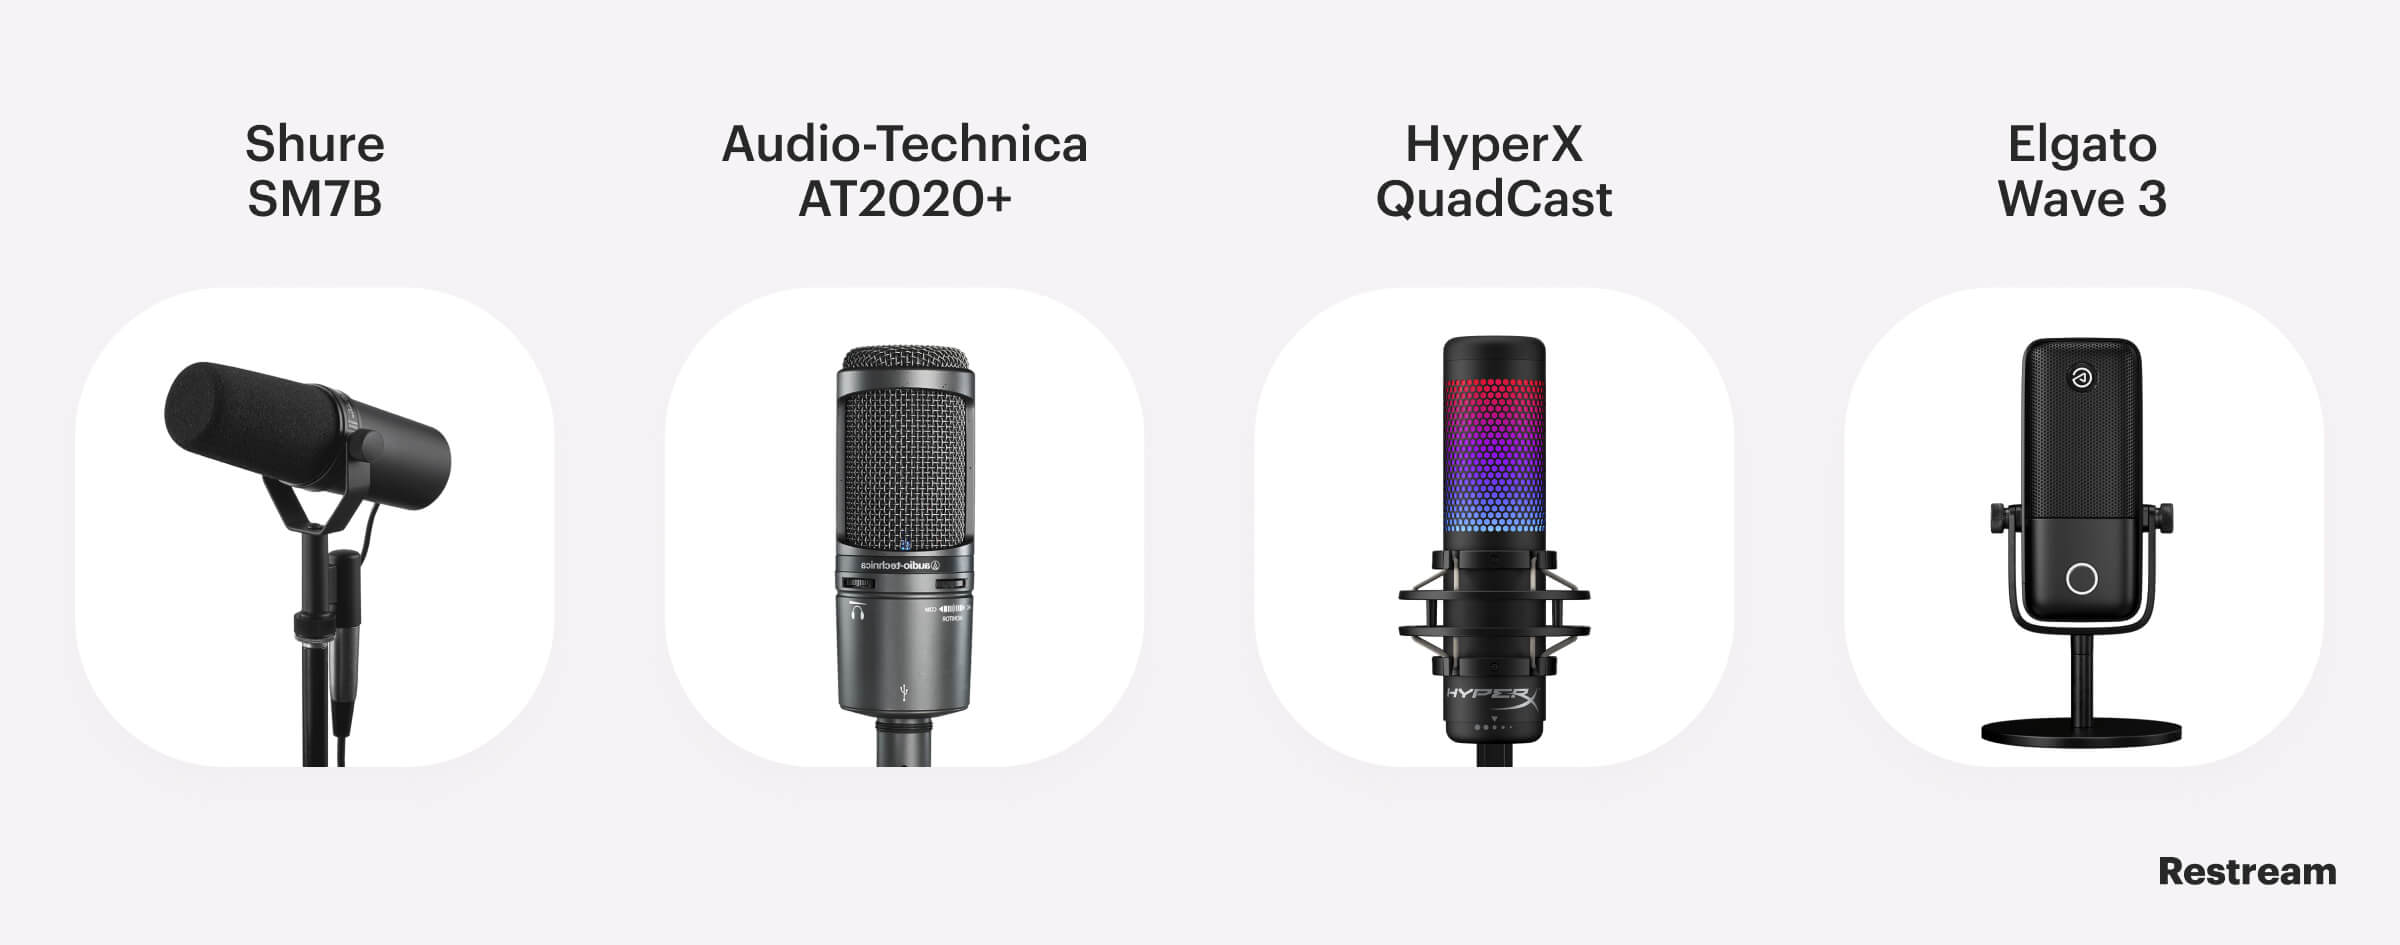
The quality of your audio is one live stream aspect you definitely shouldn’t skimp on. Although having a clear picture is important, decent audio is even more vital. Viewers have less patience for bad audio than they do for bad video, so make sure you get a good streaming microphone.
For standing mics, you can choose a USB or XLR microphone. XLR mics usually provide better quality but tend to be more expensive, plus they require an audio interface to use. You can plug a USB mic straight into your computer. If you plan to get up and move around a lot or don’t like the look of a standing mic, you can also use a lav mic that clips onto your clothing.
If you’re new to live streaming and want to learn about a basic streaming setup for beginners, read our guide!
3. Soundproof your studio
To get professional-quality streams, you should try to eliminate as much background noise as possible. Soundproofing your room cancels noise coming from outside your studio and reduces echos inside your studio. If you live with other people, it also keeps your streaming sessions quieter and less likely to disturb them. There are several techniques you can try to soundproof your live streaming studio.
Installing soundproof foam panels on your walls is the best way to get rid of background noise. However, these panels can be pricey, and unless you use extra-strength adhesive hooks, you’ll have to drill holes in your wall to install them.
Another option is hanging fleece blankets on your walls. Anything soft, such as a duvet, towels, or linens, is great for reducing sound waves from traveling too far.
Your walls aren’t the only surfaces you should worry about when soundproofing. Your windows can transmit sound if they’re not double glazed, so you should place heavy curtains over them to reduce those sound waves from traveling. Also, you might consider installing acoustic panels on your ceiling if you have neighbors that live above you. If you have people in the rooms below you, you’ll have to add some carpets, rugs, or foam tiles on the floor as well.
4. Get good lighting
The difference between amateur and professional streams is lighting. Some decent, inexpensive lighting can make up for a low-quality camera. When finding the right lighting for your live streaming studio, consider the following:
- Source of the light: Avoid overhead lighting and set up your studio to take advantage of natural lighting whenever you can.
- Color temperature: Don’t mix and match “warmer” lights (yellow) with “cooler” ones (white and light blue). Keep the temperature consistent with all your lights.
- Intensity: Make your lighting bright but not too harsh by using a diffuser.
- Lighting specs: Get the equipment necessary to position your lights correctly, like a light stand and mounting accessories.
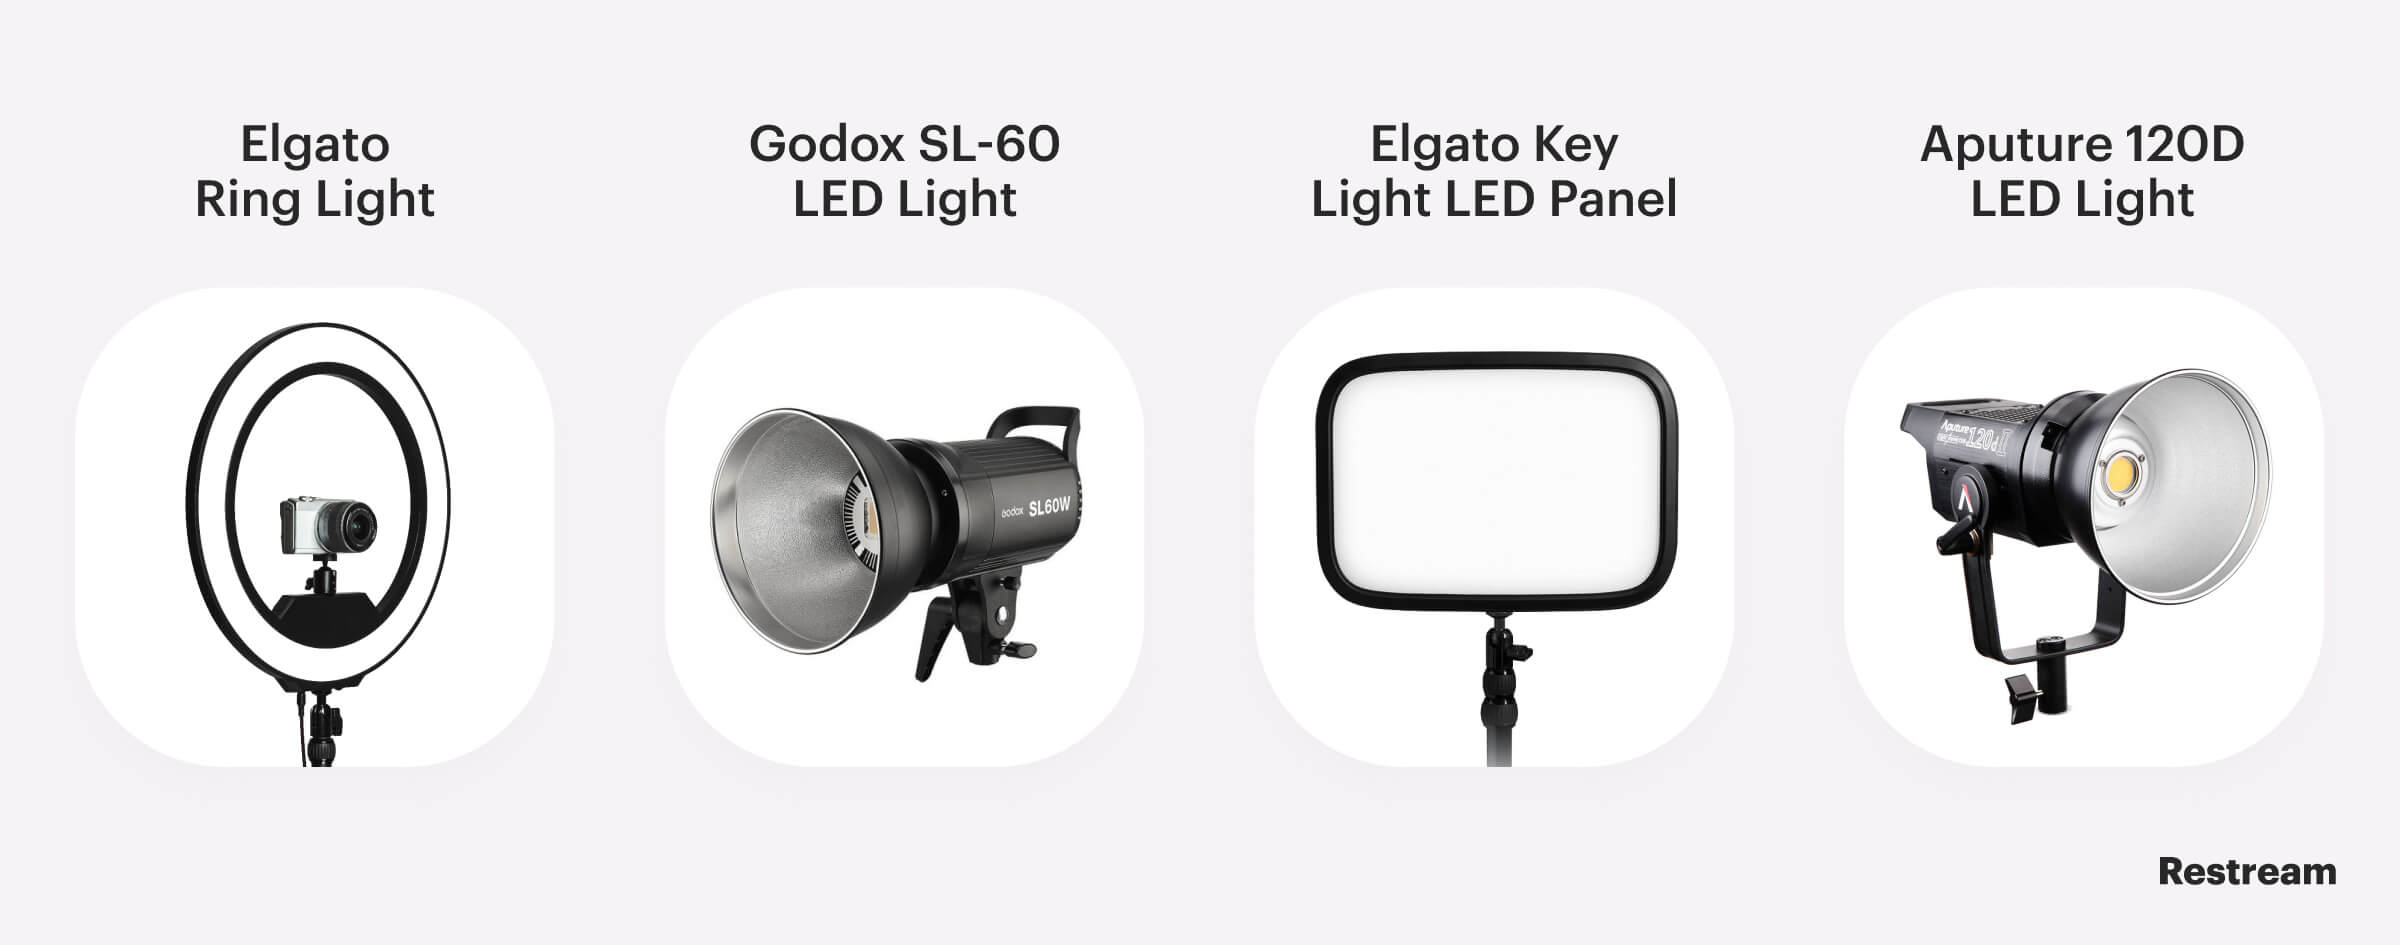
For live streaming home studios, there are four main types of lights you should know about:
- Key light: The key light is your main lighting source, and the most powerful. It’s usually behind the camera, lighting up the main subject. LED lights are popular choices for key lights, but they’re pricey.
- Fill light: A fill light covers up any shadows left over by a key light. Umbrellas and softboxes make good fill lights.
- Back light: Back lights shine on your subject from behind to get rid of shadows on your backdrop. Back lights shouldn’t be more powerful than fill lights.
- Ring light: Many content creators use ring lights because they light up a subject evenly, without the need to add other lights. They’re also easy to set up.
Experiment with different lighting setups to see what works best for your studio. The most common configuration for single-subject live streams is three-point lighting. It involves a key light off to one side of the camera, a fill light on the other side, and back light.
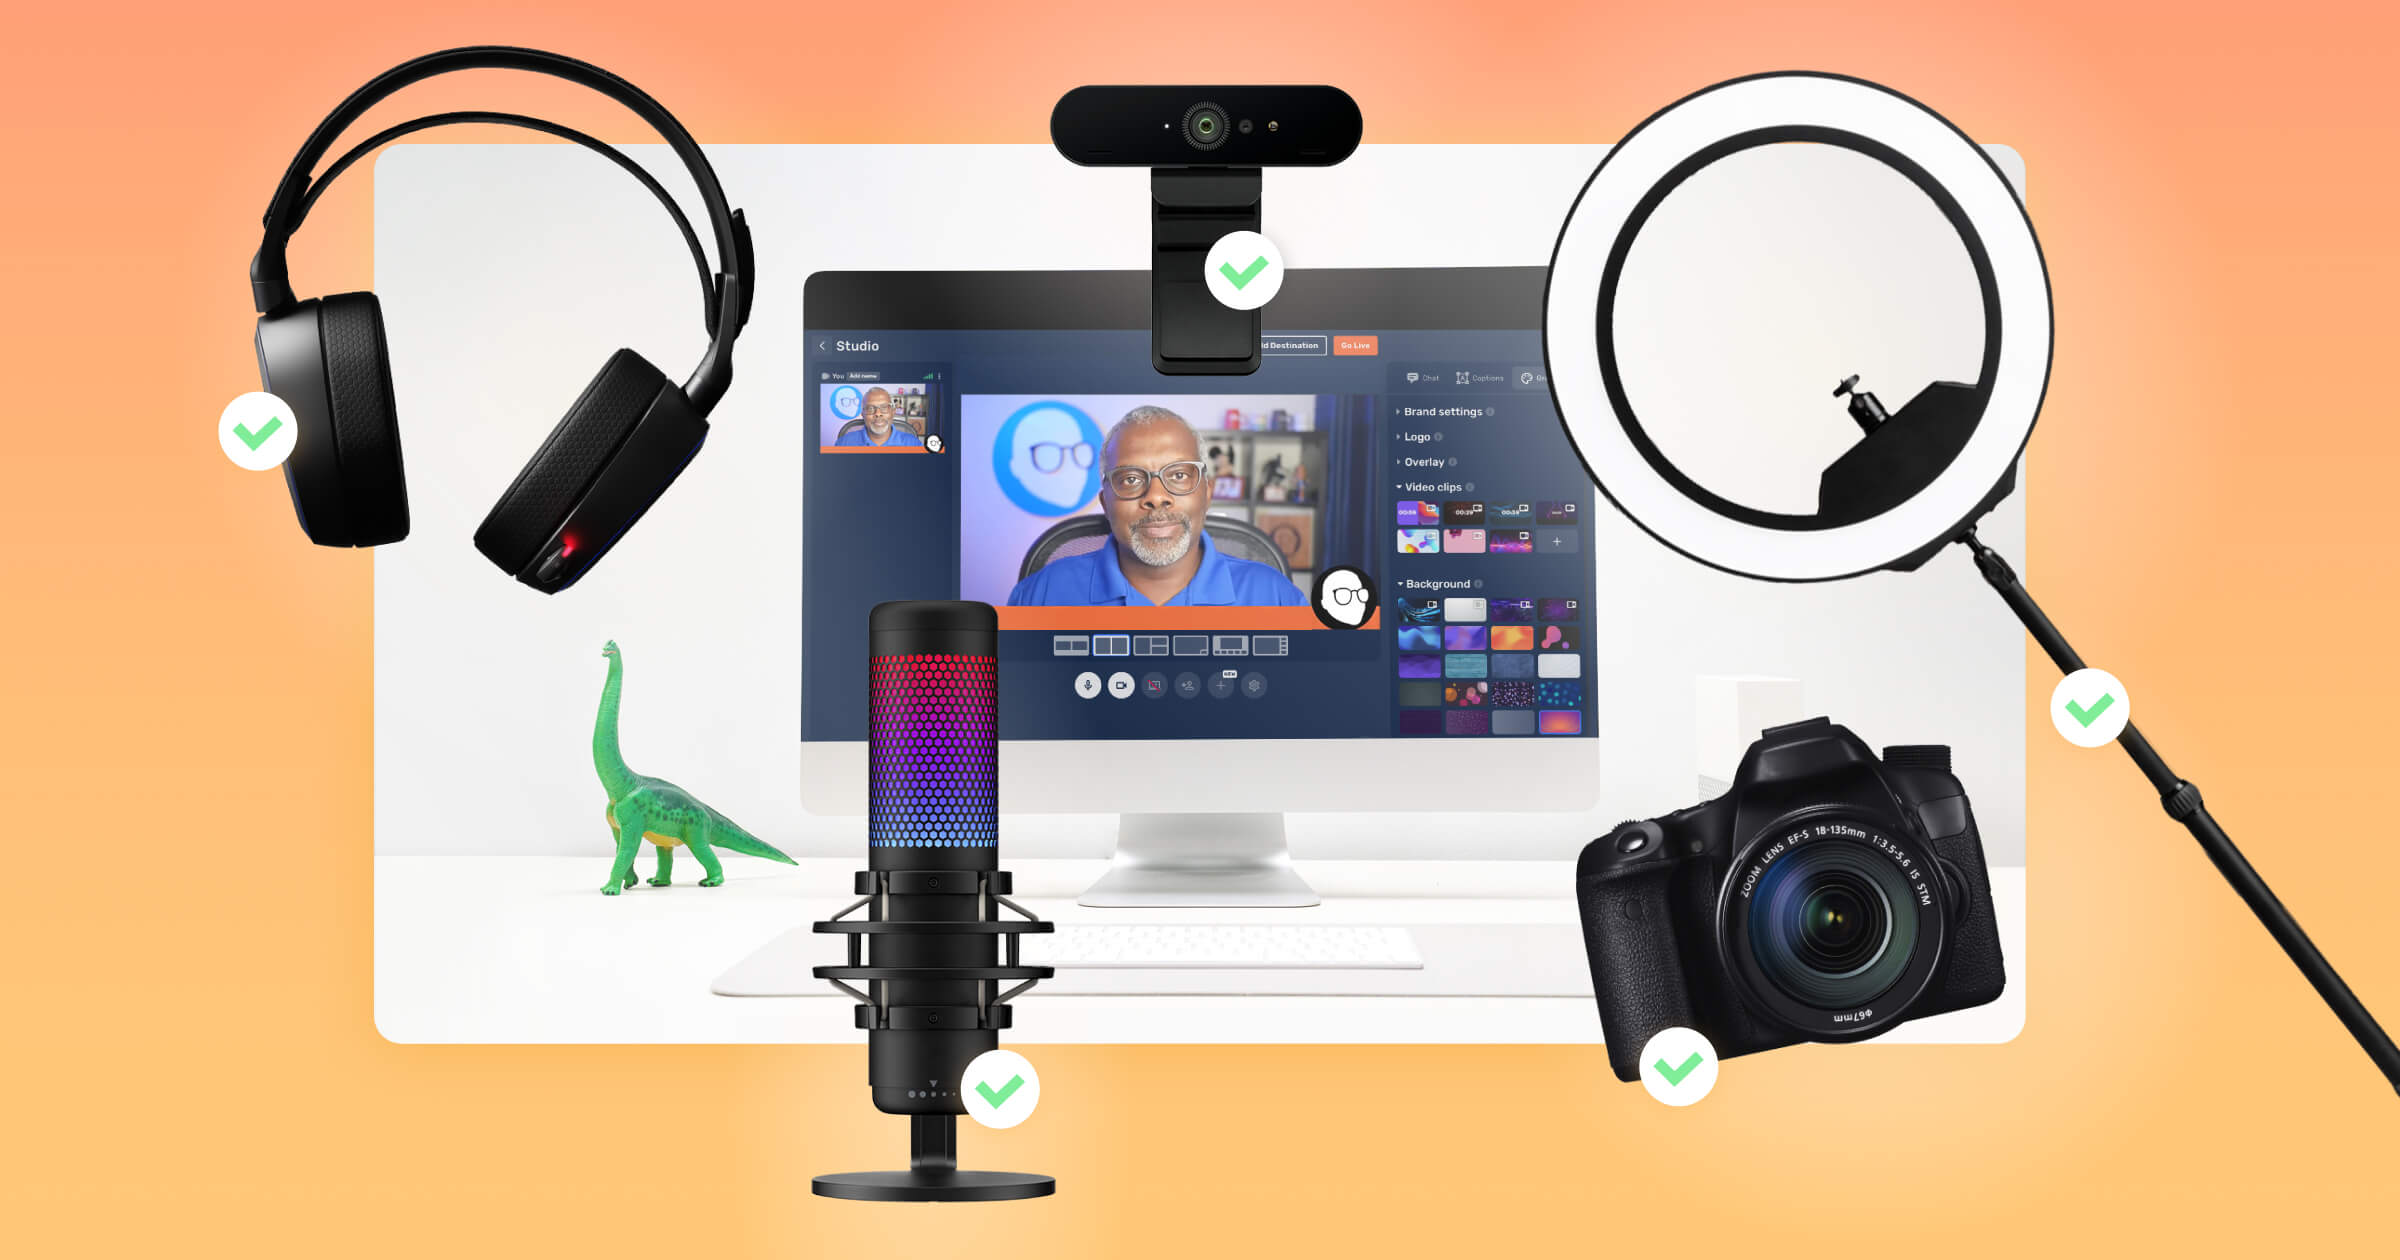
5. Make your stream look better with accessories
A room to stream in, camera, mic, and lighting are all essential for setting up a live streaming home studio. If you want to take things a step further and make your stream look more professional, then you need accessories. Additional streaming equipment might include:
- Tripod for your camera
- Arm for your microphone
- Cables to connect audio and video sources
- Light stands
- Green screen
- Stream deck
- Capture card
- Switcher
- Encoder
- Headphones

6. Utilize the best streaming software
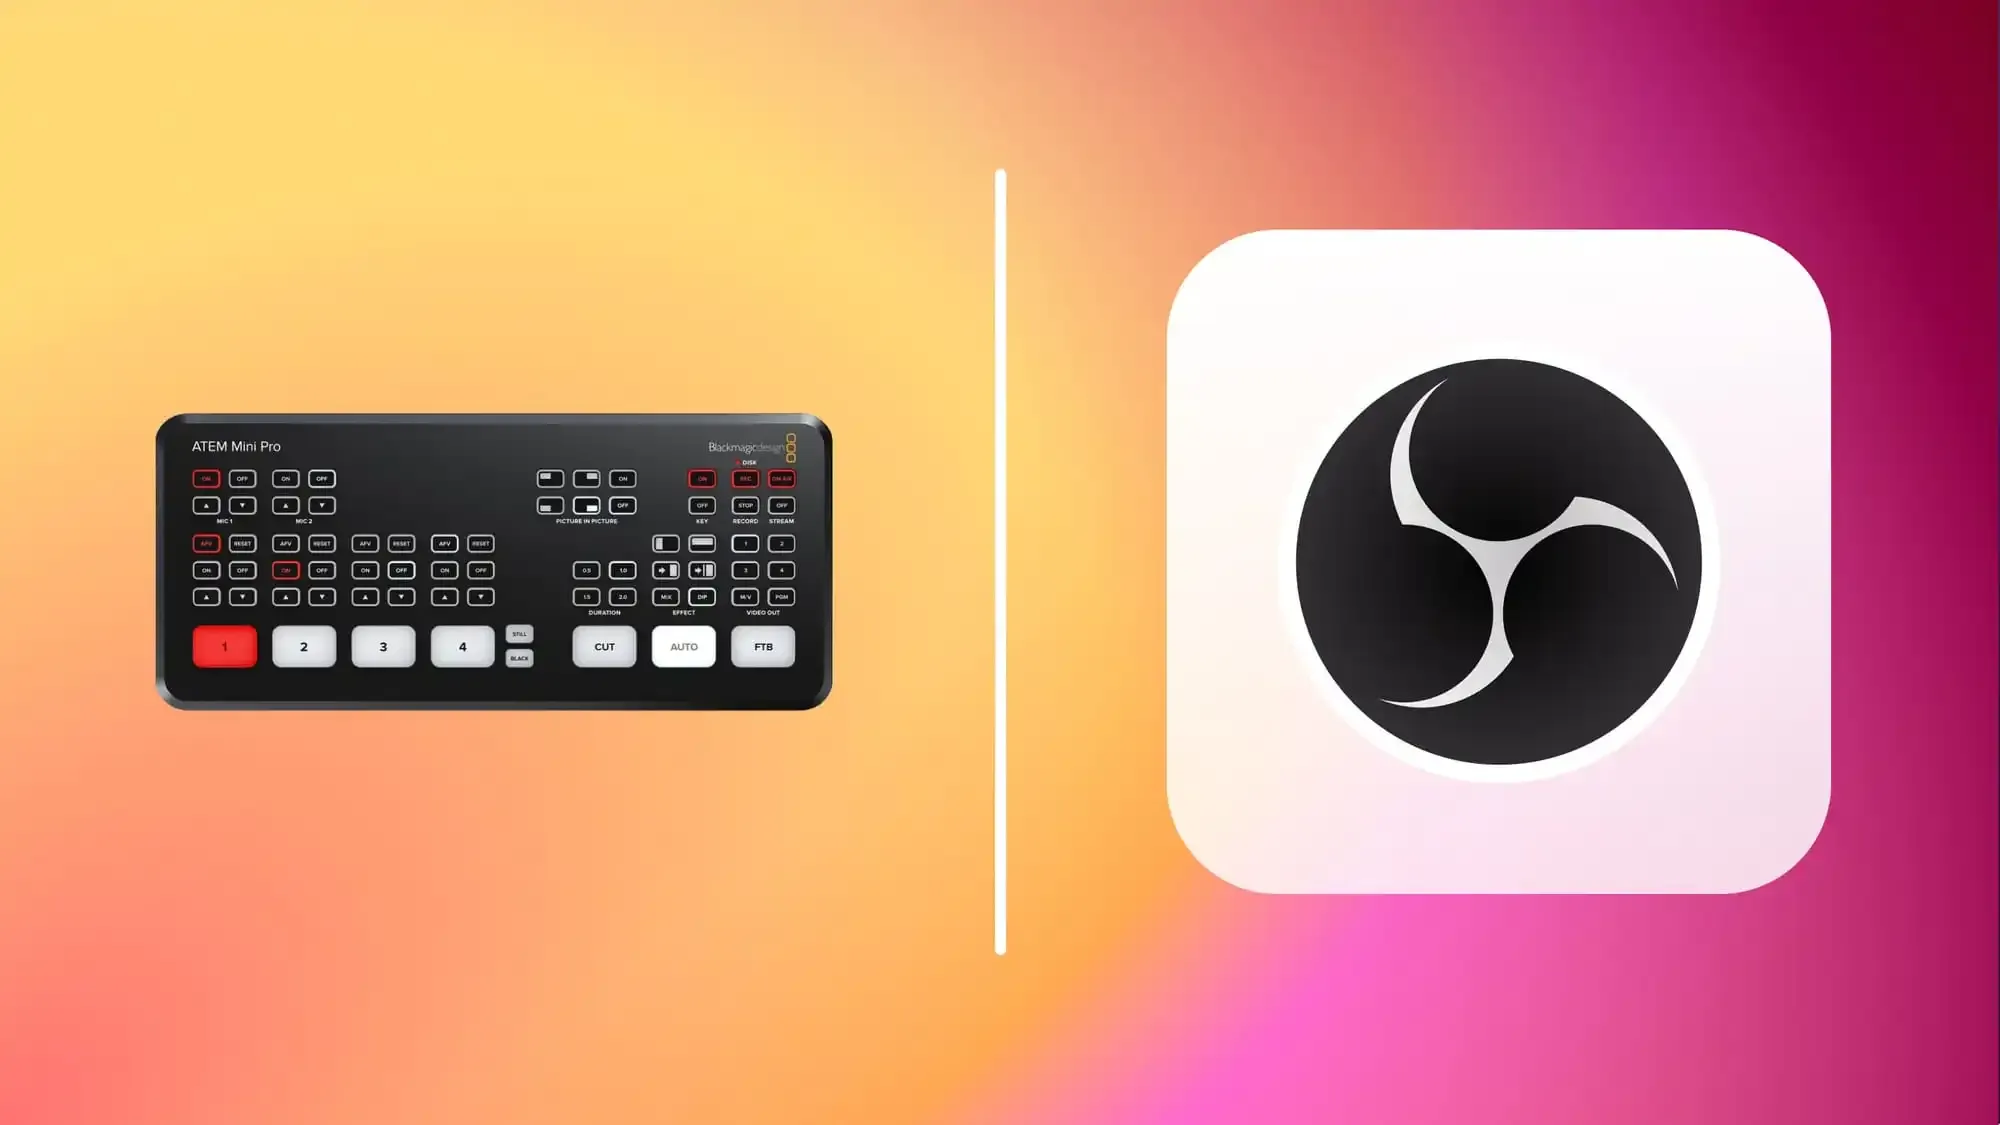
Once the physical aspects of your home studio are ready, you have to choose which live streaming software to use — if you decide not to use a hardware encoder, that is. The most popular software encoders are free and pretty straightforward, making them a more beginner-friendly choice.
When you choose live streaming software, look for one that has all the features you need to make your live stream look professional and engaging. Also, ensure it doesn’t take up many of your PC’s resources.
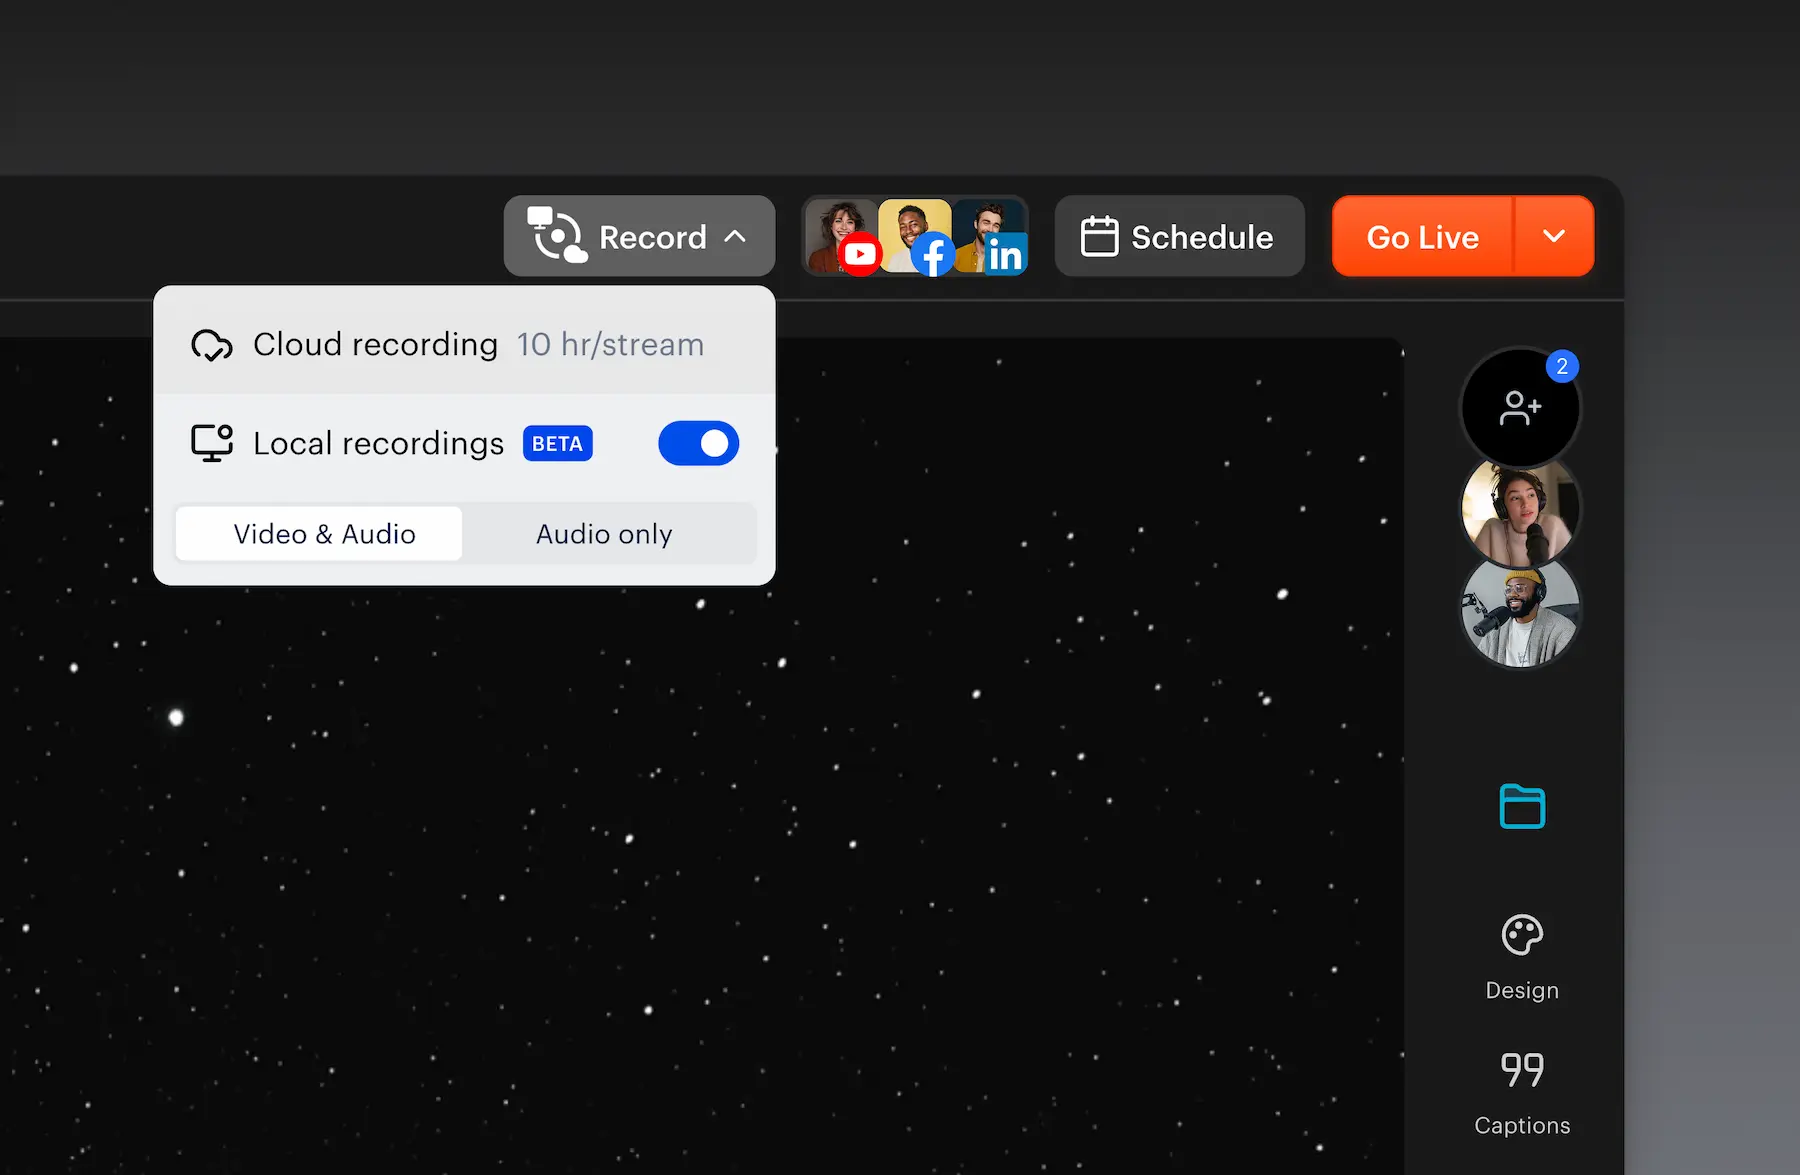
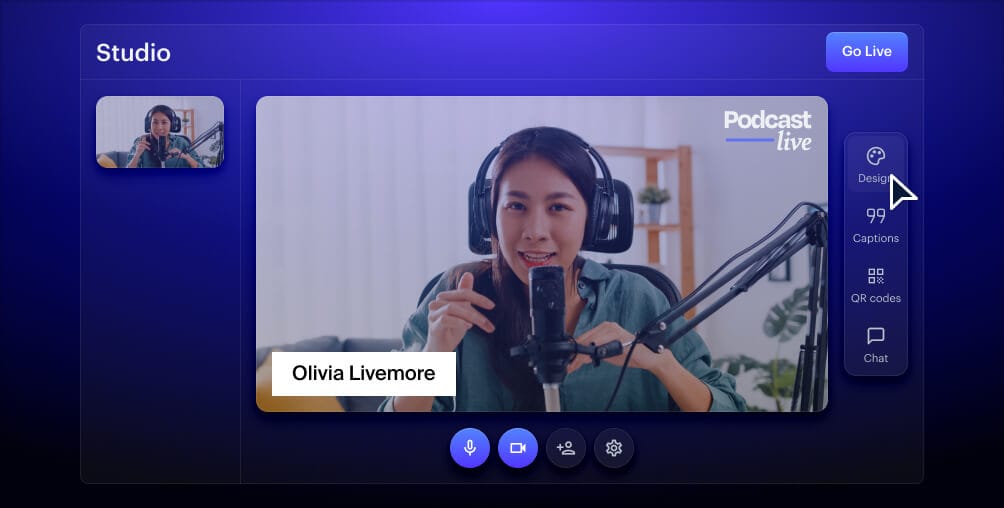
Restream Studio is a go-to streaming solution that lets you go live directly from a web browser. You don’t have to download any software, plus you can connect to multiple live streaming platforms simultaneously. It’s also packed with features to make your live stream high-quality:
- Share your screen
- Invite up to ten guests
- Split-track recording for each guest
- Play local video files
- Add an animated background
- Display custom graphics, lower-thirds, and logos
- Show a chat overlay
- Manage live chats from each platform in one central hub
- Play copyright-free background music
Create stunning live videos
Restream Studio is the easiest way to create high-quality live videos on multiple platforms at once. It's user-friendly and offers an engaging viewer experience.
7. Ensure you have a stable connection
All the work you put into your live streaming home studio won’t be worth it if you have a slow internet connection. Live streaming requires good upload speeds if you don’t want your stream to be interrupted.
What speed do you need exactly? The ideal range is between 672 kbps and 61.5 Mbps. This range is very wide, so it’s not too helpful. To get more specific, you’ll have to look at several variables when determining the upload speed you need for live streaming:
- The platform you’re streaming to: Facebook, Twitch, YouTube, and other popular streaming platforms all have different upload speed requirements.
- The pace of the visuals on screen: Streaming yourself sitting in front of the camera and chatting won’t require as much speed as fast-paced visuals like video games.
- The quality of your competitors’ streams: If other streamers have high-quality streams, you don’t want a poor internet connection to cause you to fall behind.
To get a more stable internet connection, try using an ethernet cord instead of WiFi. Also, disconnect other devices from your network when you stream. Close any apps or programs on your computer that you aren’t using for streaming and always keep your computer and modem up to date.
Examples of great home live streaming studios
Need some inspiration for your live streaming studio? Check out some of these streamers’ setups to see what’s possible with your home studio.
ProBlogger (Daren Rowse)
Daren Rowse of ProBlogger streams regularly on Facebook Live and has shared a tour of his home live streaming studio. He gives details on his backdrop, camera, mic, lighting, webcam software, and other accessories.
Terry White
Terry White goes live for Adobe a few times each week, so he invested in a sophisticated setup for his home live streaming studio. He explains how it all works on his blog, complete with images and the brand names of the equipment he uses. Note that although Terry’s setup looks awesome now, he’s been building it up slowly since 2016.
Joe Edelman
Photography expert and YouTuber Joe Edelman uses his home studio to live stream and create VOD videos. He gives a run-through on his website, differentiating between the live streaming and VOD setups. Joe, like Terry, mentions that it took him about four years and a lot of trial and error to find his perfect home studio setup.
SOFI TUKKER
DJ duo SOFI TUKKER live stream their sets regularly on Facebook and Twitch. In a quick video, they go behind the scenes with their ultra-cool home studio setup, letting viewers see how they make their streams.
Let’s wrap up
Creating the perfect video production studio setup at home is possible if you’re willing to dedicate some time and a little money. Also, remember that the awesome home studios you see behind your favorite streamers today probably took a while to fine-tune. You don’t have to get your studio exactly right on the first try, and over time you may wish to upgrade to better equipment. And if you multistream with Restream Studio, you’ll be able to grow your channel faster and continue making improvements to your live streaming studio!