Modern standards of live streaming demand high quality. Missing audio, sudden lags, and blurry video all make your live stream unwatchable, which prevents you from growing your channel.
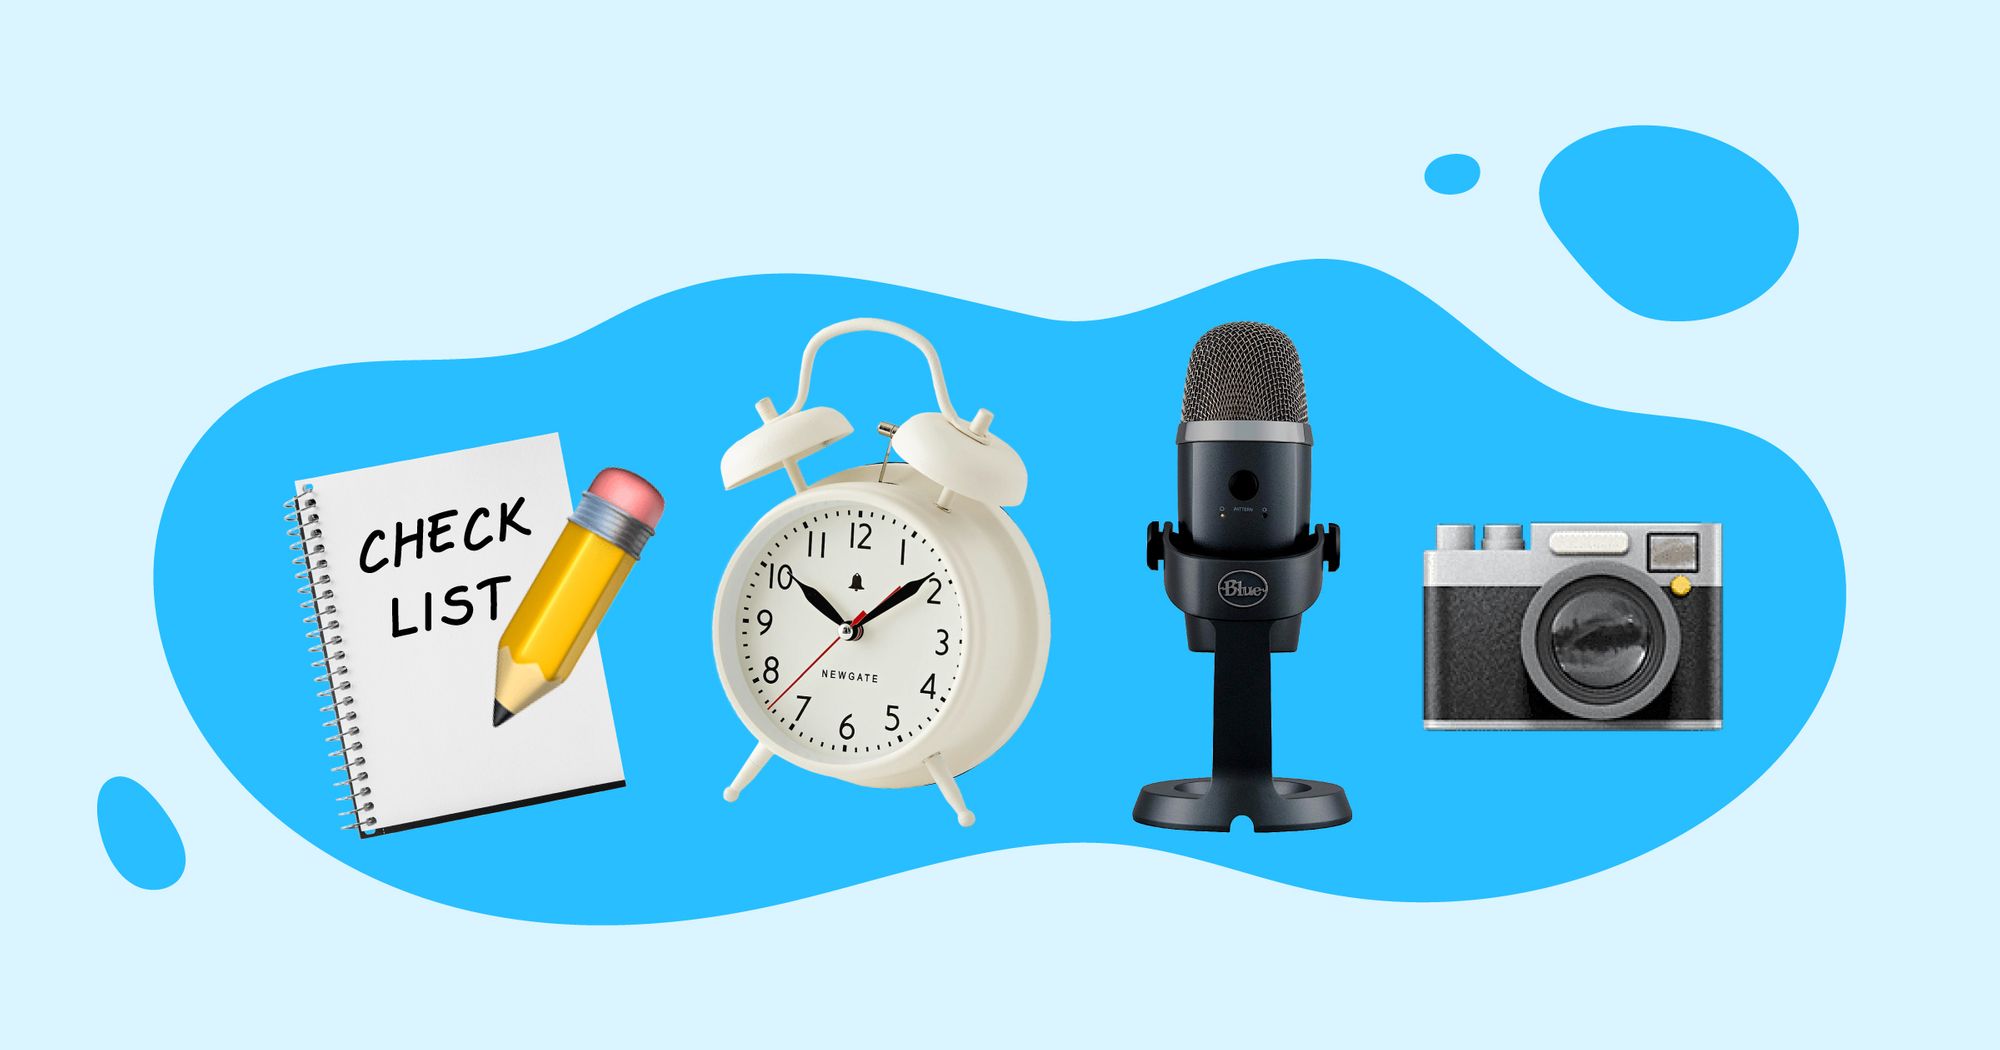
Every time you go live, you should run through a preparation checklist first. Don’t have a checklist? No worries; we’ve made one for you. As a bonus, we’ve included our best live streaming tips. Use this cheat sheet the next time you plan to live stream.
1. Plan your broadcast
First and foremost, arrange your live streams in advance by creating a content plan. Define your broadcast type — Q&A, presentation, interview, tutorial, product launch, contest, etc. Then, make a list of everything you need.
For example, if you want to broadcast a live interview, you might need more than one camera to get better angles. For a product launch, ensure you have multiple samples of all the products you want to showcase. Maybe you want to do a complex live stream that requires the use of a green screen and additional lighting. Think about what you need, write it all down, then make sure you have it.
2. Choose the right platform
Your platform choice depends on your audience because they all cater to different demographics and niches. Each platform has its benefits and limitations to consider as well. Let’s look at four of the most common live streaming platforms.
YouTube Live
YouTube is the perfect place for extremely high-quality live streams, as the platform supports 4K streaming. Good quality requires a higher bitrate, though, and YouTube recommends between 3,000 and 10,000 Kbps. To go live on YouTube, you need to either verify your YouTube channel or make sure you haven’t received any live streaming restrictions within the last 90 days, such as Community Guidelines strikes, globally blocked live streams, copyright strikes, or exceeding the daily limit for live streaming.
If you plan to live stream from your mobile device, you need at least 1,000 subscribers on your channel.
Facebook is another live streaming giant, allowing you to reach millions of people across the world. Unfortunately, you won’t have ultra HD quality – the maximum video resolution on Facebook is 1080p. That makes Facebook’s bitrate requirements more manageable than YouTube’s, however, with a maximum bitrate of 4,000 Kbps.
Live streaming on Facebook is simple, though, since Facebook has a native live streaming studio that lets you go live from a web browser on a laptop or PC. You can also go live from your mobile device. All you need to get started is a Facebook profile, then you can hit the Live button on your desktop or mobile.
Before you can broadcast to LinkedIn, you need approval from the platform. You must either fill out an online form (if you want to stream as a LinkedIn member) or arrange live streaming capabilities with your LinkedIn Marketing Solutions rep.
Once you’re approved, you can connect your LinkedIn account to Restream and start going live from your laptop or PC. To live stream on LinkedIn, ensure your bitrate is no less than 3,500 Kbps.
X (Twitter)
People use X (Twitter) to live stream everything from short highlights to spaceship launches. Nowadays, you can broadcast to X (Twitter) via Media Studio, which has a media library, monetization features, and analytics tools for live streaming.
Not everyone on X (Twitter) has access to Media Studio, however, so you need to reach out to your X (Twitter) partner manager before you can sign in. Once you have access, you’ll have to add a video source via RTMP or HLS and make sure your bitrate is around 9,000 Kbps before you go live.
Choose more than one platform
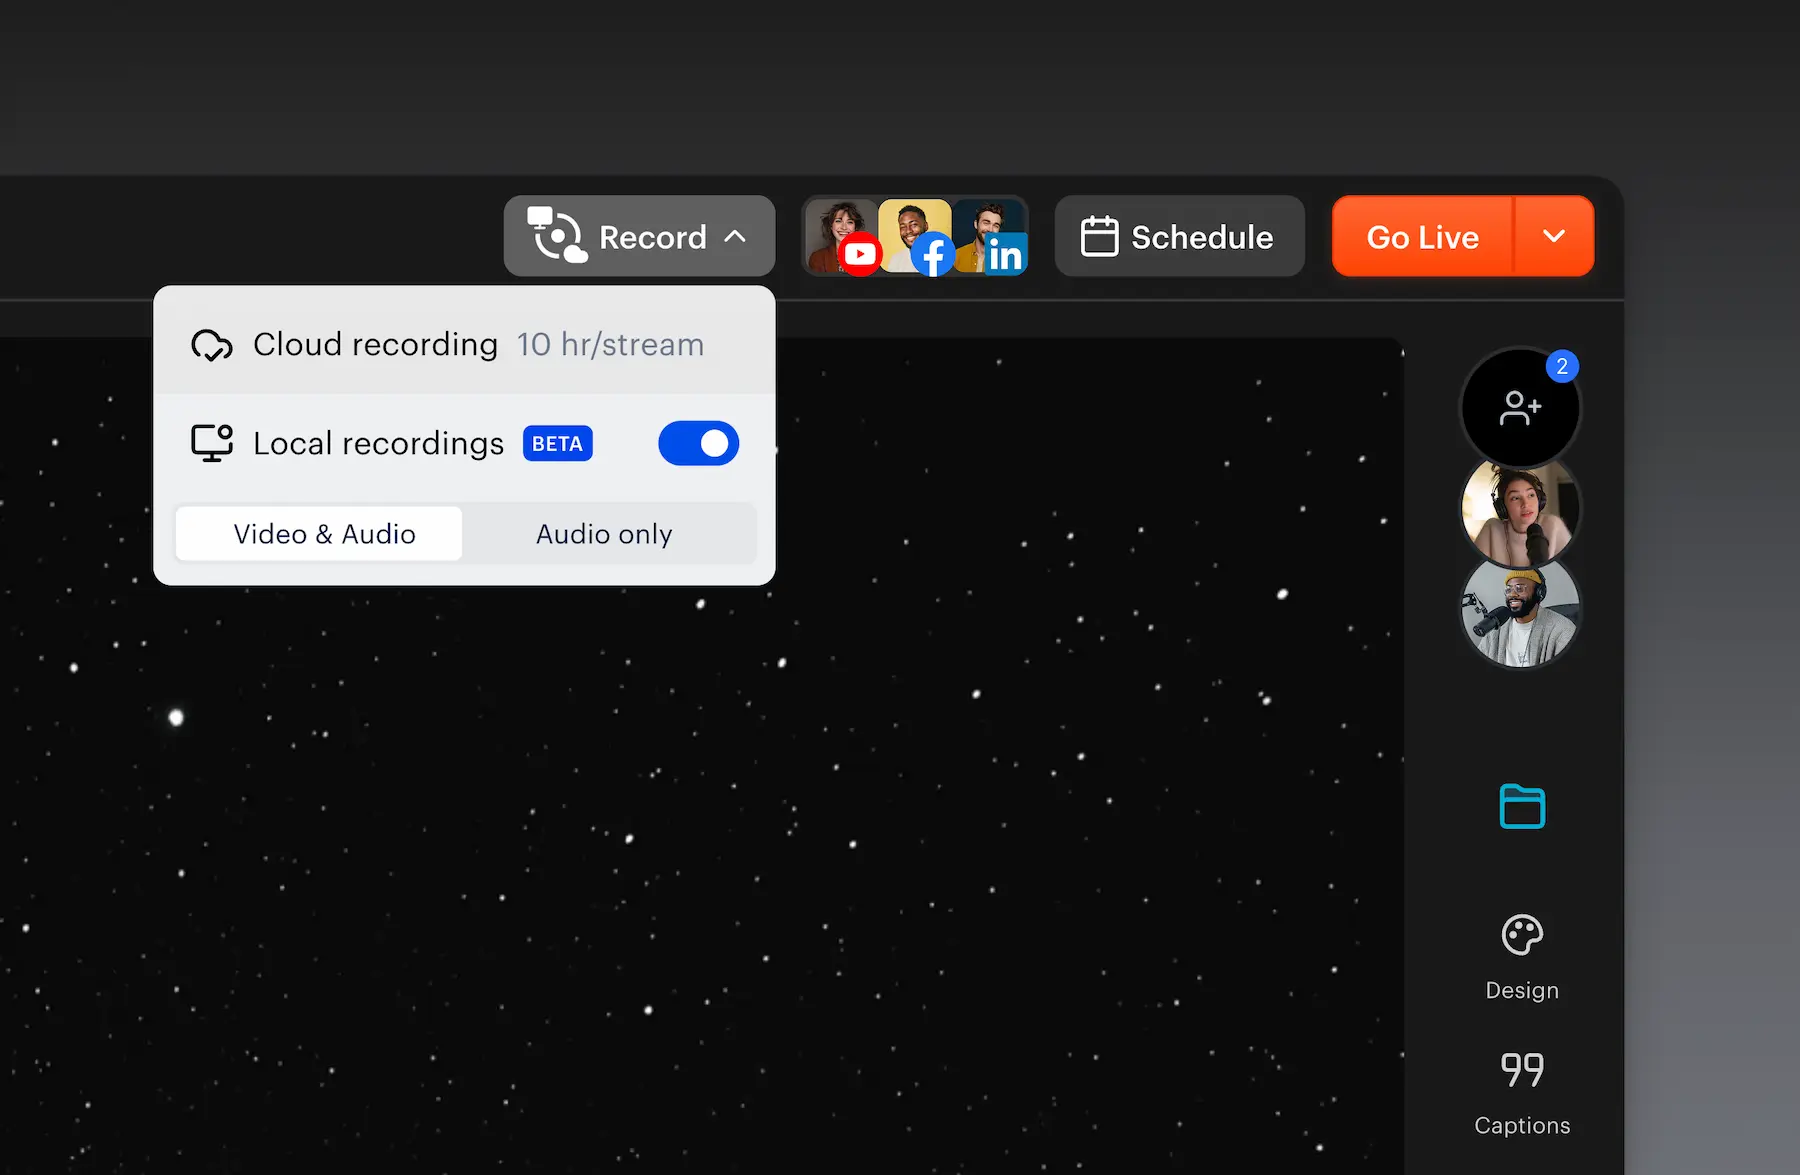
With multistreaming, you can find the places where most of your viewers spend their time and maximize your reach. With Restream Studio, you can live stream to the biggest platforms, such as YouTube, Facebook, LinkedIn, and X (Twitter), at the same time without additional software. Restream Studio has tons of other cool features to help you pull off a professional live stream, including:
- Inviting up to nine guests to your stream
- Using custom overlays
- Adding your logo
- Sharing your screen
- Playing copyright-free background music
- Seeing all chat messages in one centralized hub
Restream makes it easy to multistream and create engaging, customized live streams.
3. Check your internet connection
A good high-speed internet connection is a must for live streaming. A wired connection is more stable than Wi-Fi, and if you have both, your desktop will prioritize the wired connection over the wireless one. If you use both Wi-Fi and an Ethernet cable, you will always have a backup option as well. If you stick to Wi-Fi, there’s the possibility someone else could be using up bandwidth at the same time you go live. An Ethernet connection to a dedicated network will let you forget about those troubles, though.
No matter which type of connection you choose, ensure your bandwidth is good enough for broadcasting and test your upload speed before going live. Generally speaking, anything between 672 kbps and 61.5 Mbps is good, but you should focus on the upload speed for your chosen platform.
Pro Tip: Close out of unnecessary apps. Applications like Outlook or Skype that are still running in the background can slow down your CPU, causing reduced stream quality.
4. Set up your equipment
Before you start live streaming, remember to test your setup. Here’s a checklist of the essential live streaming equipment.
- Camera. You can use your laptop webcam with an installed microphone, but if you want a more polished picture and better sound, consider using external devices. Test them in advance to improve your streaming quality. For example, if you use your smartphone or tablet as a camera, set it on a tripod. If you use several cameras, test each of them. Even if you prefer using only one video source, prepare a spare camera in case your main device fails in the middle of a live stream.
- Lighting. Your camera might not be the best, but you can still improve the image with good lighting. You don’t need a ton of professional studio lights, either. A single source of light can make a huge difference, and your picture will look much better.
- Audio. Good sound is crucial for live streaming. People may put up with not-so-perfect video, but the audio is vital — you can’t communicate if your viewers can’t hear you. Test your microphone to understand how sensitive it is and eliminate as much background noise as possible.
5. Test your stream before going live
After you go through this checklist, make sure to test everything once more in real-life conditions.
Maybe everything works fine separately, but when turning it all on together, you may face some unforeseen issues. The most typical troubles are lagging video, absent audio, or your broadcast stopping spontaneously. There are several ways you can test your broadcast, including with Restream.
- First, stream directly to Restream. Disable all your active channels on Restream, then start broadcasting from Restream Studio. Restream saves recordings of all your live streams in Video Storage, so you can go back and watch your test stream for any issues. Note that you need one of our paid plans to access saved recordings in Restream Video Storage.
- Second, you can create private streams on YouTube and/or Facebook to test everything in real-life conditions. Read our Help Center article to learn how to set it up.
- The third option is to create backup testing channels or pages on the platform on which you want to go live and test everything without having any viewers.
Running tests may take some time, but it will also improve your live streaming quality and help you troubleshoot problems before you’re live.
6. Additional tips
You made it through each step of the checklist, and now you’re ready to go live! But before you do, keep these few tips in mind as well.
Define your streaming goals
Before you start streaming, define what you want to achieve. Set your goals by answering these questions:
- Why do you live stream?
- What is the value you provide to your audience?
- What does a successful live stream mean for you?
The last question is the most crucial. Define what success means for you and set mini-goals on your way to achieving it.
Choose the right time
If you want to reach as many people as possible, consider scheduling your live streams for when your viewers will be online. With Restream Events, you can schedule both live broadcasts and pre-recorded videos. Experiment with your schedule to find the perfect time for you and your viewers. You can live stream for viewers in your time zone, then use the recording of your stream that Restream stores automatically and schedule it for a later broadcast to reach viewers in other time zones.
Promote your live stream
Once you’ve tested everything, you’re good to go live. But if you want viewers to tune in, you should give them a taste of your live stream beforehand. There are a lot of ways to promote your live streams before, during, and after the broadcast. The most popular methods are:
- Posting about the live stream on every social network you’ve got
- Creating teaser videos to preview your live stream
- Posting countdowns to remind your viewers in the days leading up to your live stream
- Scheduling your live stream with Restream Events so it’s hard to forget and easy to find
Wrapping up
According to Murphy’s law, if anything can go wrong, it will. Live streaming is no exception to this rule. There’s always a chance of an unexpected issue, from blackouts to a friendly pigeon that would like to co-host your outdoor live stream. However, with this easy checklist, you can minimize the chances of facing the most common problems and improve your live stream quality.
To review, your live stream checklist is:
- Plan your live stream.
- Choose your platform
- Test your internet connection.
- Set up your equipment.
- Do a test run before going live.
- Define your streaming goals.
- Choose the right time.
Promote your broadcast. Stay ahead of problems before they happen, and use Restream to help you prepare for an excellent live stream.