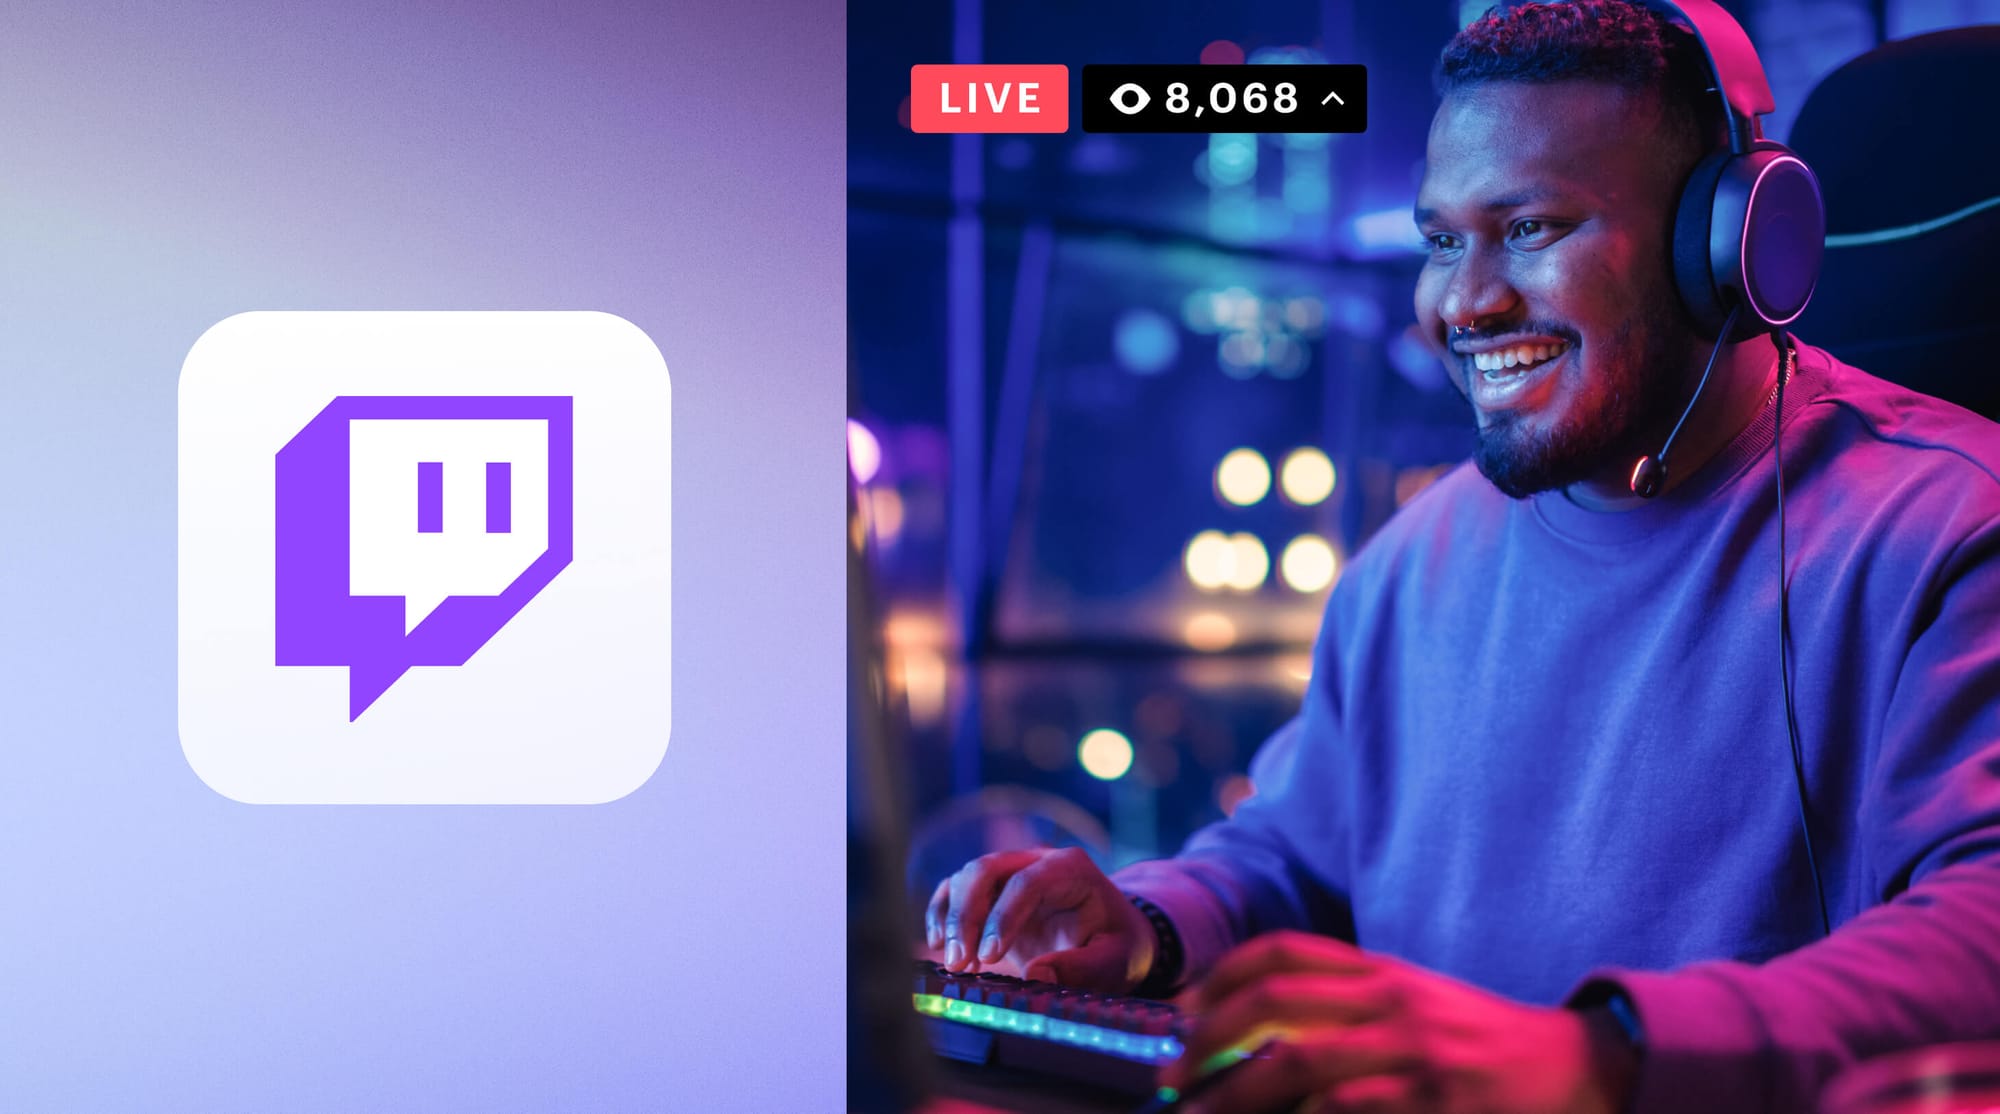
You can’t talk about live streaming without mentioning Twitch. It started as a gaming-first platform, but in the last few years it’s expanded to include content creators of all genres. In 2022, the number of minutes watched on Twitch reached 1.35 trillion, more than twice the amount of time watched on YouTube Gaming Live and Facebook Gaming combined.
If you want to command an audience as a live streamer, you should know how to stream on Twitch.
How to create a Twitch account
To use Twitch for live streaming, you need to create an account. Setting up an account is straightforward and completely free. It only takes three steps.
1. Review the community guidelines.
You should read the Twitch community guidelines before you sign up for or agree to anything. Bookmark the page to check back for occasional updates.
2. Create an account.
On a desktop computer, click the Sign Up button and fill out the form. On mobile devices, download the Twitch mobile app. You’ll need to choose a username, set a password, and enter your email and date of birth. When you sign up on mobile, Twitch recommends using your phone number at first and verifying with your email address later on.
3. Enable two-factor authentication.
You can’t broadcast on Twitch without enabling two-factor authentication (2FA), and you’ll need your password and mobile phone to do so. You must first verify your email address in your Twitch account’s Security and Privacy settings and then you can turn on 2FA. If you haven’t already saved your phone number to your account, you must do so to enable 2FA.
Which software to use for live streaming on Twitch
If you’re using a desktop computer or laptop, you cannot install the Twitch app, so you’ll need live streaming software to broadcast on Twitch.
Every streaming software comes with its own sets of pros and cons. Some of the best options are:
- Restream Studio — Restream Studio is a free, browser-based streaming solution with tons of features that make going live easy, even for beginners. You can go live on multiple platforms like Twitch, YouTube, Facebook and others at the same time, do picture-in-picture streaming, and display the chat as an overlay. It also has copyright-free background music that you can play on a loop.
Create stunning live videos
Restream Studio is the easiest way to create high-quality live videos on multiple platforms at once. It's user-friendly and offers an engaging viewer experience.
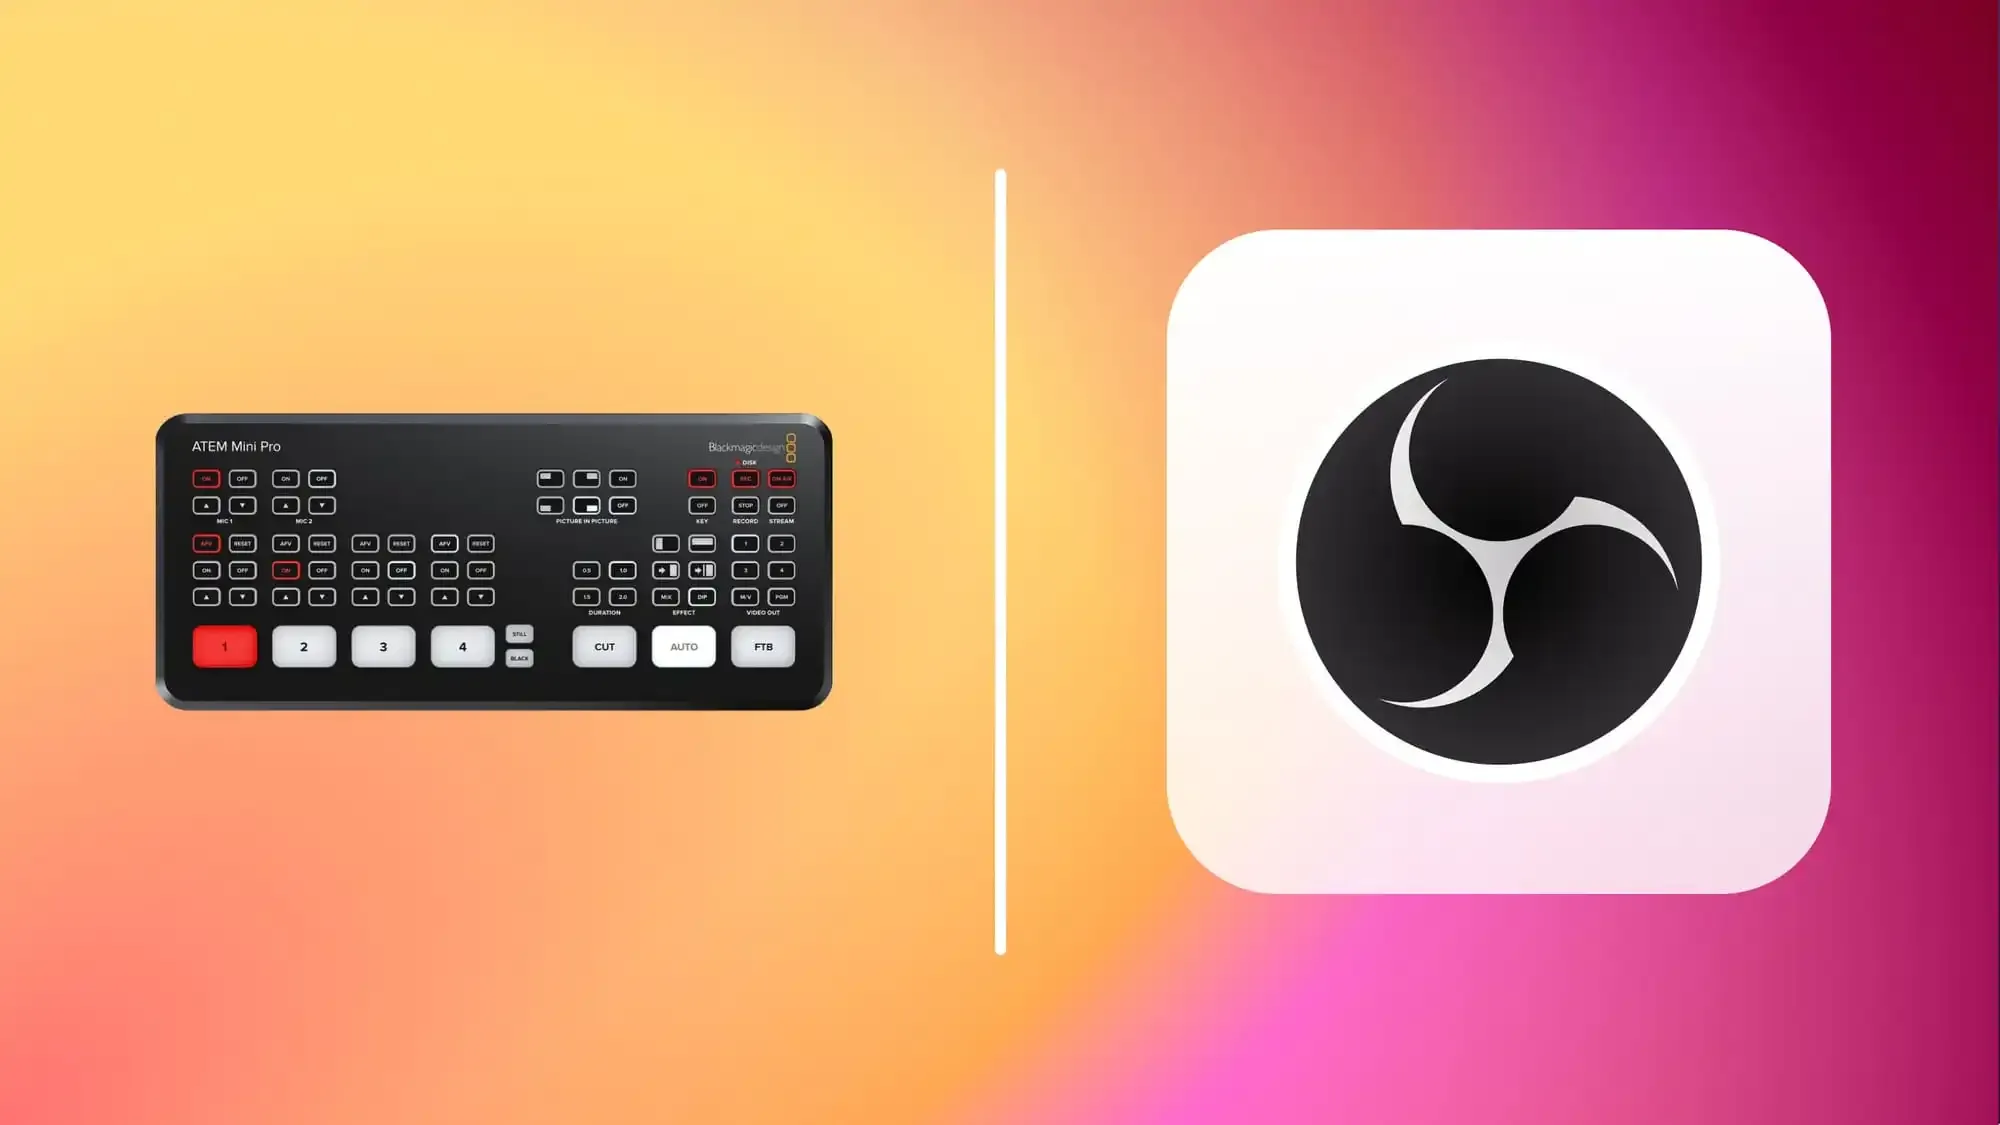
- OBS Studio — OBS Studio is a free, open-source streaming software with cross-platform compatibility. The learning curve can be a bit high if you’ve never used live streaming software before, though.
- Streamlabs — Streamlabs has some great features that might help you monetize your channel and is considered a more user-friendly alternative to OBS. It’s only available on Windows, though. Read about the difference between OBS and Streamlabs to help you decide.
If you’re looking for a quick start on Twitch just to see if streaming is for you, try Twitch Studio, Twitch’s proprietary streaming software. It’s still in beta, however, so the features are limited. You also have fewer customization options with Twitch Studio, as importing custom overlays or adding plug-ins can be a clunky process. Note that Twitch Studio has been discontinued on Mac.
What equipment to use when streaming on Twitch
A PC (or console or smartphone), a mic and a webcam are all you need to start streaming on Twitch.
You don’t need the latest generation of computer processors or the newest model of DSLR camera. Twitch isn’t on the leading edge of video quality — it doesn’t even support 4K streaming — so you can get away with lower-quality gear. It’s perfect for beginners.
There’s one obstacle many Twitch content creators face, though. When broadcasting a video game, encoding live video and gaming at the same time can be too much of a burden for a computer’s CPU. If you want to stream video games, you’ll need a CPU powerful enough to handle it.
A device to stream from
To stream on Twitch, you need a device to stream from. This could be a computer, a gaming console or a smartphone. Gaming consoles such as the PlayStation 4 and Xbox One are viable options, as are smartphones. These devices are an easy entry into the world of streaming, because you don’t need additional software or hardware.
However, desktop computers are the most popular choice for streaming because you can have more control over your stream. Broadcasting software allows for cool features such as creating scenes and using overlays. Some streamers even have a console-PC setup, using the console for gaming and the PC for streaming the gameplay.
PCs are pretty much unavoidable for high-end streaming. The absolute basics for PC specs are an i5 processor, 8 GB of RAM, and a solid internet connection. Here’s what you should consider when building a streaming desktop computer:
- The CPU: It needs to handle simultaneous gaming and encoding. If you want to stream in higher resolution (like 1080p or 4K), then you need a more powerful CPU. We recommend a CPU with at least six cores if you want to live stream a video game. The Intel Core i5-10600K and AMD Ryzen 7 5800X are respectable mid-range choices, and the AMD Ryzen 5 3600 is a solid budget-friendly option.
- The GPU: The GPU is your graphics card, which you need to play video games on a PC. An Nvidia RTX graphics card has built-in hardware encoders, and you can use it with OBS Studio to take some of the burden off the CPU. Other good GPU options are the Radeon RX 570 and the GeForce GTX 1660 Ti.
- Operating system: You can stream with either Windows or macOS, just make sure the software you’re using is compatible with your OS.
Another option is to stream with a dual-computer setup, with one computer for gaming and the other for streaming. If you choose this option, use the one with the stronger CPU for encoding.
The more you want from your content, the more you’ll need to invest in gear. Better computer components means better performance. The same goes for the rest of your streaming gear.
A microphone
Unless you’re an elite gamer who can attract and hold an audience simply by playing games unbelievably well, you’ll need to offer something more to keep your viewers engaged. Audio commentary lets you show some personality and communicate with your audience.
Microphones are a good investment for streamers because the audio quality of your stream is paramount. You want people to be able to hear you clearly and understand what you say. If your viewers can’t hear you, they won’t stay on your channel. It’s possible to get away with a gaming headset’s built-in microphone for a while, but it would be best to opt for a standalone mic right away. From the lowest to highest priced, some popular choices are:
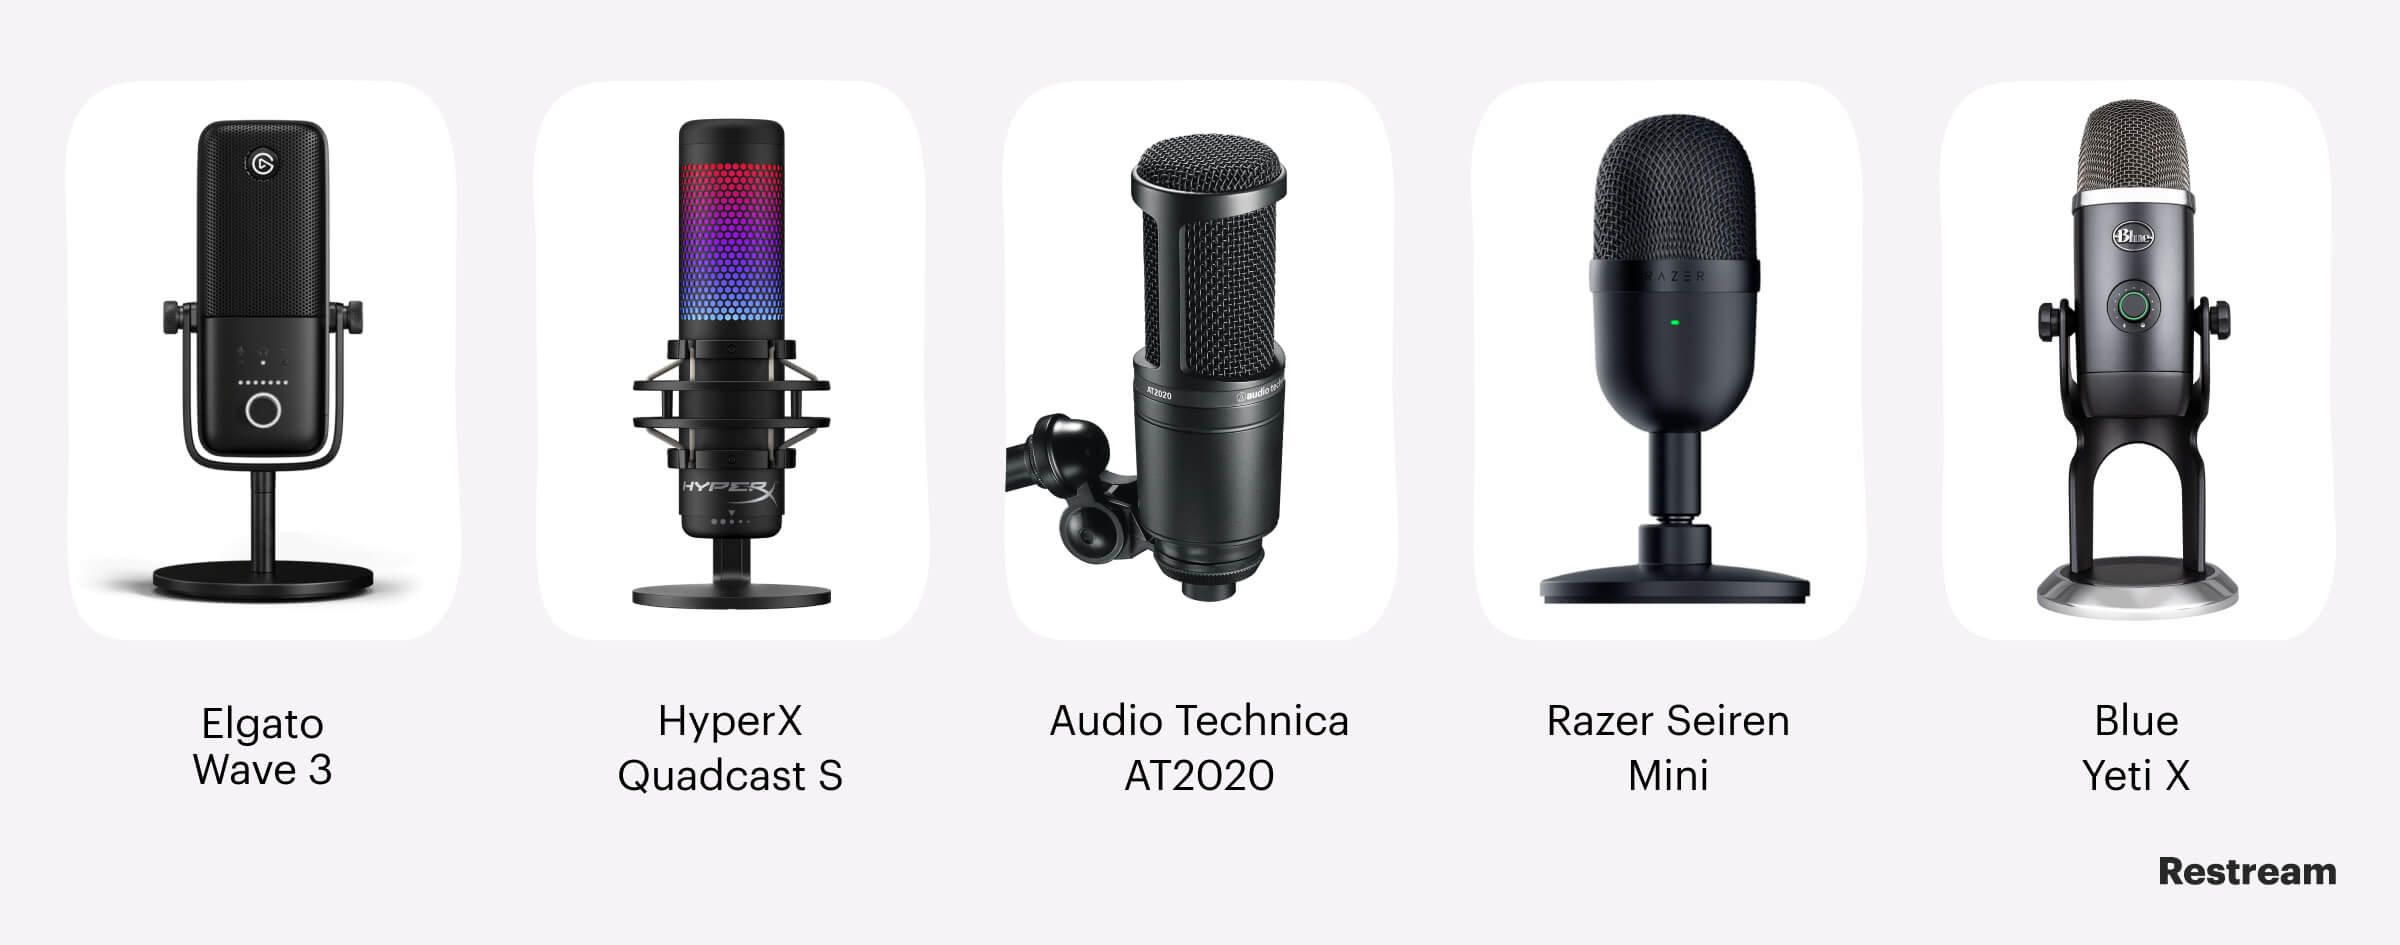
- Elgato Wave:3
- HyperX QuadCast S
- Audio-Technica AT2020
- Razer Seiren Mini
- Blue Yeti X
A webcam
If you think you should add facial expressions and other forms of non-verbal cues to your stream, you’ll want to invest in a camera. You can get good results with a webcam, which easily hooks up to your computer or laptop. Here are some popular choices:
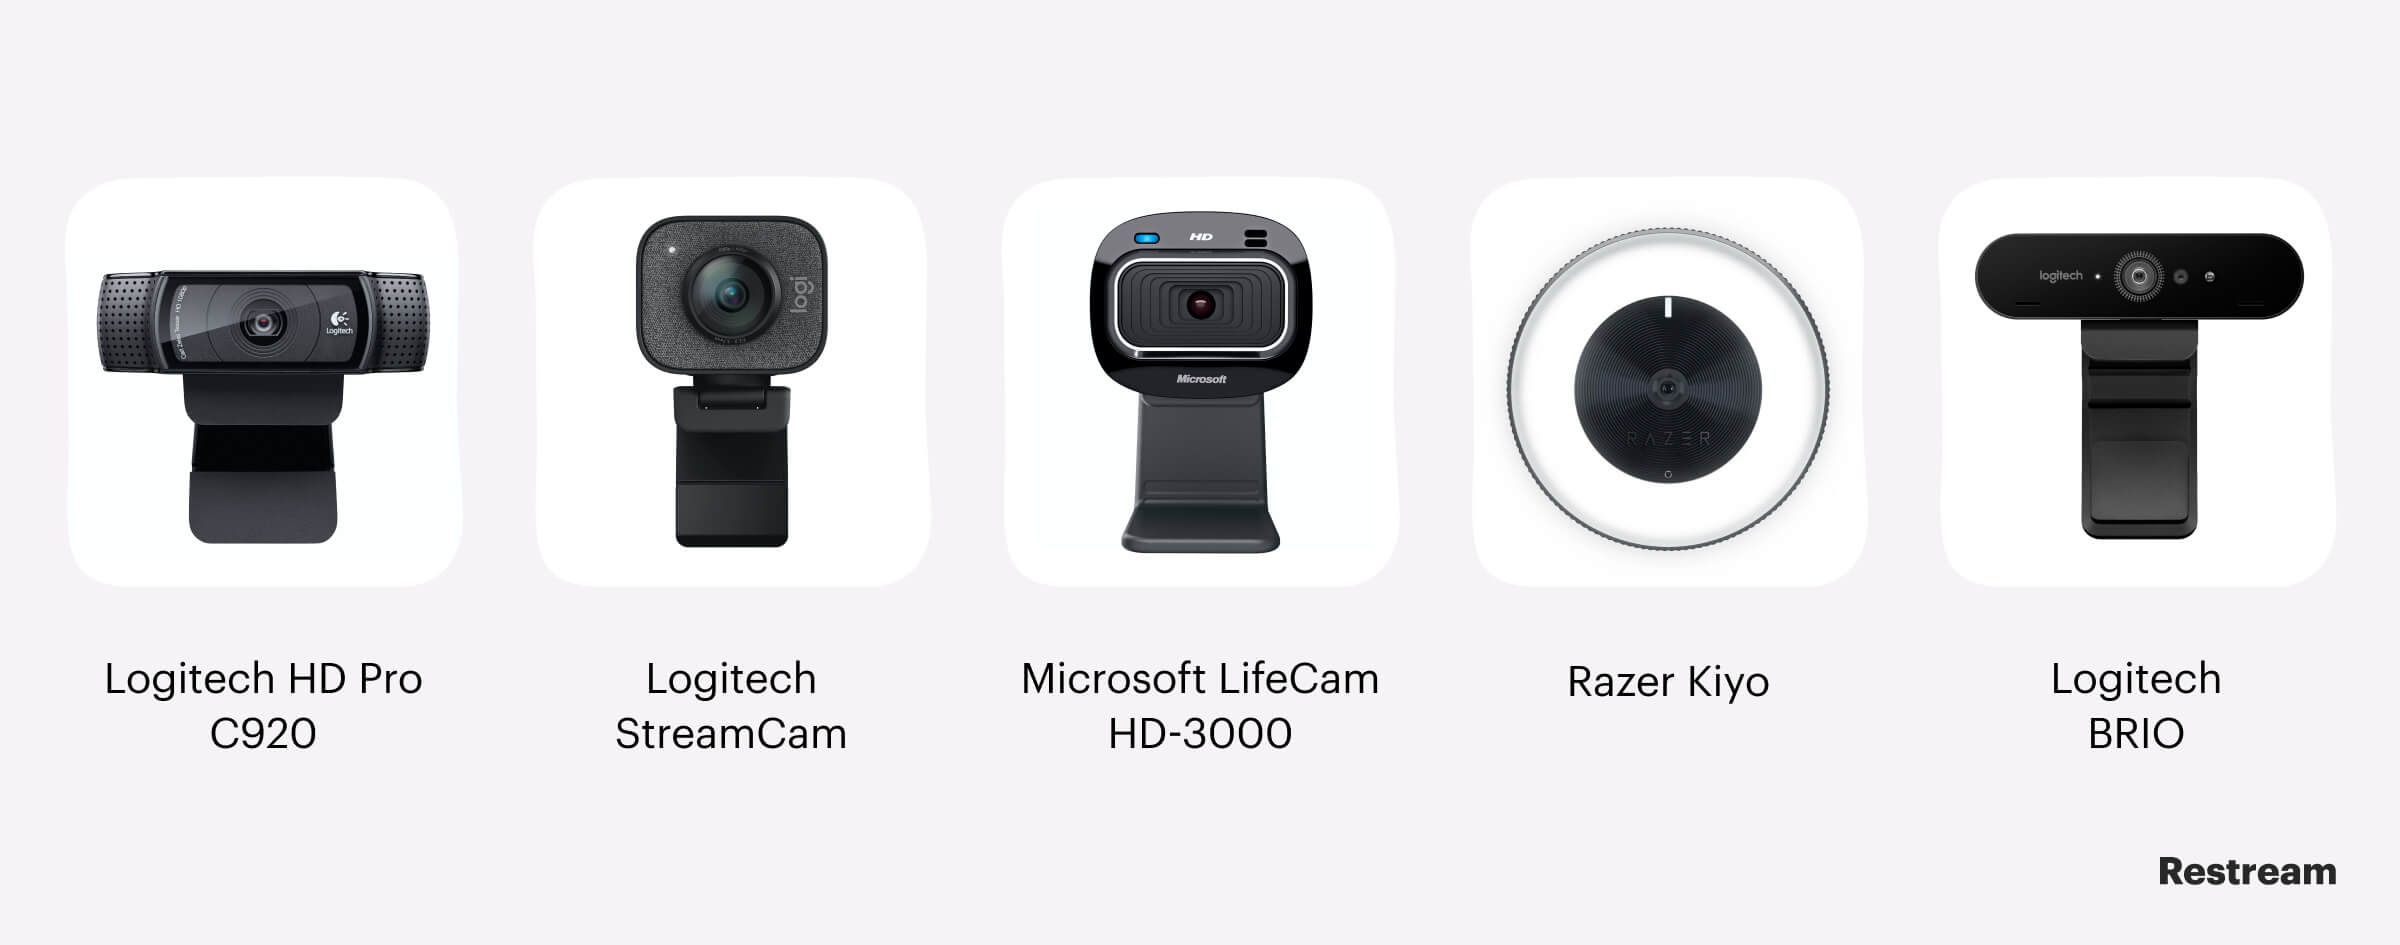
- Logitech HD Pro C920
- Logitech StreamCam
- Microsoft LifeCam HD-3000
- Razer Kiyo
- Logitech BRIO
If you want to take the video quality of your stream up a notch, you can also try streaming with a DSLR camera. To use it with live streaming software such as OBS, you’ll need a capture card. A DSLR camera is more expensive than a webcam, but it does boost your production value.
Choosing the least expensive options for a mic and webcam will set you back around $100 in total, but it will ensure that your Twitch viewers can hear and see you well.
Additional streaming gear
The basic setup is a great place to start but eventually you may want to scale things up. Whether you want to add another computer to your setup or look better on camera, you’ll need to pick up some additional gear, such as the following:
- Lighting — If you’re streaming with a camera, use some flattering light that makes you easier to see. There are lots of options: LED softboxes provide gentle lighting, a ring light gives you even coverage, and strategically placed, cheap clamp lights can get rid of unseemly shadows.
- Green screen — Whether you want to add or remove your background, a green screen can come in handy. Most encoders will recognize it so learning how to use chroma keying in your streams is easy.
- Capture card — If you want a two-computer setup, or if you want to stream console games via a computer, you’ll need a capture card. You have two options: external or internal. It might be tough to find one below $150.
As you become a more experienced Twitch content producer, you’ll start figuring out which additional equipment you need. When it comes to live streaming gear, think about cost-effectiveness. Always look for the biggest bang for the buck you can afford to spend.
How to live stream to Twitch from a desktop computer
Since streaming from a computer is the most popular option, let’s look first at how to get set up as a Twitch broadcaster using a PC.
1. Gather, connect and set up your gear.
Before you set up your streaming software, make sure all the hardware you need is connected. Connect your webcam, microphone and any additional monitors to your computer. Set up your green screen if you plan to use one and get your studio ready.
Run tests before going live. Set up your webcam at a good angle and check the audio levels on your mic. You should also soundproofthe room you’re streaming in and adjust your lighting if you’re using lights.
2.Connect your streaming software to Twitch.
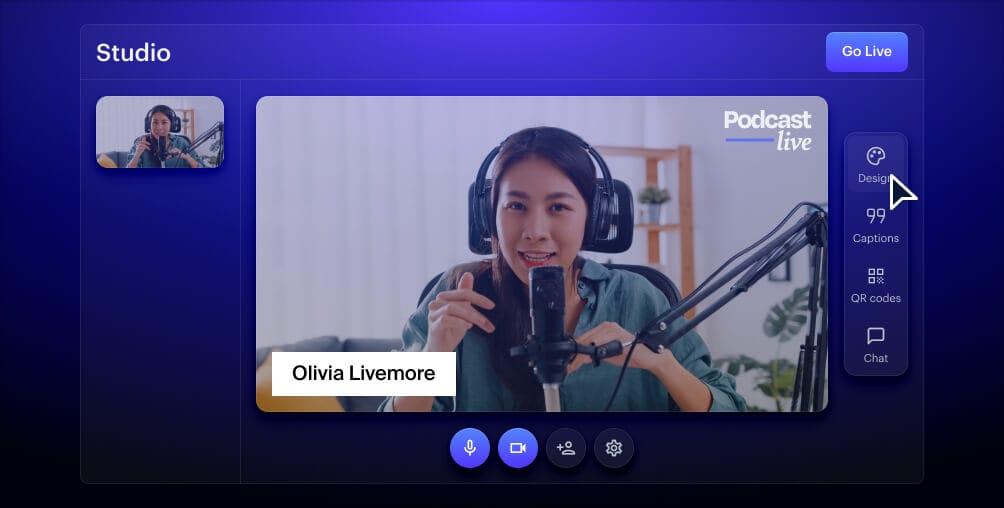
Any one of the software choices we mentioned earlier will work great for Twitch. You can download and install streaming software like OBS Studio or Twitch Studio. But if you want to go live quickly and easily without having to install anything, you can stream straight from your web browser using Restream Studio.
- Log in to your Restream account or create a new one.
- On the Restream dashboard, click Edit Destinations.
- In the destinations pop-up, click +Add Destination.
- From the list of platforms, click Twitch, then Connect Twitch.
- A new browser window will open asking for your Twitch username and password. Enter your Twitch credentials and click Log In.
- You will need to give Restream permission to access your Twitch account. Click Authorize.
That’s it! Your Restream account is now connected to Twitch. You can find out what the optimal streaming settings for Twitch are in our Help Center.
3. Add your sources.
Everything you want to broadcast in your stream needs to be added as a source in Restream Studio. Examples of sources are:
- Your webcam feed
- The audio from your microphone
- The game you’re streaming
For audio, remember that you may have two devices: one for desktop sounds (sounds you’re playing on the computer) and one for the sounds that come from your microphone (your voice).
Adding sources in Restream Studio is easy.
- On the Restream dashboard, click Stream with Studio.
- Before entering the Studio, you’ll need to provide your browser access to your webcam and microphone. You must also type your name as you want it to appear on stream. Then, click Enter Studio.
Once you’re inside the Restream live streaming studio, you can add more sources (other than your camera and mic) by clicking the Add source icon at the bottom of the screen. You can add a second camera, slideshow, local video, and background music; or bring another stream in from tools like Zoom using RTMP.
4. Find your perfect streaming settings.
Streaming settings typically refer to:
- Resolution
- Frame rate
- Bitrate
- Audio bitrate
The best stream settings for Twitch depend on available upload bandwidth, the power of your encoder, and the type of content you want to broadcast. Higher bandwidth, a powerful processor, and being able to dedicate your processor to encoding only all offer higher-quality settings.
Check out Twitch’s recommendations for ideal stream settings and see what’s possible with your setup. Then, read our guide to good upload speeds for streaming to help you understand why upload speed is important for live streaming.
5. Customize your Twitch stream with additional features.
You can make your Twitch stream your own by adding custom graphics, backgrounds and more. Restream lets you set up your live stream exactly how you want it.
- Choose a screen layout
- Toggle the chat overlay on or off
- Queue up your captions
- Add a scrolling text
- Add QR codes for links that you want to appear on-screen
- Invite guests to your stream by sending a simple, secure link
- Play local video files on your stream
- Add copyright-free background music
- Manage a multi-channel live chat
- Relay chat messages from platform to another
6. Multistream to other streaming platforms
If you want to increase your exposure, go live on other platforms in addition to Twitch. With Restream, you can choose from over 30 channels to multistream to simultaneously. Restream also has features that make multistreaming more convenient, such as relaying chats between different platforms or broadcasting pre-recorded content. Check out detailed instructions on how to stream to Twitch and YouTube /Facebook at the same time.
Keep in mind that if you want to simulcast on Twitch and other streaming platforms, you have to keep the Twitch chat separate. You can’t relay messages from the Twitch chat to other platforms and you can’t show messages from other live chats on Twitch. If you’re using a multichat tool like Restream chat, you can choose to embed only the Twitch chat on-stream. That way, you’re compliant with Twitch’s simulcasting rules but you can still see all the messages from each platform privately.
There are a few other limitations on Twitch simulcasting you should know before you go live. Check out Twitch’s simulcasting guidelines for more info.
How to live stream to Twitch from consoles
Live streaming on Twitch from a PC might not be the perfect option for you. Maybe you prefer playing your games on consoles, as many people do. You can stream from your console rather than your computer if that’s your preference. Here’s how.
How to stream to Twitch from a PS4
To stream from a PlayStation 4, you’ll need a Twitch account and you must enable two-factor authentication (2FA).
1. Set up your PS4 for live streaming.
There are a few settings you should pay attention to before you turn on your game and connect the console to your Twitch account:
- Ensure HDCP is disabled. You’ll find this option in Settings > System. Turn it on when watching content from services such as Netflix on your PS4. When streaming, it should be off.
- Set up your devices. In Settings > Devices, you can find options for audio devices as well as the PlayStation Camera. This is where you can adjust levels for your microphone or headset. PlayStation 4 doesn’t support any webcams other than the PlayStation Camera.
- Set up audio sharing. When you launch the game, press the Share button on the controller and go to Sharing and Broadcast Settings > Broadcast Settings > Advanced Settings > Audio Sharing Settings. This is where you can enable the sound from your microphone for your broadcast.
- Enable the chat. In the Sharing and Broadcast Settings > Broadcast Settings > Advanced Settings, you can check Display Messages to Spectators and Spectators’ Comments to enable the chat.
2. Connect your PS4 to your Twitch account.
When you click the Share button on your controller, you’ll see the option to broadcast gameplay. PS4 will ask which platform you want to use, and after selecting Twitch, you’ll need to connect the console to the account. You can connect in one of two ways:
- Scan a QR code you’ll see on your screen.
- Go to twitch.tv/activate from a computer or smartphone and enter the code you’ll see on your screen.
3. Do a final check and start streaming.
After you’ve connected the console to Twitch, you can pick a title for the stream, enable the camera if you have it connected, and select the output quality. When you’re done with that, you’re ready to start broadcasting to Twitch from your PS4.
It’s an easy process; you don’t even need to install the Twitch app to do it. You’ll need the Twitch app if you want to watch other people’s streams on a PS4, however.
For steps on setting up your PS5 to stream to Twitch, check out this guide.
How to stream to Twitch from Xbox
Xbox doesn’t come with native Twitch support. So if you want to stream to Twitch from an Xbox, you first have to go to the Xbox store.
1. Install the Twitch app.
Head to the store on your Xbox, search for the official Twitch app, and install it.
2. Connect the Twitch app to your account.
When you run the app for the first time, you’ll get a six-digit code that you’ll have to enter manually at twitch.tv/activate. You’ll need a desktop computer or a smartphone to visit that address.
3. Connect and set up your devices.
You can use any regular webcam with an Xbox One, and you can also use external microphones and headsets. Connect everything to your Xbox, and make sure the microphone and webcam are enabled in the settings. You’ll also want to fine-tune some other settings, so go to Settings > Account > Privacy and Online Safety > Xbox Live Privacy > View Details and Customize, and then:
- Go to Game Content and allow the You can broadcast gameplay and You can share content made using Kinect or another camera options.
- In Online Status and History, select Everybody under Others can see if you’re online.
4. Create a title and start broadcasting.
After you set the title for your stream, you’re ready to launch a game and begin broadcasting.
How to stream to Twitch from a smartphone
Twitch’s smartphone app only lets you broadcast from your phone’s camera, so if you want to broadcast mobile gaming, you’ll have to deal with third-party apps. Here’s how to live stream to Twitch from your smartphone.
1. Download and install the Twitch app.
You need to have the app installed on your smartphone. Download the Twitch app from the Play Store or the App Store.
2. Log in to the app.
Go through Twitch’s 2FA process to log in to the app.
3. Tap your profile image button in the upper left-hand corner.
A screen with the Go Live button will appear.
4. Tap the “Go Live” button.
You’ll have to allow access to your camera and/or microphone before you can live stream to Twitch via the app.
5. Set up the stream and go live.
Complete these simple steps before going live:
- Give your stream a name.
- Select one of the content categories from the drop-down menu.
- Pick the camera you want to use.
- Share a link to your stream via apps you have on your phone.
All that’s left to do is press the Start Stream button, and you’ll be online.
Live streaming on Twitch isn’t too demanding for a novice. You can have your live content on Twitch in a matter of minutes with some basic gear.
What kind of content should you stream on Twitch?
Gaming content is what originally launched Twitch. For a long time, it was the primary draw of the platform. Even today, people seem to tune in mostly to watch gaming content.
After the 2020 pandemic, however, gaming got dethroned as the most popular streaming category on Twitch. The Just Chatting category — home to talk shows, podcasts, or as the name implies, just chats between streamers and viewers — is now the Twitch category with the most hours watched.
Variety streamer vs. one category
Some people will jump between gaming and chats as part of their content strategy. Others will focus on chatting alone, or creating art, or playing a single game, or playing a genre of games. Personality is the major draw for variety streamers. If you want to focus on a single game or type of content, you need more advanced knowledge and skills to build an audience.
Stream what you love
You’ll most likely start off streaming to a small audience. Beginnings can be tough, and streaming can sometimes seem like an uphill battle to win over one viewer at a time. The best way to stick with it is by streaming something you actually like doing, whether it’s a hobby of yours or a game you like playing.
Choose games carefully
The most popular games have lots of viewers but also lots of established channels flocking to them. New releases can balloon quickly then lose popularity. Start by picking a game you like playing, then head to Twitch to see how many viewers it has. You can also use data from a source like TwitchTracker to check out which categories have the highest number of viewers, channel-to-viewer ratio and average number of channels.
Consider a cross-game niche
You don’t have to stick to one category to become a well-respected streamer with a good following. You can be a speedrunner who wants to get through games as quickly as possible. You might be a highly competitive gamer who masters games only to duel people. You might thrive as a community guru who figures out game mechanics and helps others become great at games.
Select content you can generate regularly
Because consistency is key when it comes to streaming, try to stick to a schedule as much as possible. If the content you want to create doesn’t let you stream regularly, either avoid streaming that content or stream something else to fill in the gaps.
More tips for live streaming on Twitch
You’ll need to put in a bit more effort than just learning how to stream on Twitch if your goal is to find a place among the successful streamers. Keep these tips in mind:
- Make your stream look and sound great
- Power up your live streaming setup
- Follow Twitch etiquette
- Promote your channel outside of Twitch
1. Make your stream look and sound great
If you want your channel to be on par with some of the most popular streamers, consider the following:
- Set up scenes before the stream. Scenes are different layouts of content you want to appear on the screen, and they’re key for running the stream smoothly. Prepare them in advance.
- Prepare a welcome screen, a BRB screen and an end screen. Make static images that let people know you’re starting to stream soon, that you had to step away from the stream, or that the stream has finished.
- Start using overlays. Overlays are graphics that sit on top of your live footage. They can help you customize the look of your stream. There are free, premium and custom-made overlays available from the best overlay makers.
- Add alerts to your streams. Alerts are audio-visual packages triggered by specific actions, such as someone subscribing to your channel. They are provided by third-party services such as Muxy and StreamElements.
- Check out some Twitch extensions. Twitch extensions are apps that can interact with your stream. For example, you can get real-time stats about your game performance. You can also use them to let your viewers play minigames on your stream.
- Add music to your stream. You’d be surprised by how empty a stream can sound without music. Streaming copyrighted music without permission can get your channel muted or subjected to other penalties. Stay on the safe side by using royalty-free music services such as Pretzel Rocks, Soundstripe, Epidemic Sound or Restream Background Music.
Mind the audio sync. Audio that isn’t synced up with video is pretty common on Twitch. Troubleshoot unsynced audio and video with this Help Center guide.
2. Power up your live streaming setup
Streaming live video takes up a lot of resources on your computer. When you’re streaming and playing a video game on the same machine, it can lead to a laggy stream. Adding a second PC dedicated to streaming makes your setup better able to handle streaming and gaming at the same time. If you’re running a two-PC setup, you’ll want the one with more processing power to handle the streaming. And you’ll need a capture card.
Capture cards come in internal and external variants. The internal cards must be physically installed onto the streaming computer’s motherboard and then connected with the gaming PC via HDMI. The external cards connect via USB to the streaming computer on one end and via HDMI to the gaming computer on the other end. After that, you only have to add the capture card as a source in OBS Studio.
If you’re using a PC-console setup instead of a two-PC setup, the main difference is that the capture card sits in between the console and the TV or computer monitor. Use the “in” HDMI port to plug the console into the card and the “out” HDMI port to connect the card with the display or TV. Simply add the card in OBS Studio as a source, and you’re ready to stream.
3. Follow the rules of Twitch etiquette
Twitch has a list of do’s and don’ts. Some of them are codified by Twitch in the community guidelines, and yes, you should still read them if you skipped them at the beginning of the article.
But there are also unwritten practices that might boost your engagement and generally help everyone watching your stream — including you — have a good time. This is Twitch etiquette, and the most important rules you should observe are:
- Say “hello” to viewers who frequent your channel. Show them your appreciation and give other viewers something to work towards.
- Stick to your streaming schedule. Don’t leave your viewers hanging, and try not to surprise them with impromptu streams too often. People have lives.
- Network with other streamers. You’re not doing this in a vacuum, so play games with other streamers or co-stream with them occasionally.
- Say “thank you” to people who support you. Neglecting this is one of the worst ways to treat the people who back you financially.
- Don’t go to other people’s streams to promote yourself in the chat room. This is beyond bad behavior, and it’s likely to get your efforts blocked by mods.
- Recruit mods. Moderators can make all the difference in keeping your stream’s chat clean and friendly.
You want your channel to be a fun place where people can hang out and enjoy the show. As a streamer, you should be welcoming. You should take your viewers’ time and attention seriously and pay them back by being the best content creator you can be. Never skip an opportunity to engage with your audience, whether it’s by saying “hello” to them when they join or creating content that appeals specifically to them.
4. Promote your channel
If all you do is stream on Twitch, it’ll be hard to get noticed. The most successful streamers save highlights and clips from their Twitch streams and post them on other platforms such as YouTube or TikTok. Live streams are easy to repurpose once they’re over, and you can turn a previous stream into all kinds of content for social media.
You should also work on establishing a social media presence to further engage with your audience and look for business opportunities. Choose a few channels to be active on, like X (Twitter) or Facebook. Post updates, comment on other people’s content and use social media as a way to have even more conversations with your audience or other streamers.
As we already mentioned, you can use Restream to multistream to several platforms at once to increase the number of viewers watching your content.
FAQs
What are the best streaming settings for Twitch?
Twitch recommends different bitrate settings based on your chosen resolution and framerate (frames per second, or fps). The most common resolution options on Twitch are 1080p and 720p, at 60 fps or 30 fps.
Bitrate requirements on Twitch:
- 1080p @ 60 fps: 6000 kbps
- 1080p @ 30 fps: 4500 kbps
- 720p @ 60 fps: 4500 kbps
- 720p @ 30 fps: 3000 kbps
Each of the above settings requires a keyframe interval of two seconds as well.
When it comes to choosing your stream settings, it’s always better to prefer a steady stream over a high-quality picture. If your internet connection can’t handle 1080p @ 60 fps and it risks interrupting your stream, bump it down to 720p.
What do you need to stream on Twitch?
The absolute minimum for live streaming on Twitch is a Twitch account and a device to stream from. If you stream from a PC and not the Twitch app, then you’ll also need live streaming software such as Restream Studio.
What are the requirements to stream on Twitch?
You need certain performance and stability settings to live stream on Twitch. You can find broadcast guidelines related to bitrate, resolution, frame rate, and other settings on Twitch’s help site.
How old do you have to be to stream on Twitch?
You must be at least 13 years old to use Twitch. Read Twitch’s safety guidelines to learn more about how the platform upholds its age restrictions.
How do I stream on Twitch with a PC without using OBS?
You can use Restream Studio to go live on Twitch on desktop without using OBS. Restream Studio is a browser-based live streaming software. You don’t have to download anything to use it and you can broadcast live on Twitch straight from your web browser.
How do I stream on Twitch and YouTube at the same time?
You need a multistreaming tool like Restream to go live on Twitch and YouTube at the same time. Read our guide on multistreaming to Twitch and YouTube to see how to do it.
How do I stream on Twitch and Facebook at the same time?
You have to use a multistreaming tool to stream on Twitch and Facebook at the same time. Restream lets you choose from more than 30 live streaming platforms to multistream on, including Twitch and Facebook. Read our guide to multistreaming to Twitch and Facebook to learn more.
Where do I find a Twitch stream key?
You need to set up your Twitch account first before getting a stream key. Follow these directions to find it and insert it into OBS Studio or other streaming software.
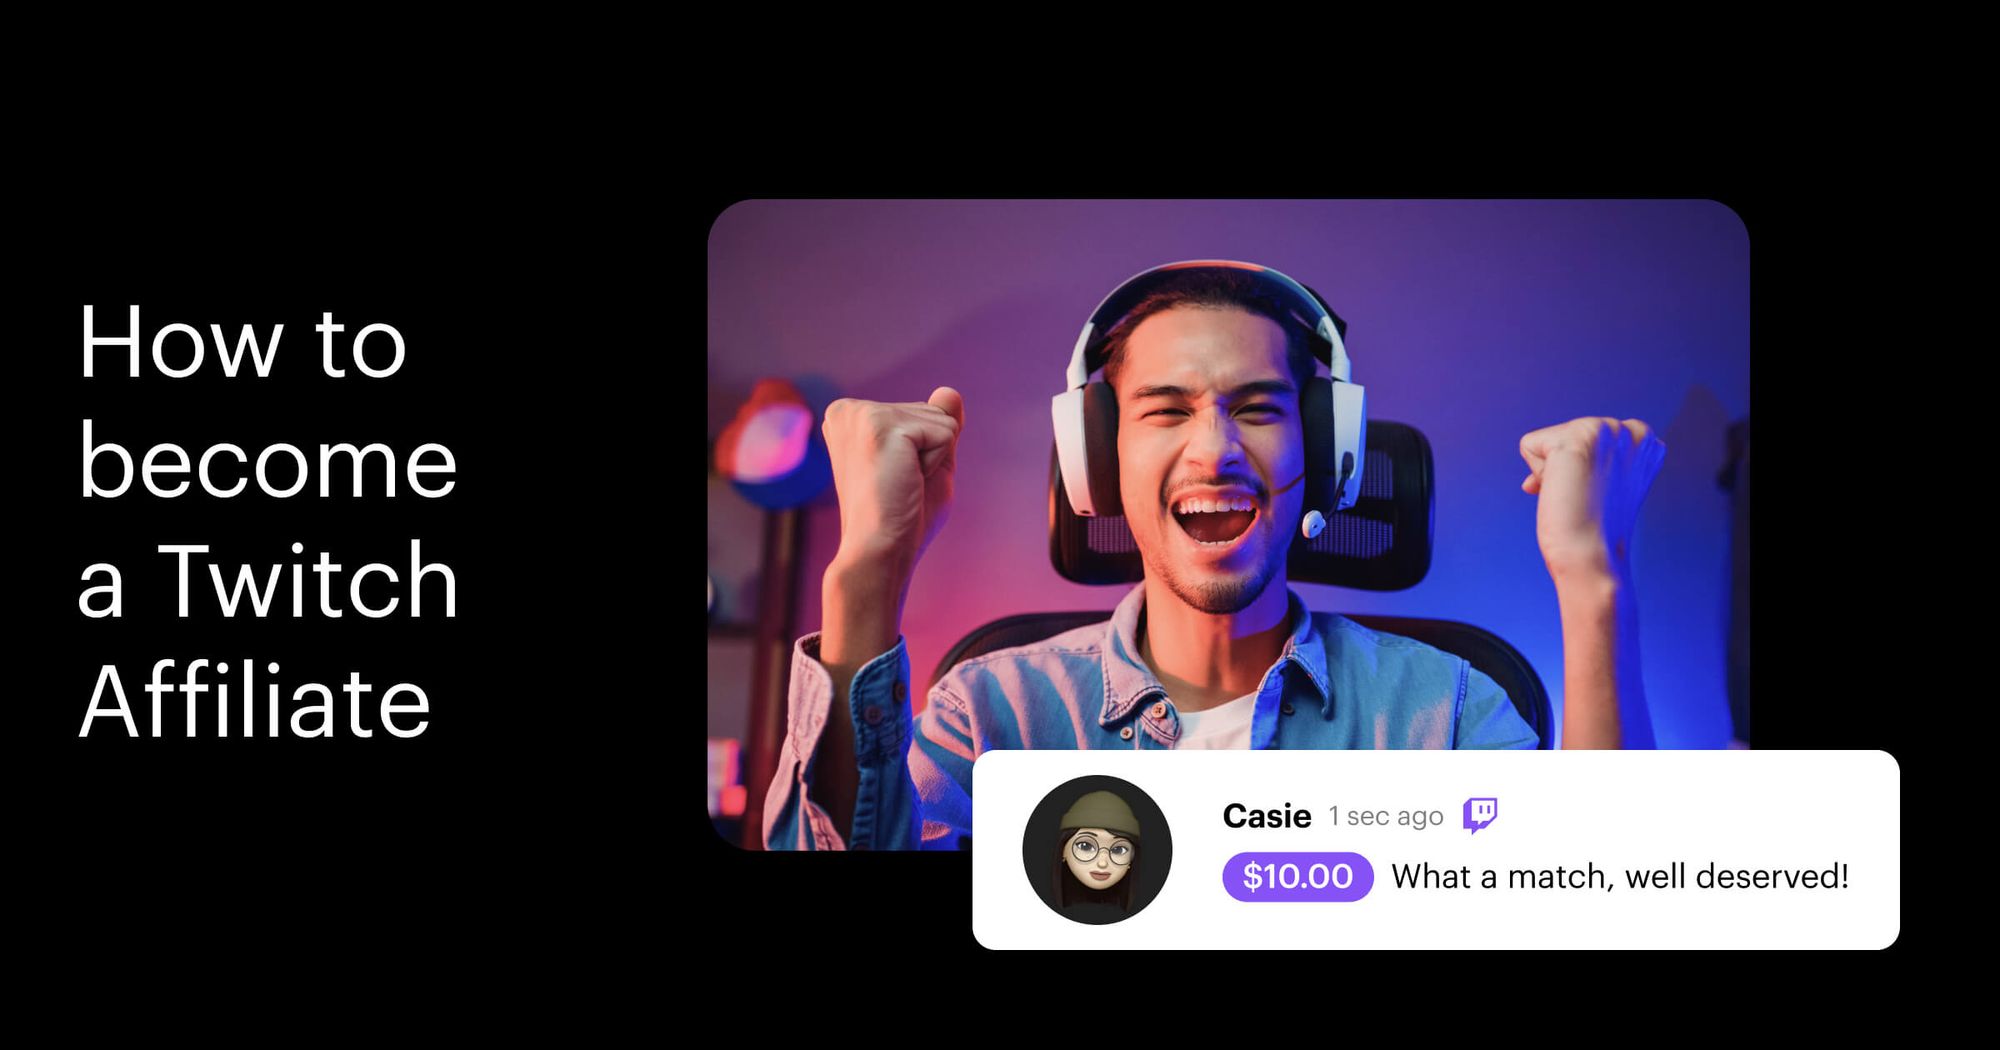
Can I make money streaming on Twitch?
Twitch has monetization options but they’re only accessible for Twitch Affiliates. You can also use off-platform donations, merch and sponsorship deals to make money streaming on Twitch.
Let’s wrap up
Live streaming can be an incredibly rewarding experience. Whether it’s by making new friends, finding new business opportunities or simply exercising your performance skills, streaming can only do you good.
Twitch is an obvious top choice for streamers. It’s the leading platform with all kinds of content, from gaming to ASMR and full-body makeup tutorials. The platform is so popular and huge in the market that learning how to stream to Twitch is almost a rite of passage for future content creators.
However, Twitch is not the only platform out there. Much of the advice you should follow when streaming to Twitch also applies to other platforms. By learning how to be a successful streamer on Twitch, you’ll learn how to thrive on other platforms, too. If you want to spread your content across several platforms, Restream is the tool you should be using.